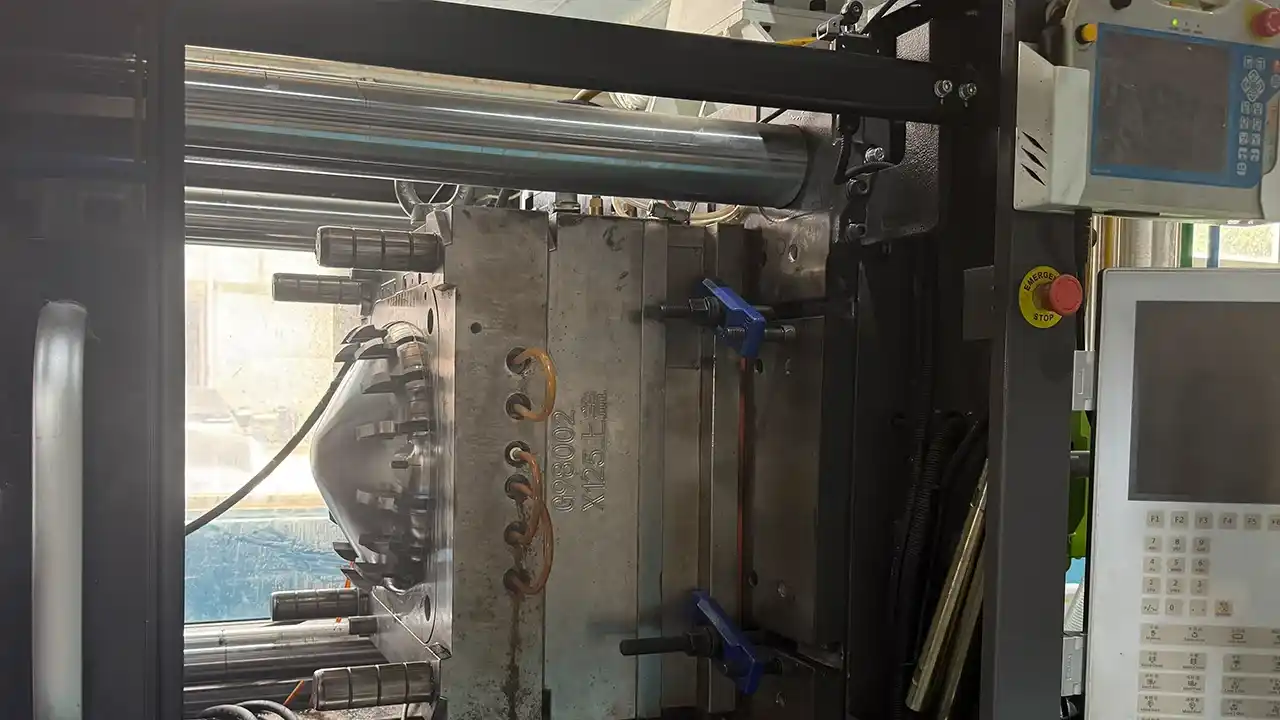

You’ve got a product design that needs two materials working together. Maybe a rigid plastic housing with a soft rubber grip. Or a plastic connector that needs a brass threaded insert locked in tight. Either way, you’re probably wondering: should I go with insert molding or overmolding?
Both processes combine multiple materials into one part. Both eliminate extra assembly steps. But they solve very different problems — and picking the wrong one can cost you time, money, and a lot of headaches down the line.
What is Overmolding?
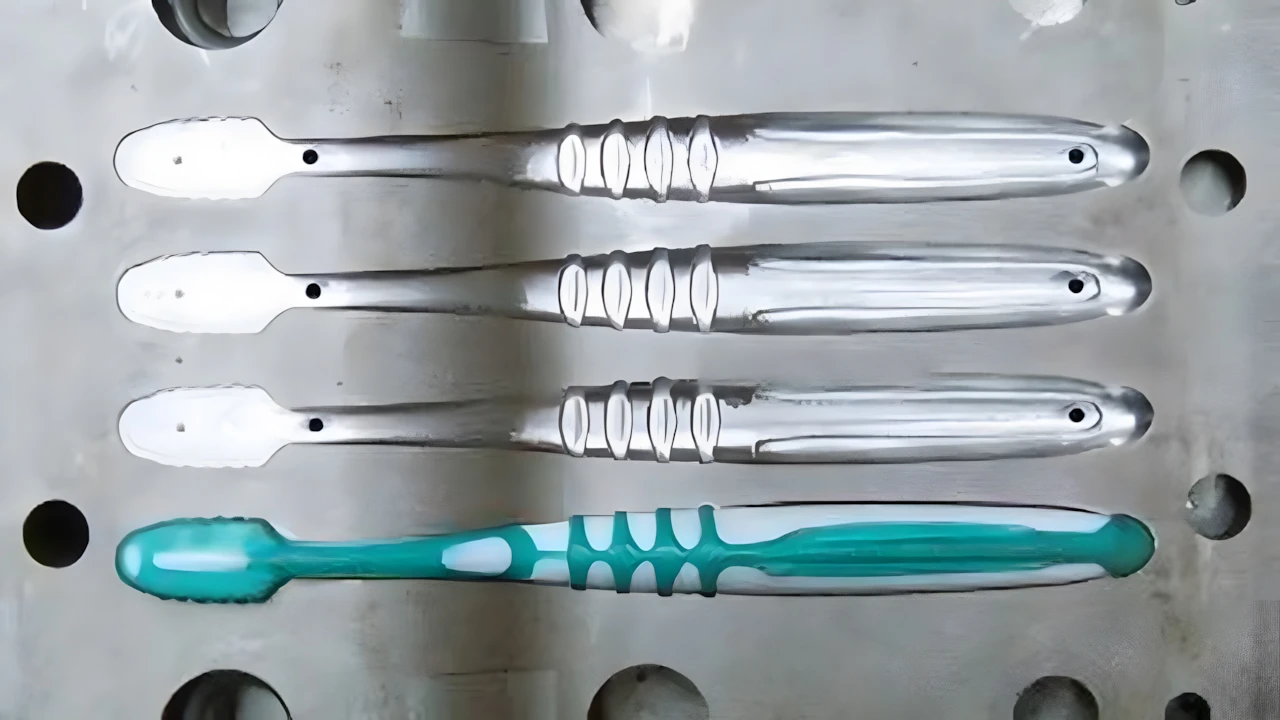
Think about a toothbrush. That soft, grippy rubber section molded right onto the hard plastic handle? That’s overmolding in a nutshell.
Overmolding is a multi-step injection molding process where a second material — usually a soft elastomer like TPE or TPU — is molded directly over an already-formed substrate, typically a rigid plastic. The two materials fuse through chemical bonding or mechanical interlocking, ending up as one unified component.
No glue. No screws. Just two materials bonded together at a molecular or structural level.
The substrate is made first (standard injection molding). Once it’s ready, it’s placed into a second mold — and the overmold material is injected on top or around it. The result? A single part that combines hard structure with soft-touch functionality.
Advantages of Overmolding
Ergonomics and feel. This is where overmolding genuinely shines. Adding a soft layer over a rigid base creates grip, comfort, and that premium tactile quality that makes users trust a product. Power tool handles, medical device grips, wearable device housings — the soft-over-hard combo makes all of them more user-friendly.
No secondary assembly. Instead of gluing or snapping a rubber pad onto a plastic part later, overmolding does it all in one integrated process. Fewer steps, less room for error, lower production costs over time.
Sealing and protection. A well-designed overmold layer can act as a seal against moisture, dust, and vibration. Particularly useful for Unterhaltungselektronik and outdoor equipment.
Visual and brand differentiation. Two-tone parts, textured surfaces, color blocking — overmolding gives product designers real freedom to create something that looks intentional rather than assembled.
Disadvantages of Overmolding
It’s not without trade-offs.
Material compatibility matters a lot. Not every soft material bonds well with every substrate. If you pair incompatible materials, you’ll get delamination — the overmold layer peeling off. This requires careful Materialauswahl and often DFM analysis upfront.
Higher tooling cost than standard molding. You need two molds (or a more complex rotary/transfer mold system), which increases tooling investment. For very low-volume runs, the economics can be challenging.
Cycle times are longer. Two injection stages means more time per part. For ultra-high-volume production, this is worth considering.
Design constraints. The substrate needs to be engineered with the overmold bond areas in mind from the start. Retrofitting an existing design for overmolding is often harder than starting fresh.
Materials Commonly Used in Overmolding
The substrate is usually a hard, rigid material:
- ABS – one of the most common choices; easy to bond with TPE
- PC (Polycarbonat) – high clarity and strength
- PA (Nylon) – great for structural applications
- PBT – good for electrical/electronic housings
The overmold layer is typically a soft, flexible material:
- TPE (Thermoplastisches Elastomer) – the most widely used soft overmold material; rubber-like feel, cost-effective, bonds well with ABS/PC
- TPU (Thermoplastisches Polyurethan) – tougher than TPE, better abrasion resistance; popular for wearables and protective covers
- LSR (Liquid Silicone Rubber) – used when biocompatibility or high heat resistance is needed, common in Herstellung medizinischer Geräte
Was ist Insert Molding?
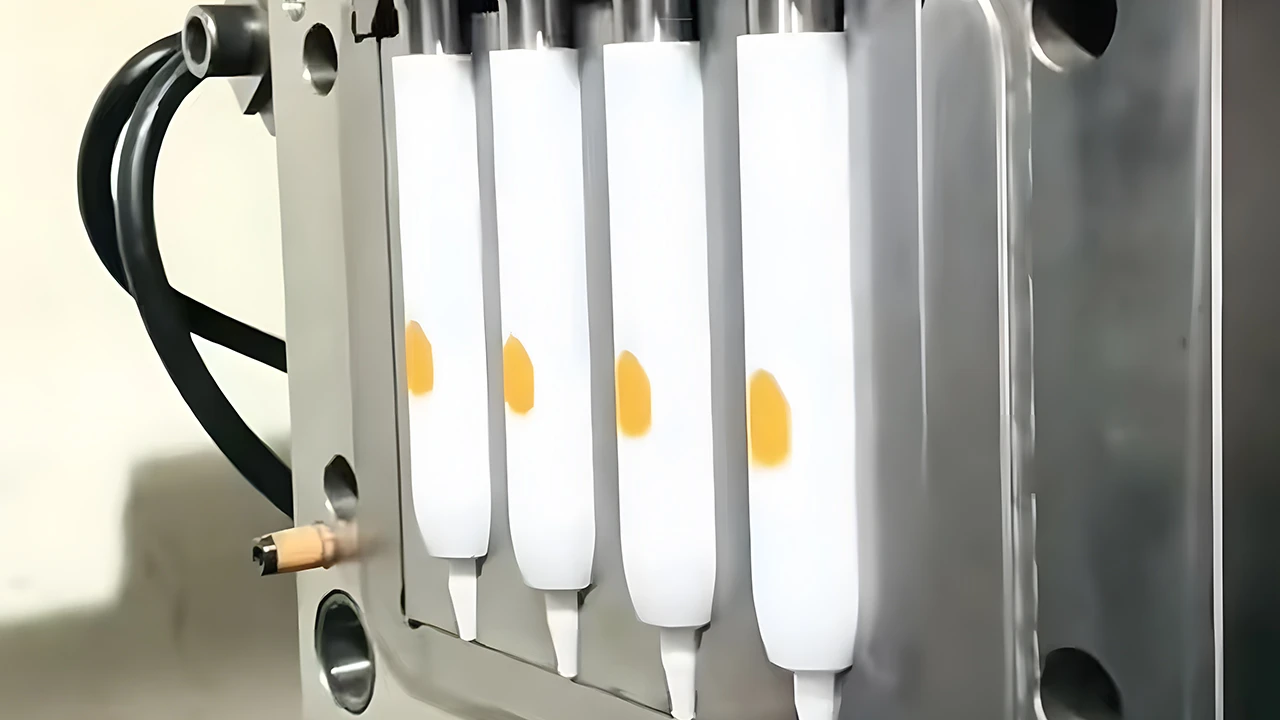
Now let’s talk about insert molding. This one’s different in a fundamental way.
Instead of layering material on top of a substrate, insert molding puts a pre-made component — usually a metal insert — inside the mold before plastic is injected. The molten plastic flows around and encapsulates the insert, locking it in place permanently once it cools.
The classic example? Brass threaded inserts inside a plastic housing. The plastic part can now be screwed together with metal-level thread strength. No loose connections. No stripped threads. And no need to press-fit inserts after molding (which is a messy, inconsistent process that we’d all like to avoid).
In short: insert molding embeds structural or functional components in a plastic part during the molding process itself.
Advantages of Insert Molding
Structural strength where you need it most. Metal and plastic have very different mechanical properties. Insert molding lets you leverage both — plastic for lightweight housing, metal for load-bearing connections, threads, or electrical contacts.
Tight, reliable threads. If your product needs screws or fasteners, plastic threads alone wear out fast. Brass or stainless steel inserts molded directly in hold up under repeated assembly cycles without degrading.
Single-step integration. The insert is placed in the mold, plastic is injected, and you get a finished composite part. No secondary pressing, no post-assembly bonding. This is why insert molding is often more production-efficient than alternatives.
Dimensional accuracy. Because the insert is mechanically locked in during molding, its position is fixed with high precision — critical for applications like connector housings or medical device components where alignment is non-negotiable.
Better than glue or press-fit, always. For structural connections, mechanical locking + thermal shrinkage (the plastic contracting tightly around the insert as it cools) consistently outperforms adhesives and mechanical retention methods in pull-out strength.
Disadvantages of Insert Molding
Manual insert placement adds time. Before each shot, inserts must be placed accurately in the mold. In high-volume production, this is addressed with robotic automation — but it adds complexity to the production setup.
Insert design affects mold design. The mold needs to accommodate the exact insert geometry. If your insert dimensions change, your mold may need modification.
Not suitable for every material combination. Insert molding works well with metal-plastic combinations, but it’s less suited to applications where a soft outer layer is the main goal (that’s where overmolding takes over).
Quality risk if positioning drifts. If insert placement isn’t tightly controlled, you can get shifted inserts, thin plastic walls over the insert, or void defects around it. This makes Präzisionsformenbau and tooling quality absolutely critical.
Materials Commonly Used in Insert Molding
Common insert materials:
- Messing – the most common choice; excellent machinability, corrosion resistance, and bondability with most plastics
- Edelstahl – for high-strength or corrosion-critical applications (medical, outdoor)
- Aluminium – lightweight structural inserts
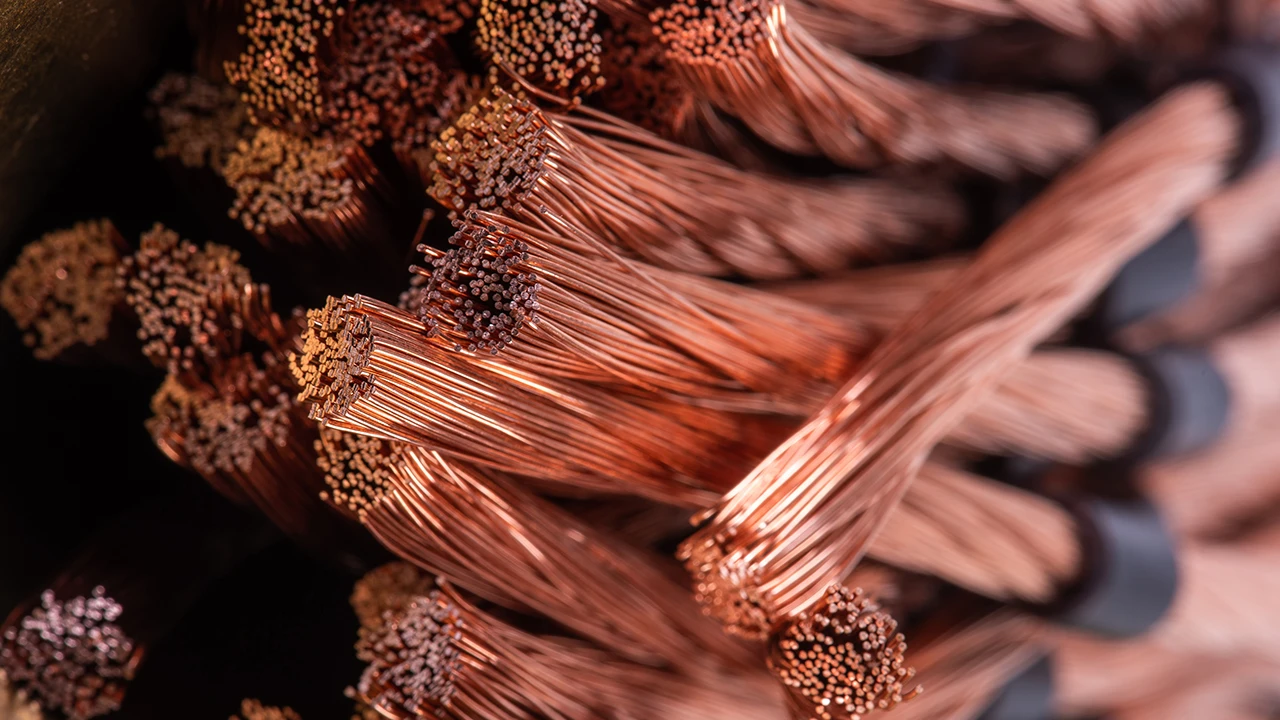
- Copper terminals – for electrical connections
Plastic materials for the overmolded body:
Overmolding vs. Insert Molding: A Comparison
| Umspritzen | Einsatzformteil | |
|---|---|---|
| Core purpose | Combine soft + hard materials for feel & function | Embed rigid inserts into plastic for strength |
| Materials combined | Plastic substrate + elastomer (TPE, TPU) | Metal/rigid insert + plastic resin |
| Process steps | Two injection cycles (substrate → overmold) | Single injection cycle (insert pre-placed) |
| Main advantage | Ergonomics, sealing, aesthetics | Structural strength, thread integrity, precision |
| Tooling complexity | Medium to high (two molds or rotary system) | Medium (specialized insert positioning) |
| Effizienz der Produktion | Mittel | Hoch |
| Typical cost level | Mittel | Low to medium |
| Ideal für | Grips, handles, housings with soft-touch zones | Threaded parts, connectors, structural hybrids |
When to Use Overmolding?
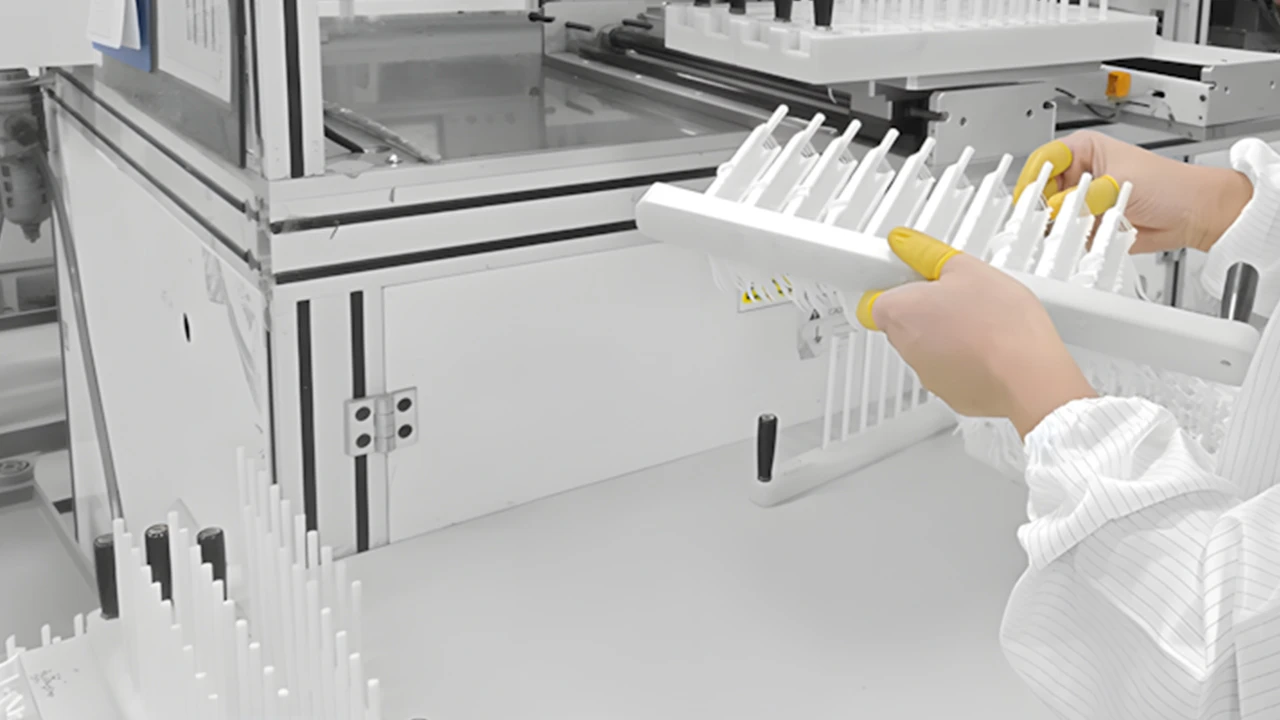
Use overmolding when your design needs functional soft surfaces integrated with a rigid structure.
Do you need to be able to comfortably grip, hold, press, or wear this product? Is sealing or vibration damping important? Do you want to eliminate glued-on rubber pads or foam inserts? Do you need a premium look with multi-material color or texture?
If you answered yes to any of those — overmolding is worth evaluating seriously.
Some real-world scenarios where it makes more sense than alternatives:
- Power tool handles where a TPE grip needs to be permanently fused to a PA structural body
- Wearable device housings where the outer shell needs to be soft but the internal frame rigid
- Electronic enclosures that need a gasket-like soft seal around a port or battery door
- Medical device grips where feel and hygiene surface continuity both matter
The earlier you involve your manufacturing partner in the design, the better. DFM-Analyse at the concept stage will flag whether your substrate geometry supports reliable overmold bonding — and catch problems before they become expensive tooling reworks.
When to Use Insert Molding?
Use insert molding when you need metal-level functional performance inside a plastic part.
Does this part need to be screwed into something repeatedly? Does it carry electrical current? Does it need to take mechanical loads that pure plastic can’t handle?
Specific scenarios where insert molding is the right call:
- Plastic connector housings with integrated copper terminals that need precise electrical contact
- Structural brackets in automotive interiors where threaded bosses must survive repeated assembly
- Electronic device enclosures that require M3 or M4 threaded brass inserts for screw-down assembly
- Medical equipment handles that embed stainless steel pins for structural stability
- Battery module housings in energy storage systems where metal conductive inserts are needed
Insert molding is generally more production-efficient than overmolding once the mold is validated. If you’re running tens of thousands of parts and the design is finalized, insert molding with automated insert placement can be very fast and consistent. Paired with our injection molding services and in-house CNC machining for insert fabrication, the workflow becomes remarkably streamlined.
Applications of Overmolding and Insert Molding Across Industries
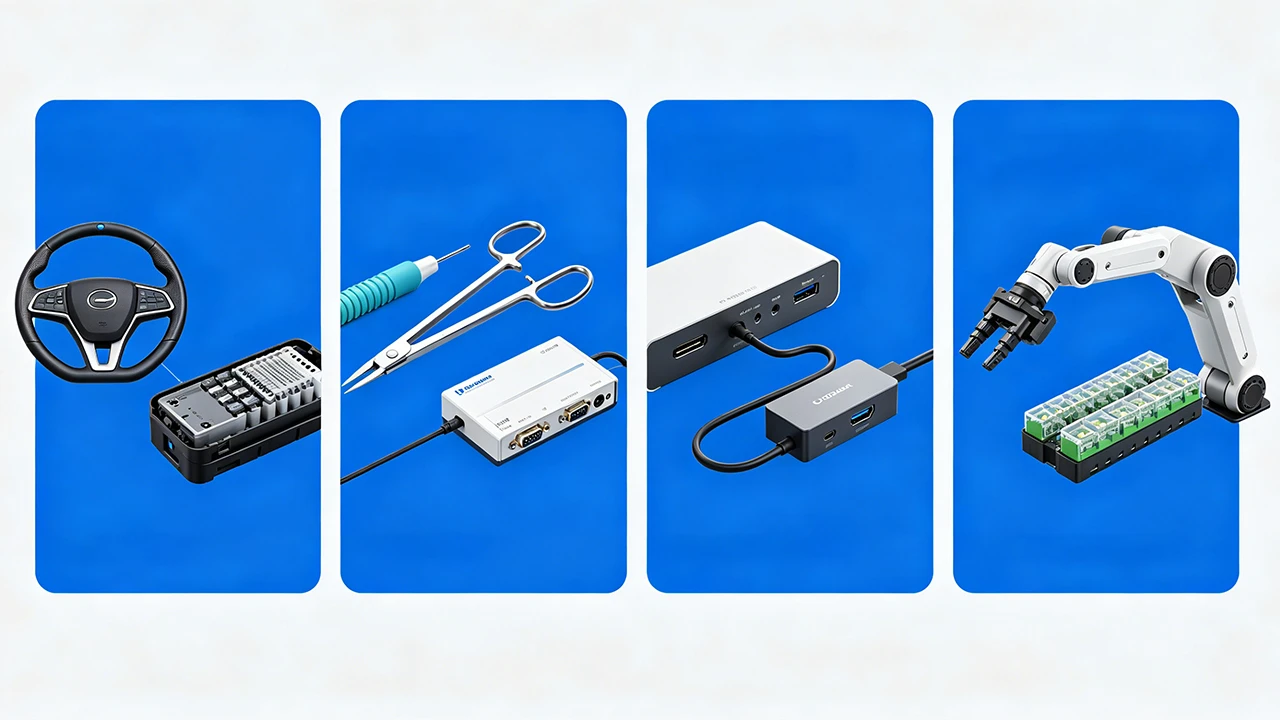
Both processes are everywhere — you’ve interacted with parts made by both today without realizing it.
Automobilindustrie Door handle grips, dashboard soft-touch surfaces, steering wheel sections (overmolding). Sensor housings with embedded metal brackets, connector assemblies with integrated terminals, mounting brackets with steel inserts (insert molding). The automotive industry uses both heavily.
Medizin und Gesundheitswesen Surgical instrument handles with ergonomic rubber grips (overmolding). Diagnostic device housings with precision metal contacts or structural pins (insert molding). In medical device manufacturing, cleanliness and consistency requirements mean the process must be tightly controlled either way.
Unterhaltungselektronik Soft-touch button interfaces, protective device housings, wearable straps (overmolding). PCB support structures, USB port housings with metal shell inserts, laptop chassis components (insert molding). Both show up constantly in electronics manufacturing.
Robotik und Energiespeicherung Robot arm grip surfaces and protective sensor enclosures (overmolding). Joint components, battery cell housings with conductive inserts, structural mounting brackets (insert molding). Fast-moving sectors like robotics and energy storage need both capabilities on demand.
FAQ
Yes — and it's more common than you'd think. A part might have a brass threaded insert molded in (insert molding) und a soft TPE grip overmolded on the exterior. These aren't mutually exclusive. At Dimud, we handle multi-process parts routinely.
Neither is universally cheaper. Insert molding tends to have lower per-part costs at scale because it's a single injection cycle. Overmolding involves two cycles and sometimes two mold sets. But the real cost comparison should include assembly costs you'd otherwise incur — overmolding can eliminate expensive secondary bonding or assembly steps that would cost more overall.
They're related but not the same. Zweistufen-Spritzguss uses a single machine with a rotating mold to inject two materials in one continuous cycle — faster and more precise, but requires specialized equipment and higher tooling investment. Overmolding typically uses two separate molds or a transfer process, making it more accessible for lower volumes and more design-flexible.
Material compatibility charts are a starting point, but practical bonding depends on surface energy, processing temperature, and geometry. TPE over ABS and TPU over PC are proven, well-understood combinations. For anything less common, it's worth running bonding tests early. We always review material pairing during DFM.
They can — if the mold isn't designed properly. Under high injection pressure, a poorly secured insert will move, causing thin walls, voids, or misalignment. Good insert molding molds use precision locating pins, spring-loaded features, or press-fit registration. Tolerances at this stage are typically held to ±0.02–0.05mm.
There's no hard rule, but tooling costs mean both processes are more economical above a few thousand parts. For prototype validation or low-volume runs, rapid tooling options exist that reduce upfront investment. If you're at the early sampling stage, it's worth discussing Prototypenerstellung options before committing to production tooling.
Standard mold development at Dimud is approximately 4 weeks. Expedited timelines of around 3 weeks are possible depending on part complexity and project scheduling.
Choosing between the two isn’t just a technical decision — it’s a design strategy decision. Get it right early, and your production process will thank you. Get it wrong, and you’ll be redesigning molds or hand-assembling parts you thought would snap together perfectly.
If you’re at the stage where this choice matters for your project and you’d like a second set of eyes on the design, reach out to us at Dimud. We review designs for manufacturability before quoting — that conversation alone has saved our clients significant rework costs more times than we can count.