But what exactly is overmolding, and how does the process work?
In this guide, we’ll explore the fundamentals of overmolding, including the manufacturing process, material selection, key design considerations, common applications, and the advantages and limitations of this molding technique. Whether you’re developing a new product or looking for a better way to improve part functionality and user experience, understanding overmolding can help you make smarter manufacturing decisions.
Overmolding is an injection molding process where a second material (usually a soft polymer like TPE or TPU) is molded directly over a first, already-formed part called the substrate. The result is a single, integrated component made from two or more materials — no glue, no fasteners, no secondary assembly. This technique is widely used to combine a rigid structural base with a softer outer layer, improving grip, aesthetics, protection, and overall product performance in one production step.
And once you understand what overmolding can actually do for a product, you start seeing it everywhere.
What Are the Advantages and Disadvantages of Overmolding?
Before committing to overmolding, most engineers want the same thing: a clear-eyed look at what they’re getting into.
The main advantages of overmolding include: improved ergonomics and grip, better vibration or shock absorption, enhanced product aesthetics through multi-color designs, reduced assembly steps and labor costs, and improved sealing against moisture or dust. The key disadvantages are: higher tooling costs compared to single-material molding, stricter material compatibility requirements, longer cycle times, more complex mold design, and limited recyclability due to mixed-material construction.
It’s not a silver bullet. But for the right applications, it’s close.
The Upsides Are Real — and They Compound
Let’s start with what overmolding actually buys you in a product design context.
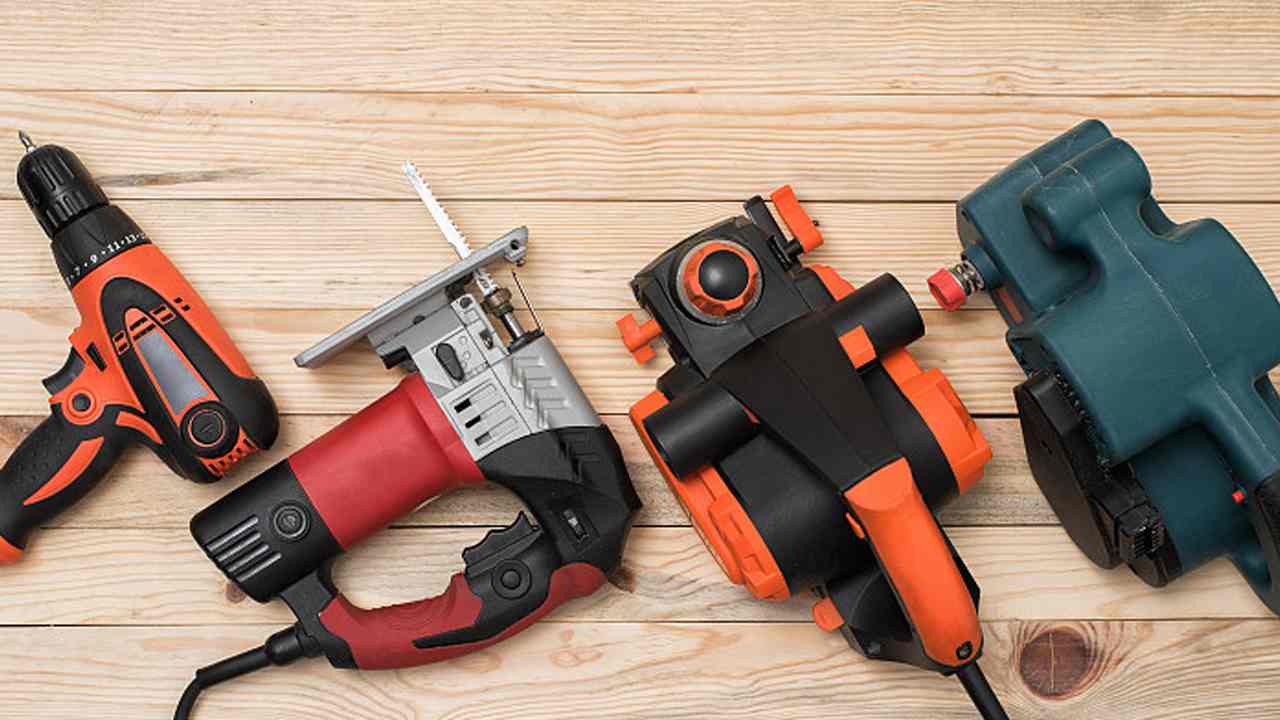
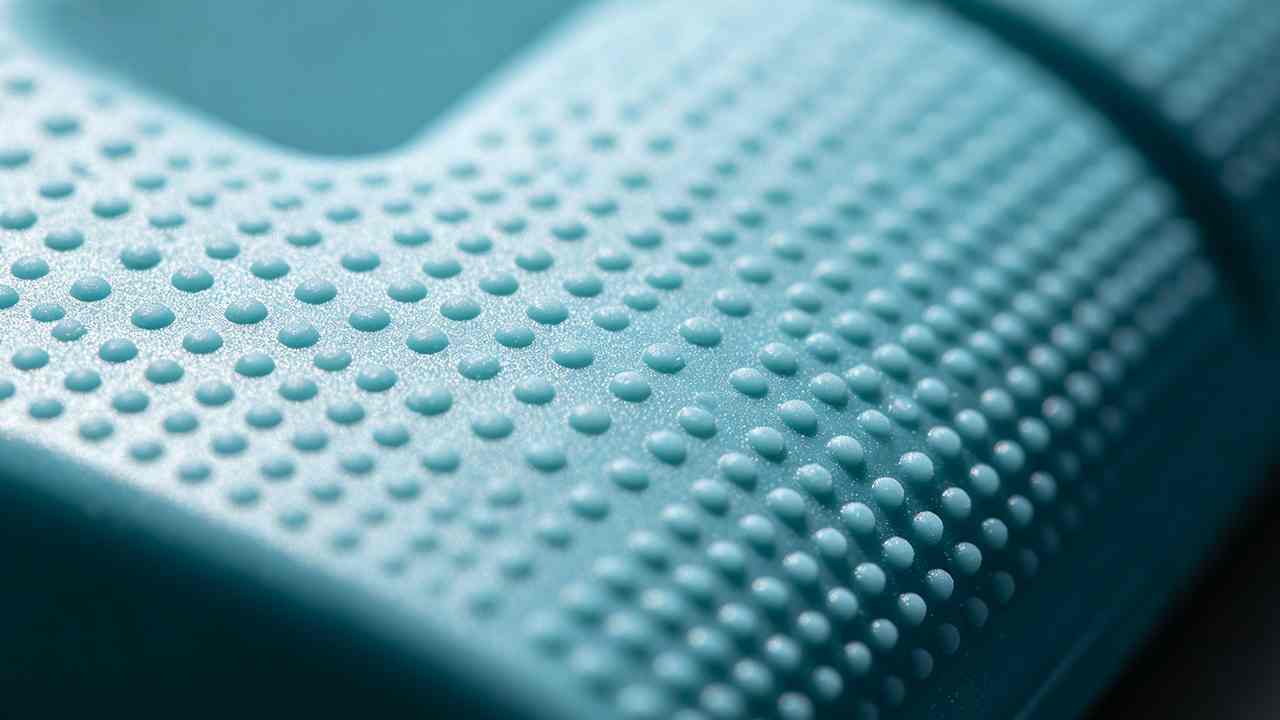
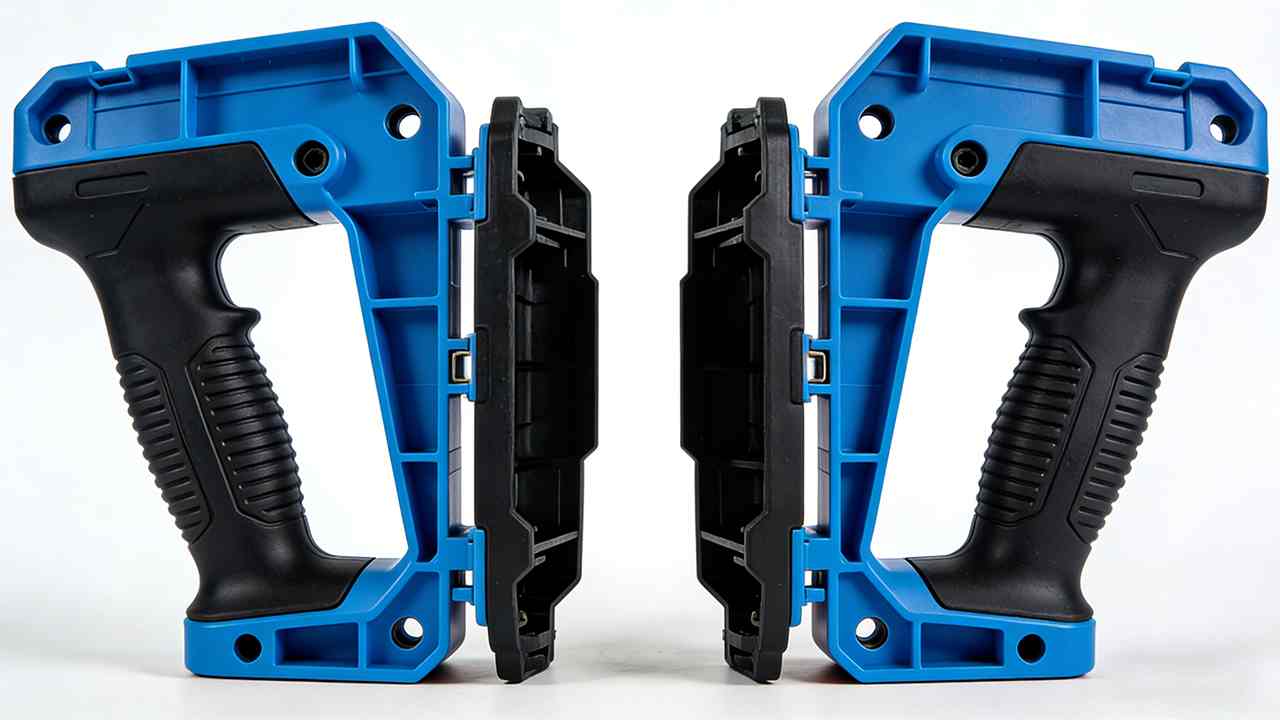
Ergonomics. This is where overmolding shines most obviously. By bonding a soft-touch elastomer layer directly over a rigid plastic or metal substrate, you create a handle, grip, or surface that’s genuinely comfortable to hold — not just cosmetically soft, but structurally integrated. Think of cordless drills, surgical instruments, or sports equipment. That rubberized feel isn’t a rubber sleeve that’s been glued on. It’s bonded at the molecular level.
Vibration and impact damping. In products that experience repeated mechanical stress — handheld power tools, equipment handles, automotive components — the soft overmold layer absorbs and disperses energy that would otherwise travel straight into the user’s hand or the product’s internal components.
Waterproofing and environmental sealing. When you overmold around a joint, a seam, or a connector, you effectively create a gasket without a separate gasket. This is heavily used in outdoor equipment, medical devices, and consumer electronics where IP ratings matter.
Aesthetics and branding. Overmolding lets you introduce a second color, a second texture, and a surface feel that standard injection molding simply can’t achieve in a single shot. A two-tone product with a soft rubberized grip panel doesn’t just look premium — it feels premium. That perception matters at retail.
Eliminating assembly steps. Every fastener you remove, every adhesive process you eliminate, every press-fit you don’t have to worry about — those are real savings in time, labor, and failure modes. Overmolding consolidates multiple parts into one integrated component.
The Downsides You Need to Take Seriously
Higher tooling cost is the one that hits first. Because overmolding typically requires either a second mold (in pick-and-place overmolding) or a more complex two-shot mold, the upfront investment is meaningfully higher than single-material tooling. For low-volume projects, this cost per part math can be brutal.
Material compatibility is the other major engineering challenge. Not every combination of plastics bonds well. If your substrate is polypropylene and you want to overmold it with TPE, the chemistry has to work — and if it doesn’t, you’ll get delamination, which is exactly the kind of quality failure that shows up in the field rather than in the factory.
Cycle time increases are real too. Two-shot molding adds time. Pick-and-place overmolding adds a manual or robotic handling step. Neither is free.
Design freedom also has limits. The geometry of the overmolded part must allow the second material to flow, fill, and bond properly. That constrains certain design choices that would be straightforward in single-material molding.
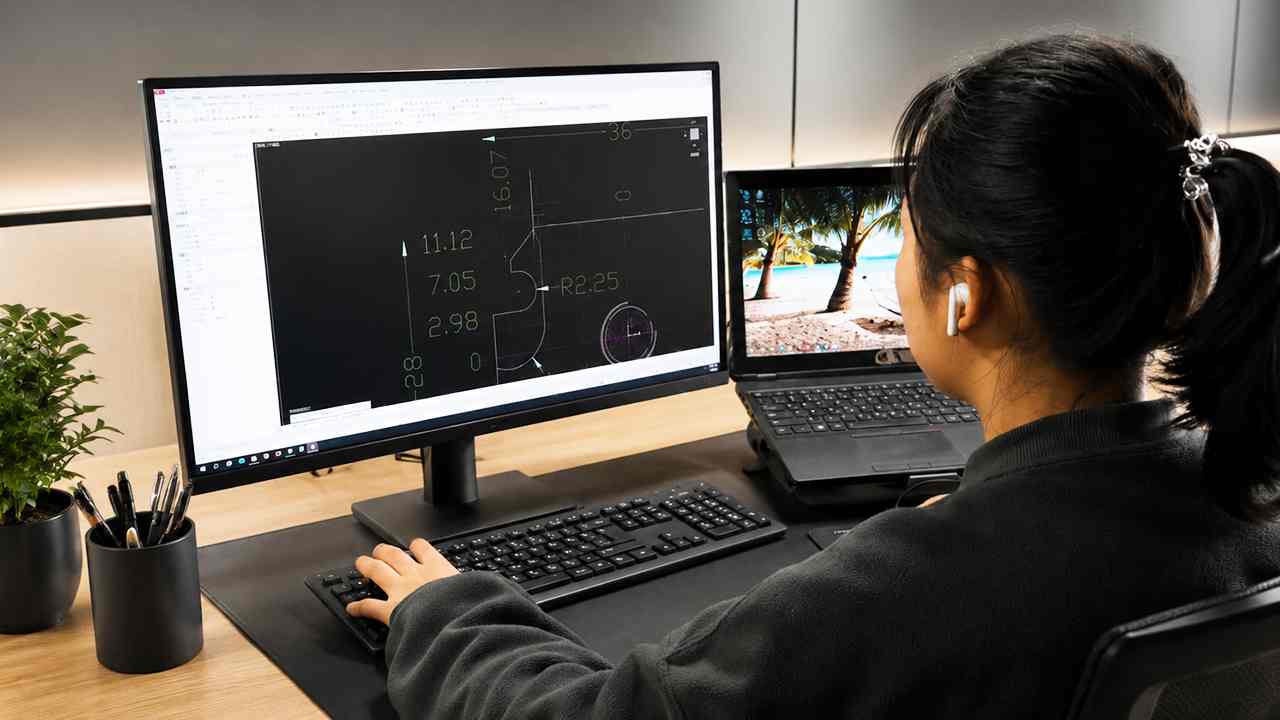
At Dimud, our engineering team works through these tradeoffs with clients during the DFM (Design for Manufacturability) review phase — before any tooling is cut. Catching a material compatibility issue or a bond-area geometry problem at the design stage costs nothing. Catching it after the mold is built is a very different conversation.
How Do You Design an Overmold?
This is the question where theory meets practice — and where most product engineers earn their keep.
Designing for overmolding means engineering two things simultaneously: the substrate and the overmold layer. Key design rules include: ensure mechanical interlocking features (holes, slots, undercuts) in the substrate for stronger adhesion, maintain uniform overmold wall thickness (typically 1.5mm–3mm), choose chemically compatible material pairs, add sufficient draft angles on all surfaces (minimum 3°–5° for overmolds), and avoid sharp transitions between thick and thin sections to prevent sink marks and warpage.
Here’s how to actually approach it.
Start With the Substrate — It’s the Foundation
The substrate is the first-molded part, and its design has to serve two masters at once: it needs to function as a structural component and provide a surface that the overmold material will bond to reliably.
For chemical bonding to work, the substrate material and overmold material must be chemically compatible. But you shouldn’t rely on chemistry alone — especially in high-stress applications. Design the substrate with mechanical interlocking features: through-holes that the overmold can flow through and lock into, undercuts that create a physical key, surface texture that increases the bonding area.
Think of it like how a dental crown bonds to a tooth — surface area and mechanical retention matter as much as the adhesive.
Wall Thickness Is Where Most Overmold Designs Go Wrong
The overmold layer needs consistent wall thickness. If it varies too much, you get differential cooling rates, which lead to sink marks, warpage, and stress concentrations that show up as cracks or delamination over time.
A practical rule: keep the overmold wall thickness between 1.5mm and 3mm for most elastomeric materials. Thinner than 1.5mm and the material won’t fill and bond reliably. Thicker than 3mm and you’re fighting sink marks and extended cycle times.
Where the overmold transitions to the substrate edge — the “parting line” of the overmold — is the most critical surface to detail carefully. You want a clean, positive stop for the overmold material, not a feathered edge that will look inconsistent across production.
Draft Angles Matter More Than You Think
Most experienced injection molding engineers know that you need draft angles for part ejection. With overmolding, draft angles do double duty: they help eject the part and they prevent the overmold layer from tearing during demolding.
A minimum of 3° draft on overmolded surfaces is standard practice. On textured overmold surfaces, increase that to 5°–7° depending on the texture depth. Getting this wrong costs you tooling rework.
Two-Shot Molding vs. Pick-and-Place: The Process Decision Shapes the Design
These are the two main production methods, and they lead to genuinely different design constraints.
In two-shot (2K) molding, the substrate and overmold are produced in the same machine in one automated cycle. The substrate is molded in the first shot, the tool rotates or shifts, and the second material is injected over it in the same clamp. The substrate is still warm when the overmold hits it, which typically produces a stronger chemical bond. Design-wise, this requires a single complex tool that handles both shots — which means the substrate geometry can’t change between shot 1 and shot 2.
In pick-and-place overmolding, the substrate is molded separately (often with a different mold or a different vendor), then physically loaded into the overmold tool. More flexible from a supply chain standpoint, easier to prototype, but cycle times are longer and bond quality depends more heavily on substrate cleanliness and temperature.
If you’re designing for high-volume, consistent quality, two-shot is usually the right call. If you’re developing a new product and need flexibility to iterate on the substrate design, pick-and-place gives you more room to move.
Which Materials Can Be Used for Overmolding?
Material selection is where overmolding design gets genuinely technical — and where working with an experienced manufacturer pays off.
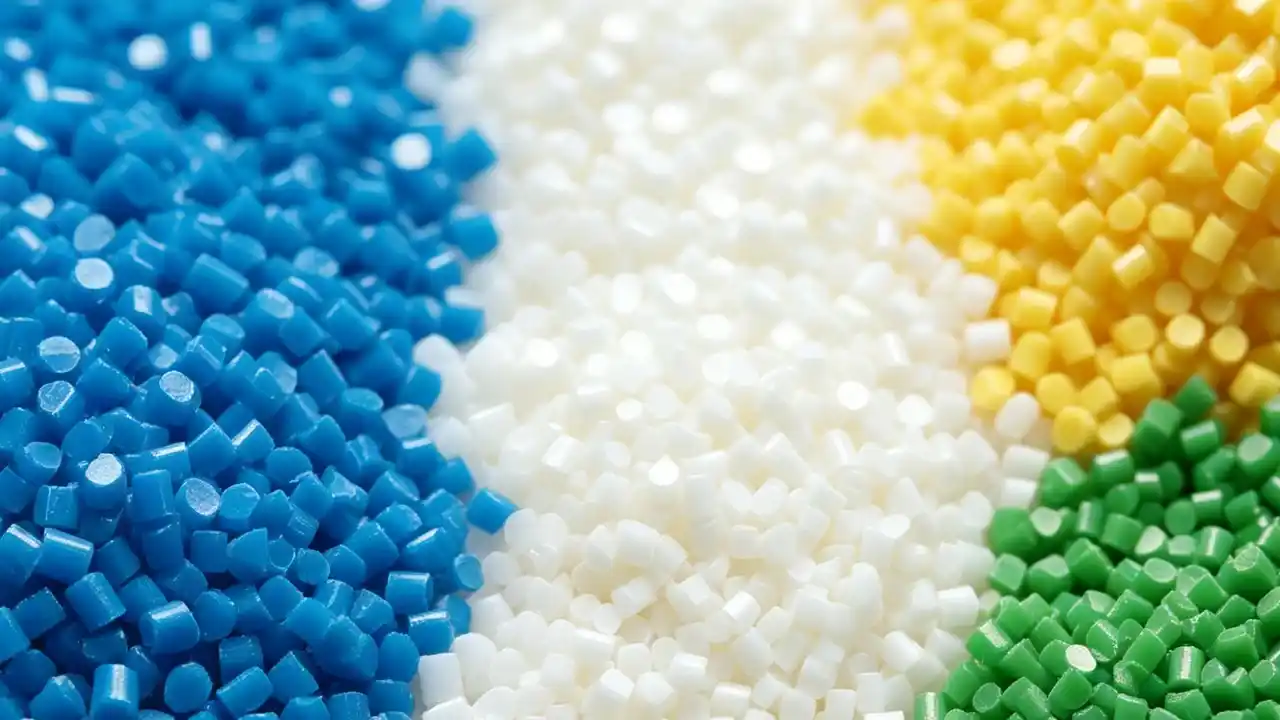
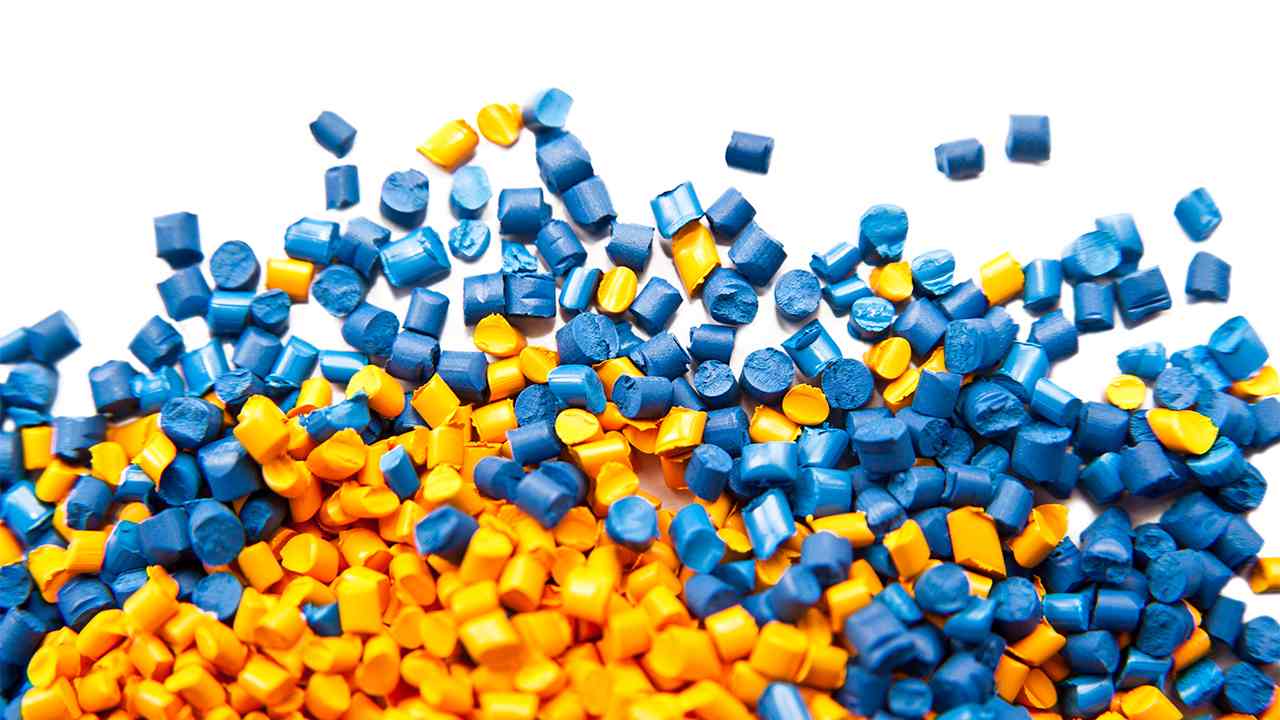
The most commonly used overmold materials are thermoplastic elastomers (TPE), thermoplastic polyurethane (TPU), and silicone rubber. For substrates, common choices include ABS, polycarbonate (PC), nylon (PA), and polypropylene (PP). Material compatibility is essential: the overmold material must bond chemically or mechanically to the substrate. TPE bonds well with PP and PE. TPU bonds well with ABS and PC. Silicone typically requires surface treatment or mechanical interlocking to adhere reliably.
Let’s break this down properly.
Overmold Materials: What They Are and Why It Matters
TPE (Thermoplastic Elastomer) is the workhorse of overmolding. It behaves like rubber but processes like plastic — which means it can be injection molded using standard equipment. It’s flexible, grippy, available in a huge hardness range (Shore A 20 to Shore D 50), and bonds naturally to several common substrate materials. If you need a soft-touch grip layer and you’re working with a polypropylene or polyethylene substrate, TPE is usually your first call.
TPU (Thermoplastic Polyurethane) brings higher abrasion resistance, better chemical resistance, and more durability than standard TPE. It’s the choice for applications that see real wear — phone cases that get dropped repeatedly, footwear components, cable jacketing, medical device grips. It bonds well to ABS and polycarbonate substrates, which makes it a natural partner for consumer electronics enclosures.
Silicone is in a different category. Liquid silicone rubber (LSR) overmolding offers outstanding temperature resistance, biocompatibility (critical for medical applications), and UV stability. The trade-off is process complexity — LSR overmolding requires specialized equipment and often surface treatment or chemical primers to achieve reliable adhesion. It’s not a beginner’s material, but for certain applications, nothing else comes close.
Soft PVC is worth mentioning for cost-sensitive projects. It’s cheaper than TPE and widely used in lower-end consumer goods. Adhesion to rigid PVC substrates is straightforward. The downside is environmental: PVC is increasingly scrutinized in Europe (Jacky’s market), where RoHS and REACH regulations are tightening limits on plasticizers.
Substrate Materials and Their Compatibility
Here’s the practical compatibility overview that most engineers wish they had on a single page:
- PP (Polypropylene) + TPE: Strong chemical bond, excellent compatibility. The most common pairing in consumer products.
- ABS + TPU: Very compatible. Standard for consumer electronics and tool housings.
- PC or PC/ABS blend + TPU or TPE: Good bond, widely used in electronic enclosures and handheld devices.
- Nylon (PA) + TPE or TPU: Compatible, but surface preparation (sometimes drying or priming) is important.
- Metal insert + any thermoplastic: Relies on mechanical interlocking, not chemical adhesion. Design the retention geometry carefully.
One note of caution: published compatibility charts are a starting point, not a guarantee. Material grades vary between suppliers, and processing temperatures, pressures, and cycle times all affect the final bond quality. Prototype testing with real production materials before tooling is always worth the time.
At Dimud, our mold engineers and material specialists work together during the early design phase to recommend material pairings that are both technically sound and commercially viable. It’s the kind of collaboration that prevents expensive surprises downstream.
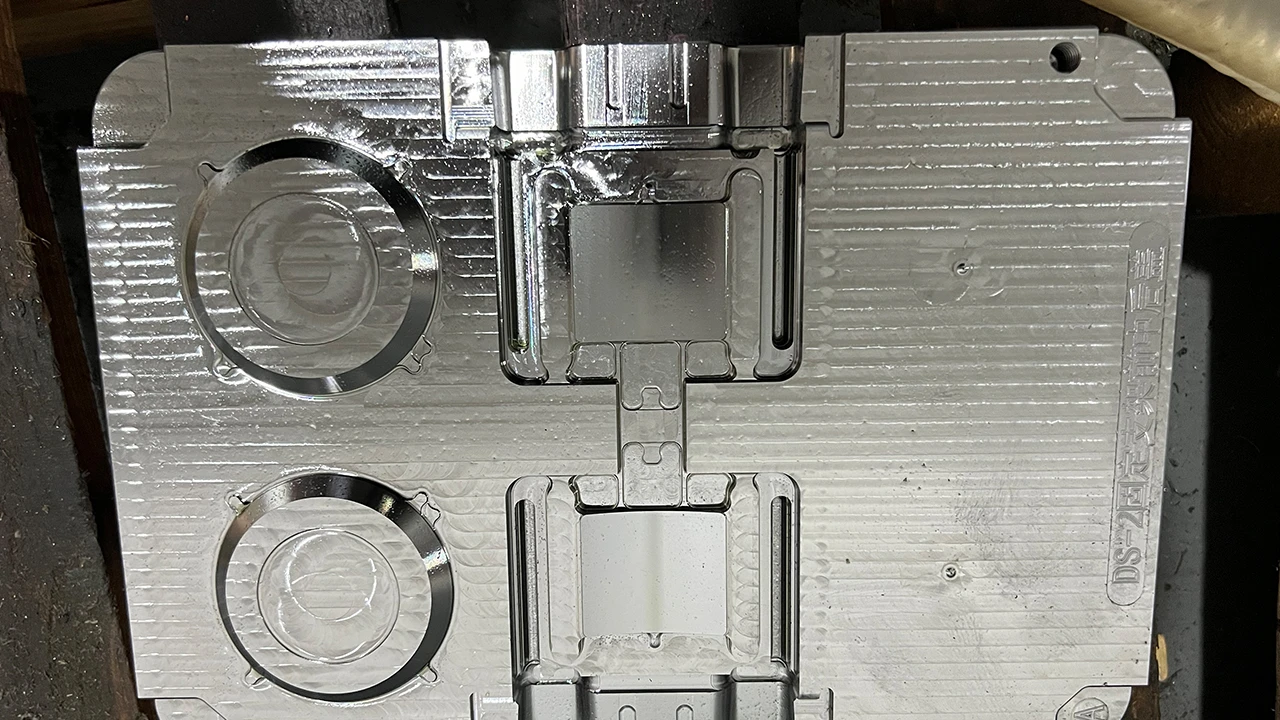
What Is the Difference Between a Mold and an Overmold?
This comes up a lot, especially from clients who are new to injection molding as a process — so let’s be direct about it.
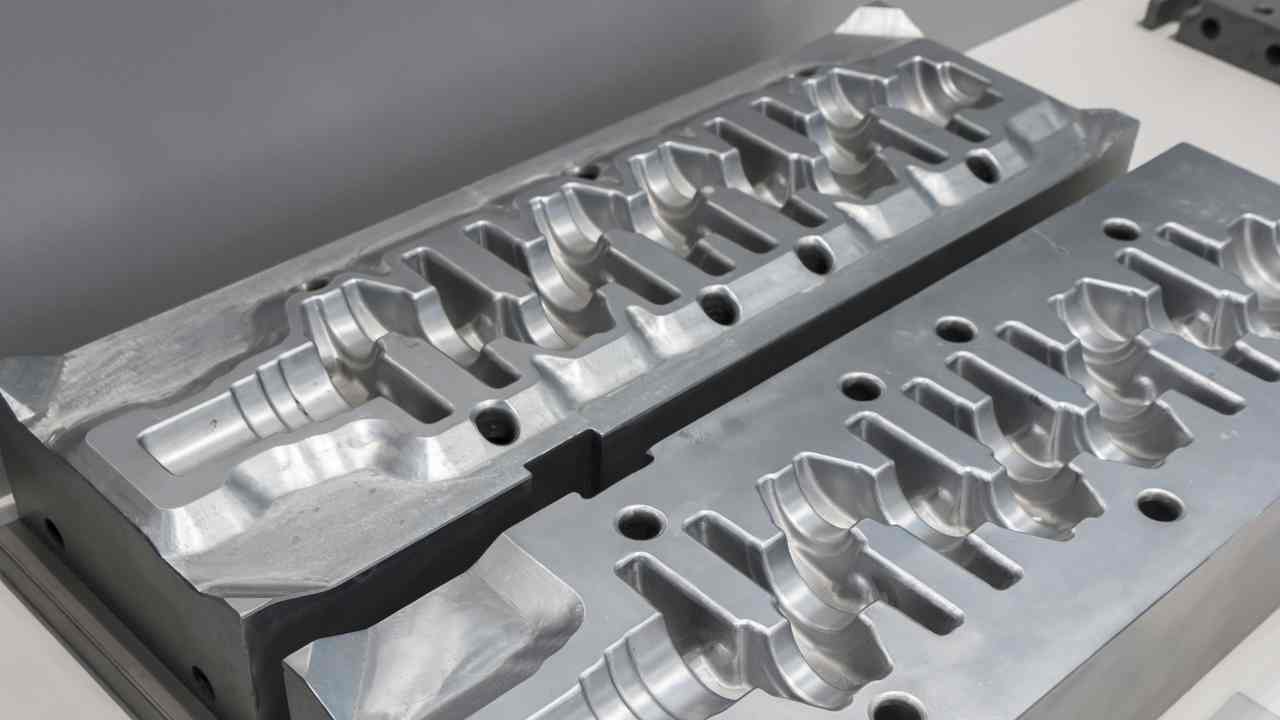
A mold is the tooling used to produce a single-material injection molded part. An overmold (or overmolding tool) is the tooling used to apply a second material layer over an already-molded substrate. In practice, a complete overmolded product typically requires two separate molds (one for the substrate, one for the overmold layer) — or one complex two-shot mold that handles both operations. The term “overmold” is sometimes also used to describe the finished overmolded part itself.
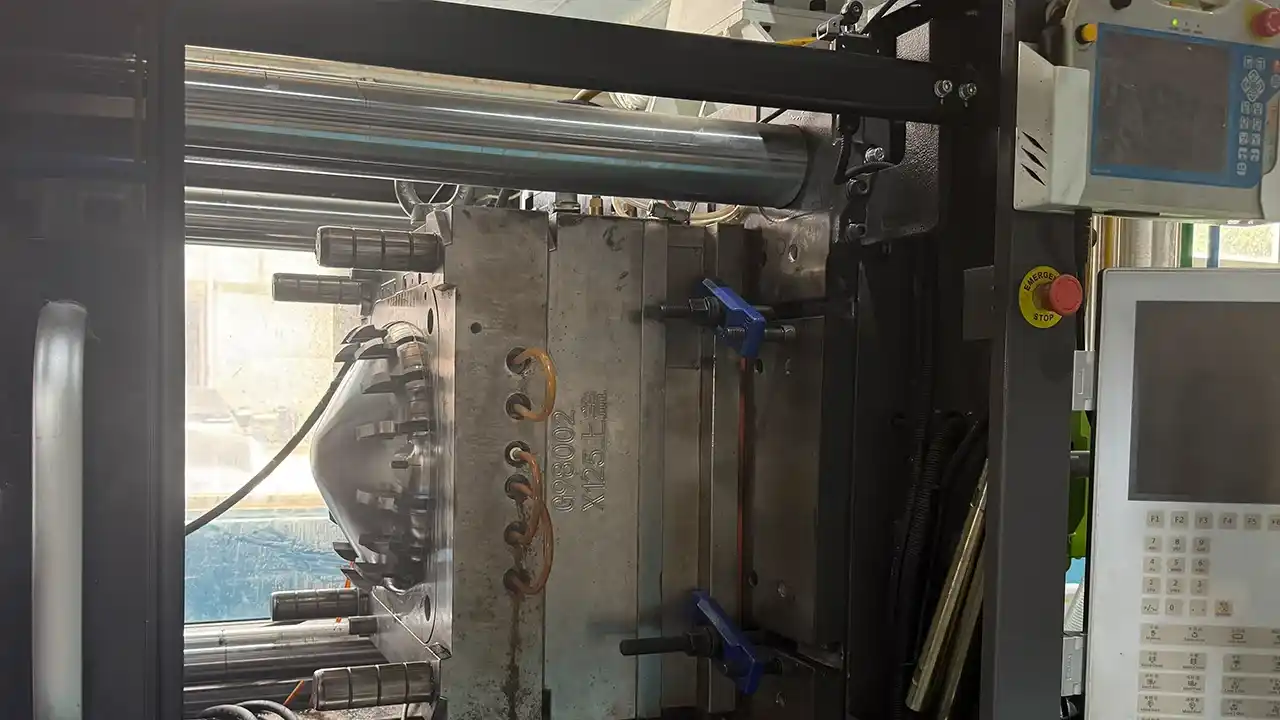
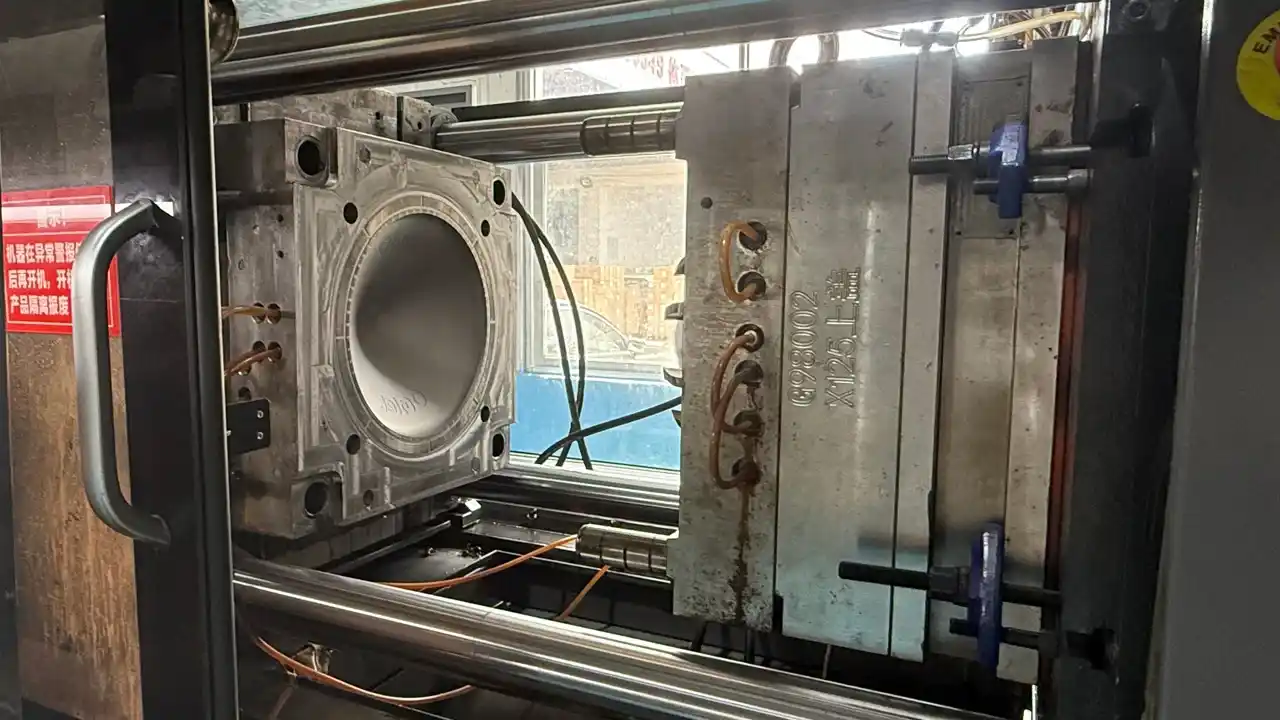
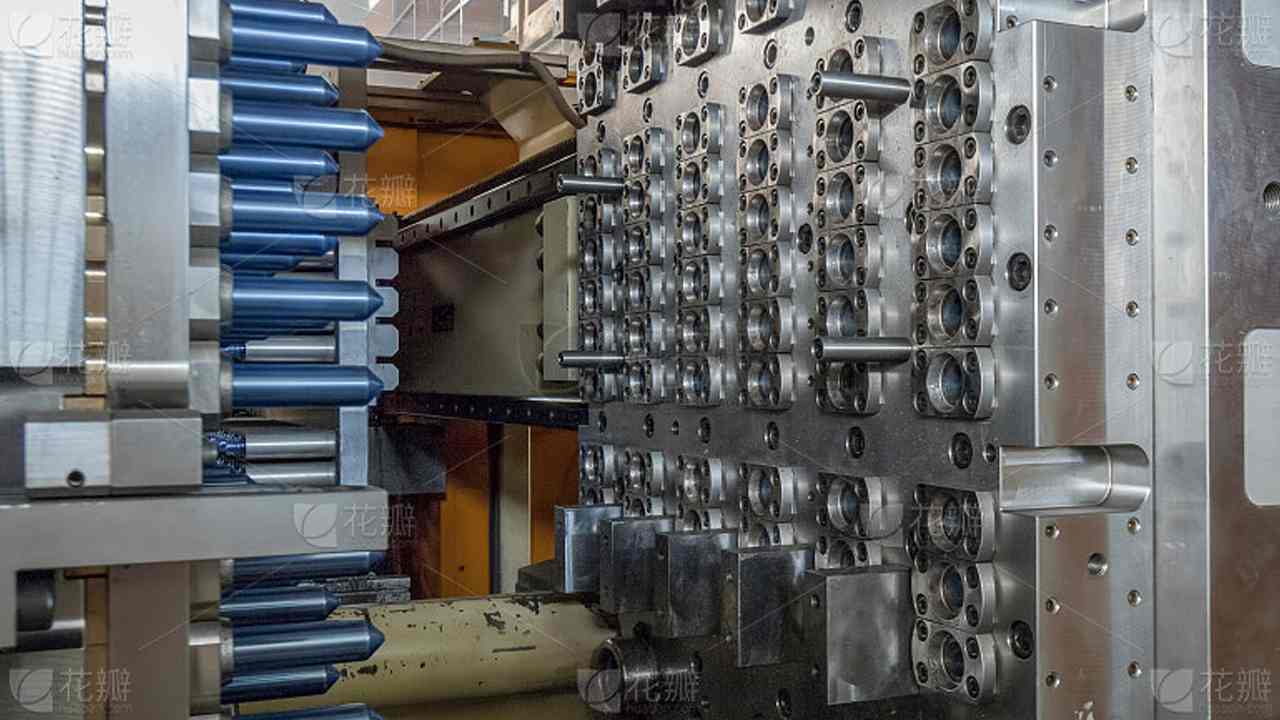
What Makes an Overmold Tool More Complex
A standard injection mold is already a precision engineering achievement — it has to hold tolerances in the tenths of a millimeter, manage cooling uniformly, and survive millions of cycles without degradation. An overmold tool has all of those requirements, plus one more: it has to accommodate the substrate part without damaging it, align it precisely, and create sealed parting surfaces that prevent flash.
In two-shot mold configurations, the tool itself handles both cavities — rotating or indexing between shots. This level of precision demands tighter manufacturing tolerances on the tool itself and more sophisticated process control on the injection molding machine.
The consequence for product engineers is straightforward: overmold tooling takes longer to build, costs more, and requires more detailed mold flow analysis before fabrication begins. For a project at Dimud, we typically conduct full mold flow simulation for overmolding projects as a standard step — it’s how we catch filling, warpage, and bond-line issues before they become physical problems in steel.
When Should Overmolding Be Used?
This is the most important judgment call in the whole process.
Overmolding is the right choice when: your product requires a soft-touch or non-slip surface; you need to combine rigid structural support with flexible, impact-absorbing layers; you want to eliminate secondary assembly steps like gluing or fastening soft components; you need IP-rated sealing integrated into the part geometry; or you want a premium dual-color aesthetic that injection molding alone can’t deliver. It’s generally not the right choice for very low-volume runs where tooling costs outweigh assembly savings.
Signals That Overmolding Is the Right Call
If your product will be held in someone’s hand for extended periods, overmolding is almost always worth serious consideration. Ergonomics aren’t just a comfort feature — they’re a competitive differentiator in consumer products.
If you’re designing a product that needs to seal out moisture, dust, or contaminants at a seam or connector, and you’re currently planning a separate gasket or sealant process — overmolding that seal directly into the part is cleaner, more reliable, and usually cheaper at scale.
If your current design requires assembling a rubber grip or soft-touch insert as a separate step — with all the alignment, adhesive, and quality control headaches that involves — overmolding replaces that process with a single production step.
If your product competes in a market where tactile feel and perceived quality matter (consumer electronics, sporting goods, medical devices, premium hand tools), the investment in overmolding tooling almost always pays back in brand perception.
When to Think Twice
Overmolding is harder to justify when production volumes are low. The tooling investment is real, and if you’re only making a few hundred parts, the cost-per-part math often doesn’t work. For small runs, a secondary bonding or assembly process may be more economical.
It’s also worth stepping back if your design is still in flux. Overmold tools are expensive to revise — especially two-shot tools where the substrate geometry and the overmold cavity are engineered as a system. If you haven’t locked down your substrate design, get there before you commit to overmold tooling.
And if material compatibility is unresolved — if you haven’t prototyped and tested the actual bond between your substrate and overmold materials — don’t build production tooling until you have. Bond failure in the field is far more expensive than a prototype test.
Is Overmolding the Same as Two-Shot Molding?
There’s a lot of terminology confusion in this space, so let’s clear it up.
Overmolding is the broader category — it describes any process where a second material is molded over a substrate. Two-shot molding (also called 2K molding or double-shot molding) is a specific method of overmolding where both shots are produced in the same mold and machine in a single automated cycle. Insert molding is another method, where a pre-formed insert (often metal) is placed in the mold cavity before injection. All two-shot molding is overmolding, but not all overmolding is two-shot molding.
The Practical Difference
Think of it like this: overmolding is the goal (two materials, one part). Two-shot molding and insert molding are two different roads to that goal.
Two-shot molding is automated, fast at scale, and produces consistent bond quality because the substrate is still warm when the second shot hits it. The tooling is more complex and more expensive, but for high-volume production the math usually works in its favor.
Insert molding — where a metal component, an electrical contact, or another pre-formed insert is placed into the mold before plastic is injected around it — is technically a form of overmolding. It’s commonly used in medical devices, electrical connectors, and automotive components where metal-to-plastic integration is required.
Pick-and-place overmolding is the traditional approach: mold the substrate in one tool, load it into the overmold tool manually or robotically, inject the second material. More flexible for development and lower volumes, but slower and more labor-dependent at scale.
Understanding which method is right for your project is something we work through with clients at Dimud during the quoting and DFM phase — because the method choice affects not just the tooling design, but the production economics at every volume level.
What Industries Use Overmolding Most?
The industries that rely most heavily on overmolding include consumer electronics (phone cases, wearables, handheld devices), medical devices (surgical instruments, diagnostic equipment), automotive (control panels, steering components, interior trim), hand tools and power tools, and sporting goods. In each case, the value driver is the same: combining a rigid structural core with a functional soft layer — for grip, protection, sealing, or aesthetics — without secondary assembly.
In consumer electronics, overmolding has become essentially standard for any device meant to be held. The combination of PC or ABS substrate with TPU overmold gives you drop protection, a premium in-hand feel, and clean aesthetics — all in one production step.
In medical devices, the requirements are more demanding. Biocompatibility, sterilizability, and dimensional precision all constrain material choices. LSR overmolding is common in this space, as is TPE with FDA-compliant grades.
In automotive, NVH (noise, vibration, and harshness) is the primary driver. Overmolded components in the interior and under-hood absorb vibration, reduce noise transmission, and improve the tactile quality of touch points that users interact with every day.
In hand tools — one of the most mature application areas for overmolding — the grip performance is literally the product’s marketing promise. The ergonomics study comes before the design. The overmold material and geometry are engineered to reduce fatigue, improve control, and withstand years of daily use.
If you’re working on a product in any of these categories and wondering whether overmolding belongs in your manufacturing plan, we’d be glad to walk through it. Reach out to the Dimud team — we do this kind of early-stage engineering consultation regularly, and we’re excited to share what we’ve learned from the projects we’ve worked on.
Conclusion
Overmolding isn’t complicated once you understand the logic behind it: combine two materials strategically, and you get a product that’s stronger, more comfortable, better sealed, and more appealing than anything you could build from a single material. The engineering challenge lies in material compatibility, mold design, and process control — which is precisely where experience pays off.
Whether you’re designing your first overmolded product or trying to solve a bond-quality issue on a tooling revision, the fundamentals here give you a solid foundation. And when you’re ready to move from design to production, Dimud’s integrated manufacturing capabilities — spanning mold design, DFM analysis, and full-scale production — are built for exactly this kind of work.