
Mais qu'est-ce que le surmoulage exactement, et comment ce procédé fonctionne-t-il ?
Dans ce guide, nous aborderons les principes fondamentaux du surmoulage, notamment le processus de fabrication, le choix des matériaux, les principaux critères de conception, les applications courantes, ainsi que les avantages et les limites de cette technique de moulage. Que vous développiez un nouveau produit ou que vous recherchiez un moyen d'améliorer la fonctionnalité d'une pièce et l'expérience utilisateur, comprendre le surmoulage peut vous aider à prendre des décisions de fabrication plus éclairées.
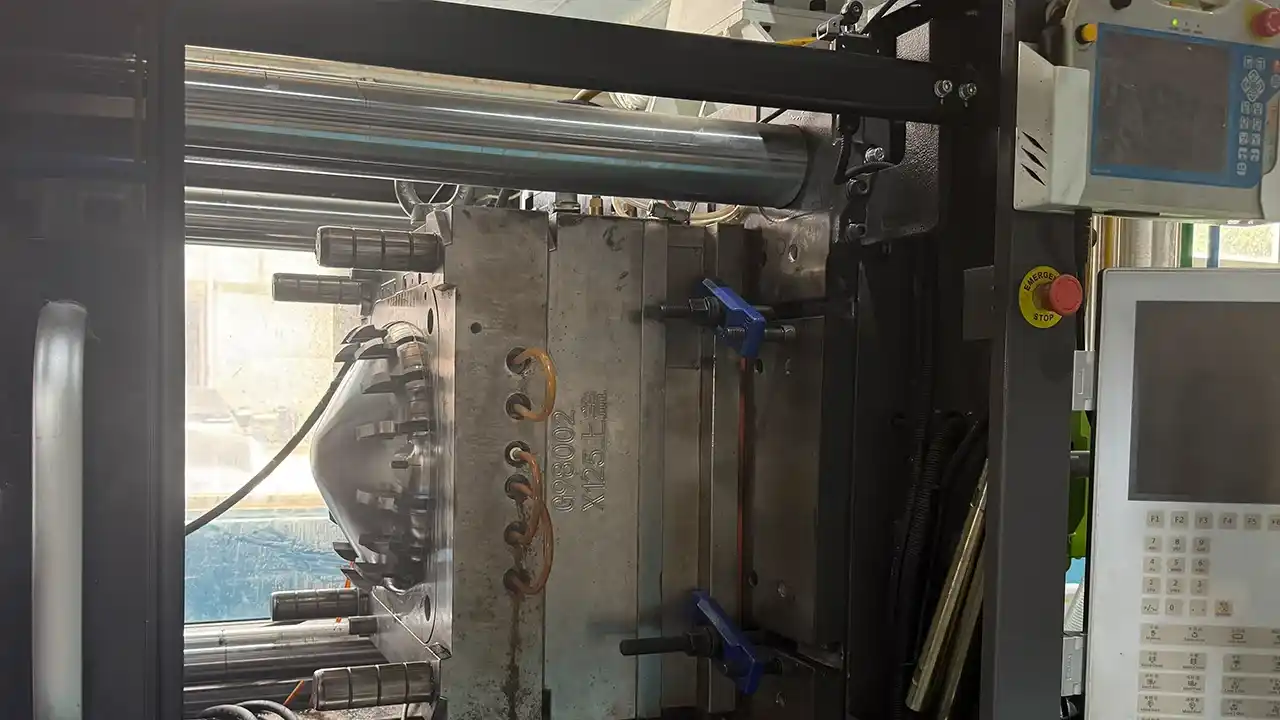
Le surmoulage est un procédé de moulage par injection dans lequel un deuxième matériau (généralement un polymère souple tel que le TPE ou le TPU) est moulé directement sur une première pièce déjà formée, appelée « substrat ». On obtient ainsi un composant unique et intégré, constitué de deux matériaux ou plus, sans colle, sans fixations et sans assemblage secondaire. Cette technique est largement utilisée pour associer une base structurelle rigide à une couche externe plus souple, ce qui permet d'améliorer la prise en main, l'esthétique, la protection et les performances globales du produit en une seule étape de production.
Et dès qu'on comprend ce que le surmoulage peut réellement apporter à un produit, on commence à le voir partout.
Quels sont les avantages et les inconvénients du surmoulage ?
Avant de se lancer dans le surmoulage, la plupart des ingénieurs ont tous le même souhait : avoir une vision claire de ce qui les attend.
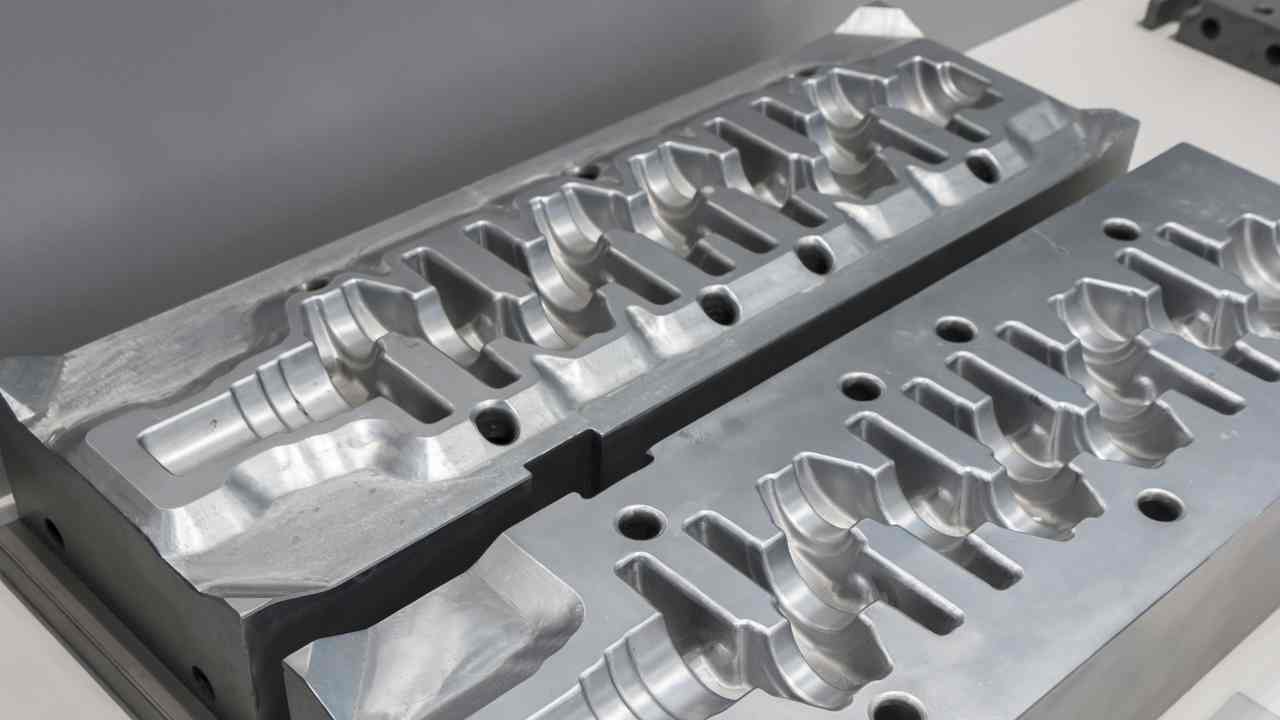
Les principaux avantages du surmoulage sont les suivants : une ergonomie et une prise en main améliorées, une meilleure absorption des vibrations ou des chocs, une esthétique du produit rehaussée grâce à des designs multicolores, une réduction des étapes d’assemblage et des coûts de main-d’œuvre, ainsi qu’une meilleure étanchéité contre l’humidité ou la poussière. Ses principaux inconvénients sont les suivants : des coûts d'outillage plus élevés par rapport au moulage mono-matériau, des exigences plus strictes en matière de compatibilité des matériaux, des temps de cycle plus longs, une conception des moules plus complexe, ainsi qu'une recyclabilité limitée en raison de la composition mixte des matériaux.
Ce n'est pas la solution miracle. Mais pour certaines applications, ça s'en rapproche.
Les avantages sont bien réels — et ils s'accumulent
Commençons par voir ce que le surmoulage vous apporte concrètement dans le cadre de la conception d'un produit.
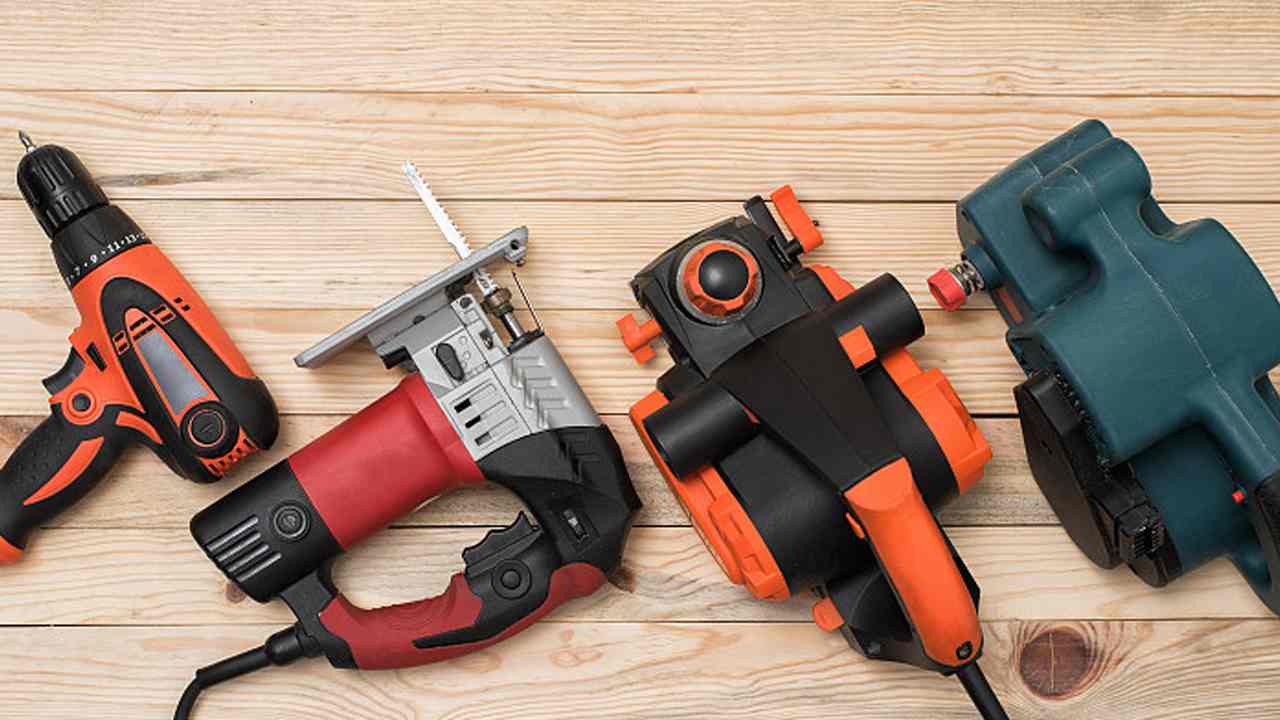
Ergonomie. C’est là que le surmoulage prend tout son sens. En liant une couche d’élastomère au toucher doux directement sur un substrat rigide en plastique ou en métal, on crée une poignée, une prise ou une surface véritablement agréable à tenir — non seulement douce au toucher, mais aussi intégrée sur le plan structurel. Pensez aux perceuses sans fil, aux instruments chirurgicaux ou aux équipements sportifs. Ce toucher caoutchouté n’est pas le résultat d’un manchon en caoutchouc simplement collé. Il s’agit d’une liaison au niveau moléculaire.
Amortissement des vibrations et des chocs. Dans les produits soumis à des contraintes mécaniques répétées — outils électriques portatifs, poignées d'équipements, composants automobiles —, la couche de surmoulage souple absorbe et disperse l'énergie qui, sans cela, se répercuterait directement dans la main de l'utilisateur ou sur les composants internes du produit.
Étanchéité et isolation contre les intempéries. Lorsque l'on réalise un surmoulage autour d'un joint, d'une jonction ou d'un connecteur, on crée en fait un joint d'étanchéité sans avoir recours à un joint séparé. Cette technique est très répandue dans le domaine des équipements de plein air, des dispositifs médicaux et de l'électronique grand public, où les indices de protection IP revêtent une grande importance.
Esthétique et image de marque. Le surmoulage permet d’introduire une deuxième couleur, une deuxième texture et un toucher de surface que le moulage par injection standard ne peut tout simplement pas obtenir en une seule opération. Un produit bicolore doté d’un panneau de préhension en caoutchouc souple n’a pas seulement un aspect haut de gamme — il ressent haut de gamme. Cette perception a son importance dans le commerce de détail.
Supprimer certaines étapes d'assemblage. Chaque fixation que vous retirez, chaque processus de collage que vous éliminez, chaque assemblage par emboîtement dont vous n’avez plus à vous soucier : tout cela se traduit par de réelles économies de temps, de main-d’œuvre et de risques de défaillance. Le surmoulage permet de regrouper plusieurs pièces en un seul composant intégré.
Les inconvénients à prendre au sérieux
C'est le coût plus élevé de l'outillage qui se fait sentir en premier lieu. Étant donné que le surmoulage nécessite généralement soit un deuxième moule (dans le cas du surmoulage « pick-and-place »), soit un moule à deux injections plus complexe, l'investissement initial est nettement plus élevé que pour l'outillage destiné à un seul matériau. Pour les projets à faible volume, le calcul du coût par pièce peut s'avérer très lourd.
La compatibilité des matériaux constitue l’autre défi technique majeur. Toutes les combinaisons de plastiques ne s’assemblent pas bien. Si votre substrat est en polypropylène et que vous souhaitez le surmouler avec du TPE, la compatibilité chimique doit être assurée ; dans le cas contraire, vous obtiendrez un délaminage, ce qui correspond exactement au type de défaut de qualité qui apparaît sur le terrain plutôt qu'en usine.
L'allongement des temps de cycle est également une réalité. Le moulage en deux étapes allonge la durée du processus. Le surmoulage par « pick-and-place » ajoute une étape de manutention manuelle ou robotisée. Aucune de ces deux opérations n'est gratuite.
La liberté de conception a toutefois ses limites. La géométrie de la pièce surmoulée doit permettre au deuxième matériau de s'écouler, de remplir l'espace et de se lier correctement. Cela limite certains choix de conception qui seraient simples à réaliser dans le cadre d'un moulage à matériau unique.
À Dimud, notre équipe d'ingénieurs examine ces compromis avec les clients lors de la phase de révision DFM (Design for Manufacturability, ou conception en vue de la fabricabilité) — avant même que les outils ne soient usinés. Détecter un problème de compatibilité des matériaux ou un problème de géométrie de la zone de collage dès la phase de conception ne coûte rien. Le détecter une fois le moule fabriqué, c'est une tout autre histoire.
Comment concevoir un surmoulage ?
C'est là que la théorie rencontre la pratique — et que la plupart des ingénieurs produit font leurs preuves.
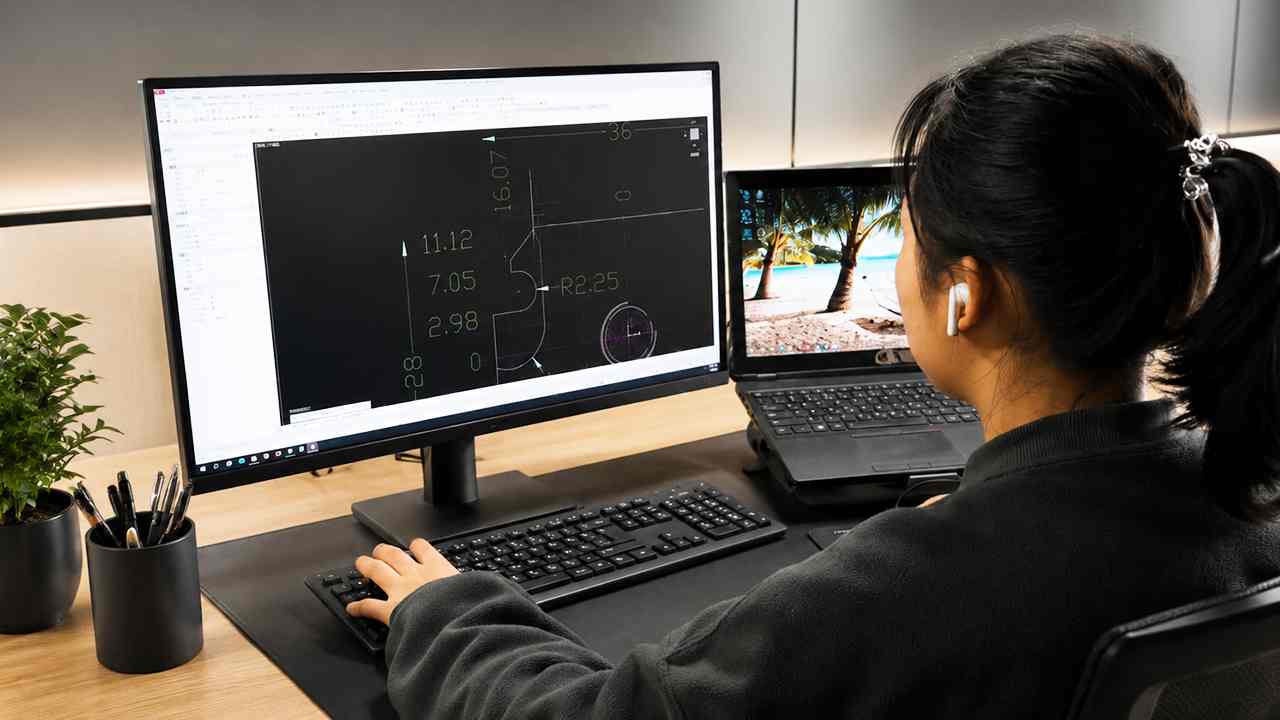
La conception pour le surmoulage implique de travailler simultanément sur deux éléments : le substrat et la couche de surmoulage. Parmi les règles de conception essentielles, on peut citer : veiller à intégrer des éléments d’interverrouillage mécanique (trous, fentes, contre-dépouilles) dans le substrat pour une meilleure adhérence, maintenir une épaisseur de paroi de surmoulage uniforme (généralement comprise entre 1,5 mm et 3 mm), choisir des combinaisons de matériaux chimiquement compatibles, prévoir des angles de dépouille suffisants sur toutes les surfaces (minimum 3° à 5° pour les surmoulages) et éviter les transitions brusques entre les sections épaisses et minces afin de prévenir les marques d'affaissement et le gauchissement.
Voici comment s'y prendre concrètement.
Commencez par le substrat : c’est la base
Le substrat est la première pièce moulée, et sa conception doit répondre à deux exigences à la fois : il doit servir de composant structurel et offrir une surface sur laquelle le matériau de surmoulage pourra adhérer de manière fiable.
Pour que la liaison chimique fonctionne, le matériau du substrat et celui du surmoulage doivent être chimiquement compatibles. Mais il ne faut pas se fier uniquement à la chimie, surtout dans les applications soumises à des contraintes élevées. Concevez le substrat avec des éléments d'interverrouillage mécaniques : des trous traversants dans lesquels le surmoulage peut s'écouler et se verrouiller, des contre-dépouilles créant une clavette physique, ainsi qu'une texture de surface augmentant la surface de liaison.
C'est un peu comme la façon dont une couronne dentaire adhère à une dent : la surface de contact et la rétention mécanique sont tout aussi importantes que l'adhésif.
C'est au niveau de l'épaisseur des parois que la plupart des conceptions de surmoulage présentent des défauts
La couche de surmoulage doit présenter une épaisseur de paroi homogène. Si celle-ci varie trop, cela entraîne des vitesses de refroidissement inégales, ce qui provoque des creux de moulage, un gauchissement et des concentrations de contraintes qui se traduisent, à terme, par des fissures ou un délaminage.
Règle pratique : maintenez l'épaisseur de la paroi du surmoulage entre 1,5 mm et 3 mm pour la plupart des matériaux élastomères. Si l'épaisseur est inférieure à 1,5 mm, le matériau ne se répartira pas correctement et n'adhérera pas de manière fiable. Si elle est supérieure à 3 mm, vous devrez faire face à des marques d'affaissement et à des temps de cycle prolongés.
L'endroit où le surmoulage rejoint le bord du substrat — la “ ligne de joint ” du surmoulage — est la surface la plus critique à traiter avec le plus grand soin. Il faut obtenir une limite nette et bien définie pour le matériau de surmoulage, et non un bord estompé qui donnerait un aspect irrégulier tout au long de la production.
Les angles de tir comptent plus que vous ne le pensez
La plupart des ingénieurs expérimentés en moulage par injection savent que les angles de dépouille sont indispensables à l'éjection de la pièce. Dans le cas du surmoulage, les angles de dépouille remplissent une double fonction : ils facilitent l'éjection de la pièce et empêchent la couche de surmoulage de se déchirer lors du démoulage.
Un angle de dépouille d'au moins 3° sur les surfaces surmoulées est la norme. Sur les surfaces surmoulées texturées, il convient d'augmenter cet angle à 5°–7° en fonction de la profondeur de la texture. Une erreur à ce niveau vous obligera à refaire l'outillage.
Moulage en deux étapes ou « pick-and-place » : le choix du procédé détermine la conception
Ce sont là les deux principales méthodes de production, qui entraînent des contraintes de conception réellement différentes.
Dans moulage en deux étapes (2K), the substrate and overmold are produced in the same machine in one automated cycle. The substrate is molded in the first shot, the tool rotates or shifts, and the second material is injected over it in the same clamp. The substrate is still warm when the overmold hits it, which typically produces a stronger chemical bond. Design-wise, this requires a single complex tool that handles both shots — which means the substrate geometry can’t change between shot 1 and shot 2.
Dans pick-and-place overmolding, the substrate is molded separately (often with a different mold or a different vendor), then physically loaded into the overmold tool. More flexible from a supply chain standpoint, easier to prototype, but cycle times are longer and bond quality depends more heavily on substrate cleanliness and temperature.
If you’re designing for high-volume, consistent quality, two-shot is usually the right call. If you’re developing a new product and need flexibility to iterate on the substrate design, pick-and-place gives you more room to move.
Which Materials Can Be Used for Overmolding?
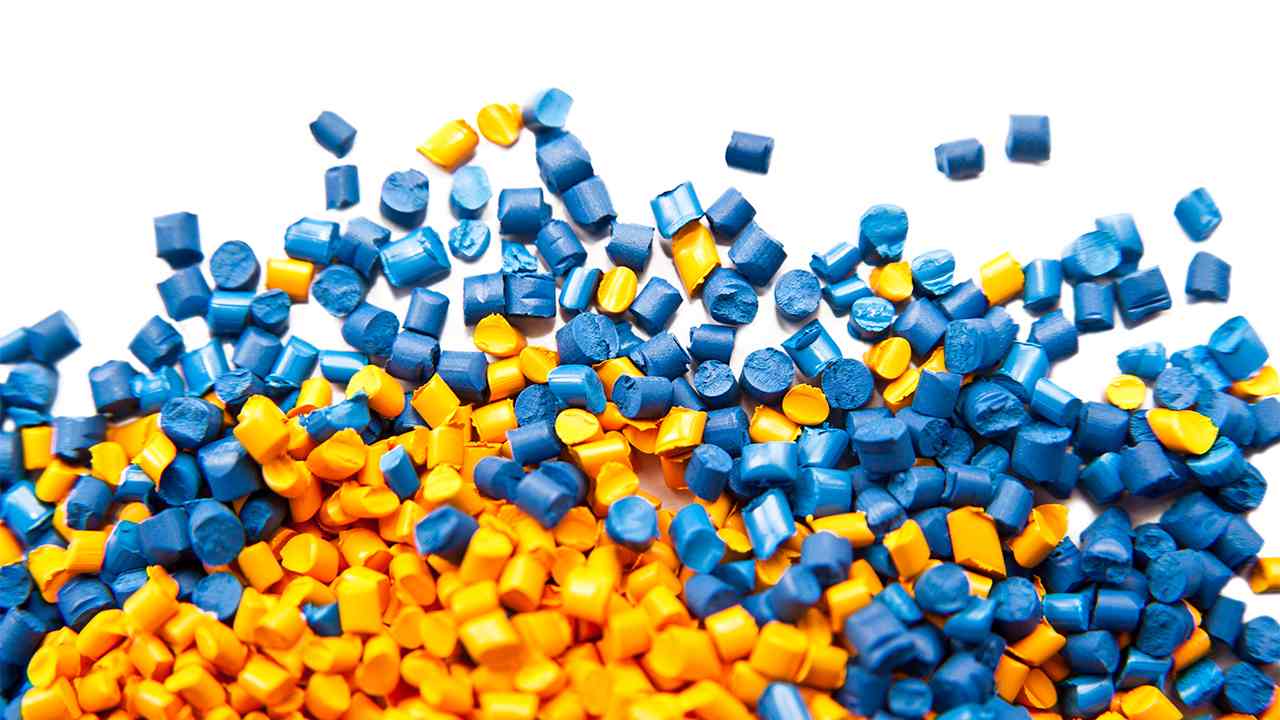
Material selection is where overmolding design gets genuinely technical — and where working with an experienced manufacturer pays off.
The most commonly used overmold materials are thermoplastic elastomers (TPE), thermoplastic polyurethane (TPU), and silicone rubber. For substrates, common choices include ABS, polycarbonate (PC), nylon (PA), and polypropylene (PP). Material compatibility is essential: the overmold material must bond chemically or mechanically to the substrate. TPE bonds well with PP and PE. TPU bonds well with ABS and PC. Silicone typically requires surface treatment or mechanical interlocking to adhere reliably.
Let’s break this down properly.
Overmold Materials: What They Are and Why It Matters
TPE (Thermoplastic Elastomer) is the workhorse of overmolding. It behaves like rubber but processes like plastic — which means it can be injection molded using standard equipment. It’s flexible, grippy, available in a huge hardness range (Shore A 20 to Shore D 50), and bonds naturally to several common substrate materials. If you need a soft-touch grip layer and you’re working with a polypropylene or polyethylene substrate, TPE is usually your first call.
TPU (polyuréthane thermoplastique) brings higher abrasion resistance, better chemical resistance, and more durability than standard TPE. It’s the choice for applications that see real wear — phone cases that get dropped repeatedly, footwear components, cable jacketing, medical device grips. It bonds well to ABS and polycarbonate substrates, which makes it a natural partner for consumer electronics enclosures.
Silicone is in a different category. Liquid silicone rubber (LSR) overmolding offers outstanding temperature resistance, biocompatibility (critical for medical applications), and UV stability. The trade-off is process complexity — LSR overmolding requires specialized equipment and often surface treatment or chemical primers to achieve reliable adhesion. It’s not a beginner’s material, but for certain applications, nothing else comes close.
Soft PVC is worth mentioning for cost-sensitive projects. It’s cheaper than TPE and widely used in lower-end consumer goods. Adhesion to rigid PVC substrates is straightforward. The downside is environmental: PVC is increasingly scrutinized in Europe (Jacky’s market), where RoHS and REACH regulations are tightening limits on plasticizers.
Substrate Materials and Their Compatibility
Here’s the practical compatibility overview that most engineers wish they had on a single page:
- PP (Polypropylene) + TPE: Strong chemical bond, excellent compatibility. The most common pairing in consumer products.
- ABS + TPU: Very compatible. Standard for consumer electronics and tool housings.
- PC or PC/ABS blend + TPU or TPE: Good bond, widely used in electronic enclosures and handheld devices.
- Nylon (PA) + TPE or TPU: Compatible, but surface preparation (sometimes drying or priming) is important.
- Metal insert + any thermoplastic: Relies on mechanical interlocking, not chemical adhesion. Design the retention geometry carefully.
One note of caution: published compatibility charts are a starting point, not a guarantee. Material grades vary between suppliers, and processing temperatures, pressures, and cycle times all affect the final bond quality. Prototype testing with real production materials before tooling is always worth the time.
At Dimud, our mold engineers and material specialists work together during the early design phase to recommend material pairings that are both technically sound and commercially viable. It’s the kind of collaboration that prevents expensive surprises downstream.
What Is the Difference Between a Mold and an Overmold?
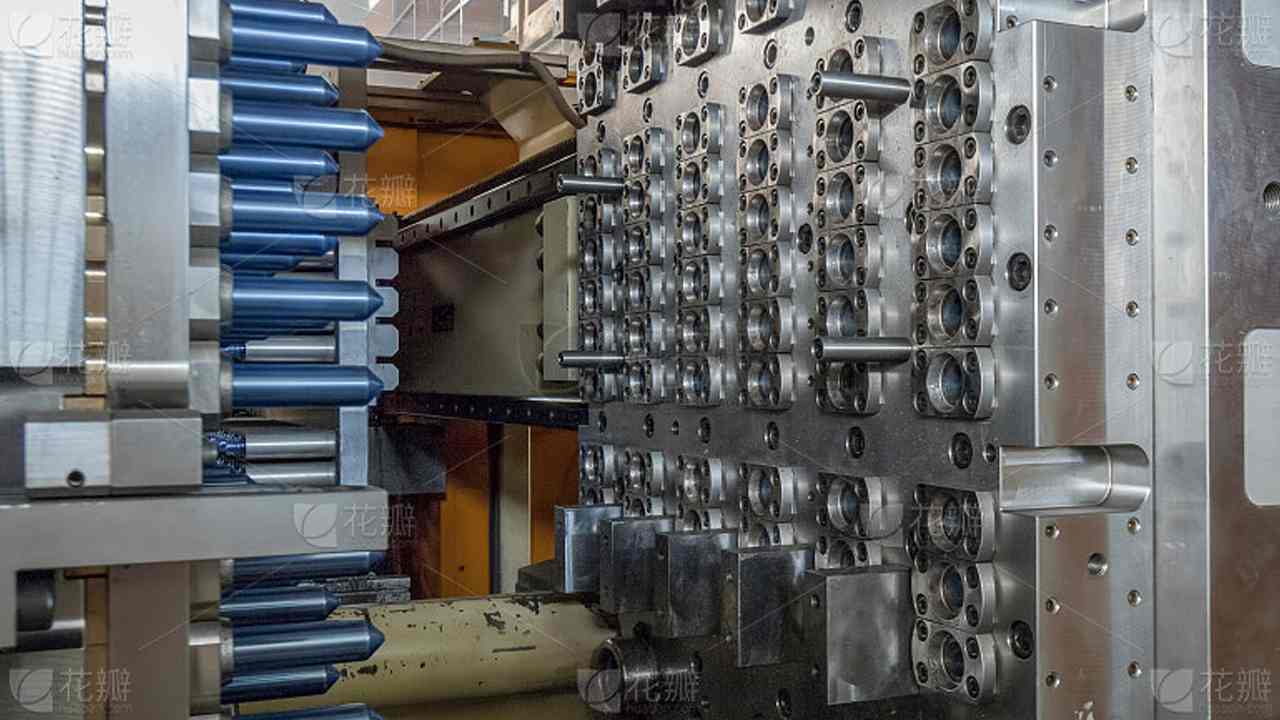
This comes up a lot, especially from clients who are new to moulage par injection as a process — so let’s be direct about it.
A mold is the tooling used to produce a single-material injection molded part. An overmold (or overmolding tool) is the tooling used to apply a second material layer over an already-molded substrate. In practice, a complete overmolded product typically requires two separate molds (one for the substrate, one for the overmold layer) — or one complex two-shot mold that handles both operations. The term “overmold” is sometimes also used to describe the finished overmolded part itself.
What Makes an Overmold Tool More Complex
A standard injection mold is already a precision engineering achievement — it has to hold tolerances in the tenths of a millimeter, manage cooling uniformly, and survive millions of cycles without degradation. An overmold tool has all of those requirements, plus one more: it has to accommodate the substrate part without damaging it, align it precisely, and create sealed parting surfaces that prevent flash.
In two-shot mold configurations, the tool itself handles both cavities — rotating or indexing between shots. This level of precision demands tighter manufacturing tolerances on the tool itself and more sophisticated process control on the injection molding machine.
The consequence for product engineers is straightforward: overmold tooling takes longer to build, costs more, and requires more detailed mold flow analysis before fabrication begins. For a project at Dimud, we typically conduct full mold flow simulation for surmoulage projects as a standard step — it’s how we catch filling, warpage, and bond-line issues before they become physical problems in steel.
When Should Overmolding Be Used?
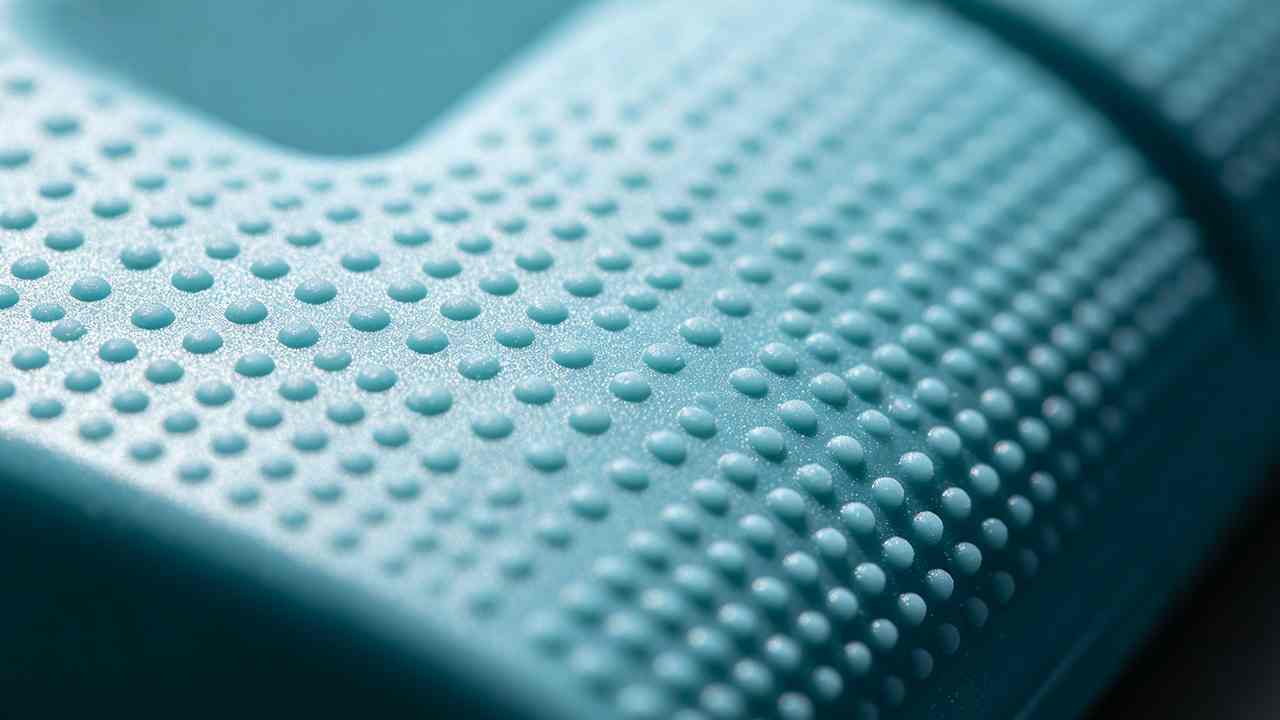
This is the most important judgment call in the whole process.
Overmolding is the right choice when: your product requires a soft-touch or non-slip surface; you need to combine rigid structural support with flexible, impact-absorbing layers; you want to eliminate secondary assembly steps like gluing or fastening soft components; you need IP-rated sealing integrated into the part geometry; or you want a premium dual-color aesthetic that injection molding alone can’t deliver. It’s generally pas the right choice for very low-volume runs where tooling costs outweigh assembly savings.
Signals That Overmolding Is the Right Call
If your product will be held in someone’s hand for extended periods, overmolding is almost always worth serious consideration. Ergonomics aren’t just a comfort feature — they’re a competitive differentiator in consumer products.
If you’re designing a product that needs to seal out moisture, dust, or contaminants at a seam or connector, and you’re currently planning a separate gasket or sealant process — overmolding that seal directly into the part is cleaner, more reliable, and usually cheaper at scale.
If your current design requires assembling a rubber grip or soft-touch insert as a separate step — with all the alignment, adhesive, and quality control headaches that involves — overmolding replaces that process with a single production step.
If your product competes in a market where tactile feel and perceived quality matter (consumer electronics, sporting goods, medical devices, premium hand tools), the investment in overmolding tooling almost always pays back in brand perception.
When to Think Twice
Overmolding is harder to justify when production volumes are low. The tooling investment is real, and if you’re only making a few hundred parts, the cost-per-part math often doesn’t work. For small runs, a secondary bonding or assembly process may be more economical.
It’s also worth stepping back if your design is still in flux. Overmold tools are expensive to revise — especially two-shot tools where the substrate geometry and the overmold cavity are engineered as a system. If you haven’t locked down your substrate design, get there before you commit to overmold tooling.
And if material compatibility is unresolved — if you haven’t prototyped and tested the actual bond between your substrate and overmold materials — don’t build production tooling until you have. Bond failure in the field is far more expensive than a prototype test.
Is Overmolding the Same as Two-Shot Molding?
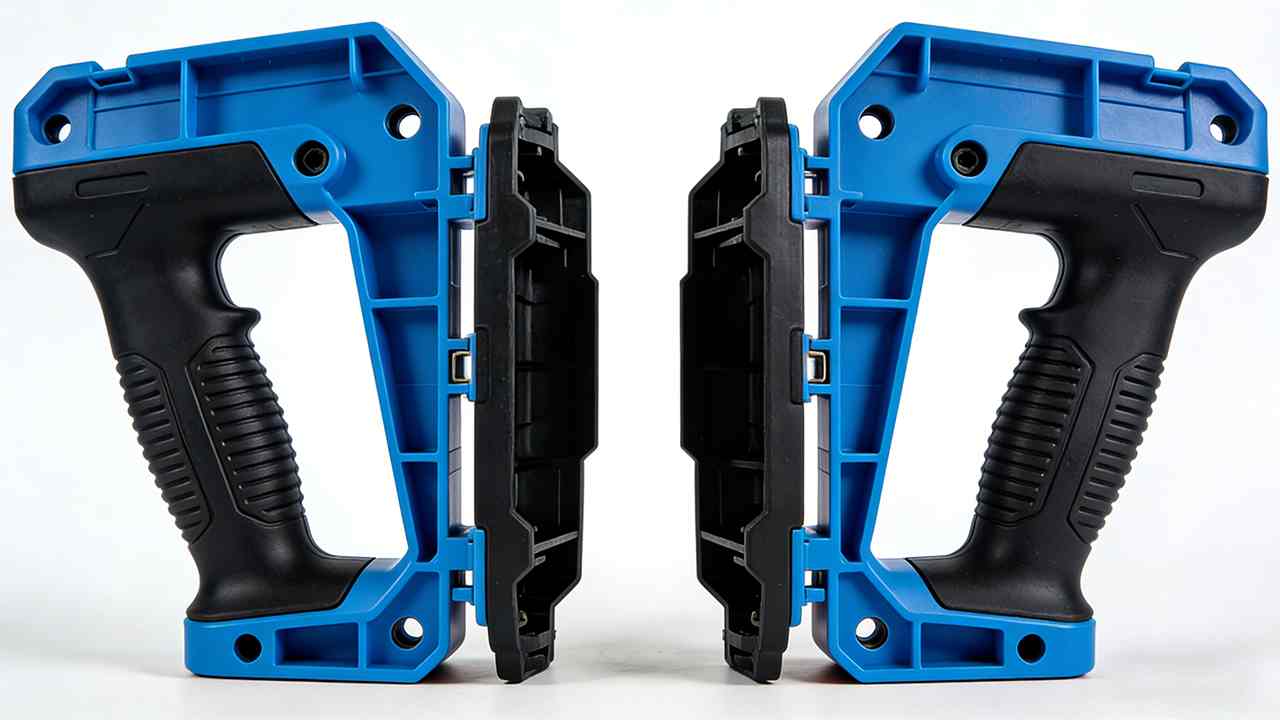
There’s a lot of terminology confusion in this space, so let’s clear it up.
Overmolding is the broader category — it describes any process where a second material is molded over a substrate. Two-shot molding (also called 2K molding or double-shot molding) is a specific method of overmolding where both shots are produced in the same mold and machine in a single automated cycle. Insert molding is another method, where a pre-formed insert (often metal) is placed in the mold cavity before injection. All two-shot molding is overmolding, but not all overmolding is two-shot molding.
The Practical Difference
Think of it like this: overmolding is the goal (two materials, one part). Two-shot molding and insert molding are two different roads to that goal.
Two-shot molding is automated, fast at scale, and produces consistent bond quality because the substrate is still warm when the second shot hits it. The tooling is more complex and more expensive, but for high-volume production the math usually works in its favor.
Insert molding — where a metal component, an electrical contact, or another pre-formed insert is placed into the mold before plastic is injected around it — is technically a form of overmolding. It’s commonly used in medical devices, electrical connectors, and automotive components where metal-to-plastic integration is required.
Pick-and-place overmolding is the traditional approach: mold the substrate in one tool, load it into the overmold tool manually or robotically, inject the second material. More flexible for development and lower volumes, but slower and more labor-dependent at scale.
Understanding which method is right for your project is something we work through with clients at Dimud during the quoting and DFM phase — because the method choice affects not just the tooling design, but the production economics at every volume level.
What Industries Use Overmolding Most?
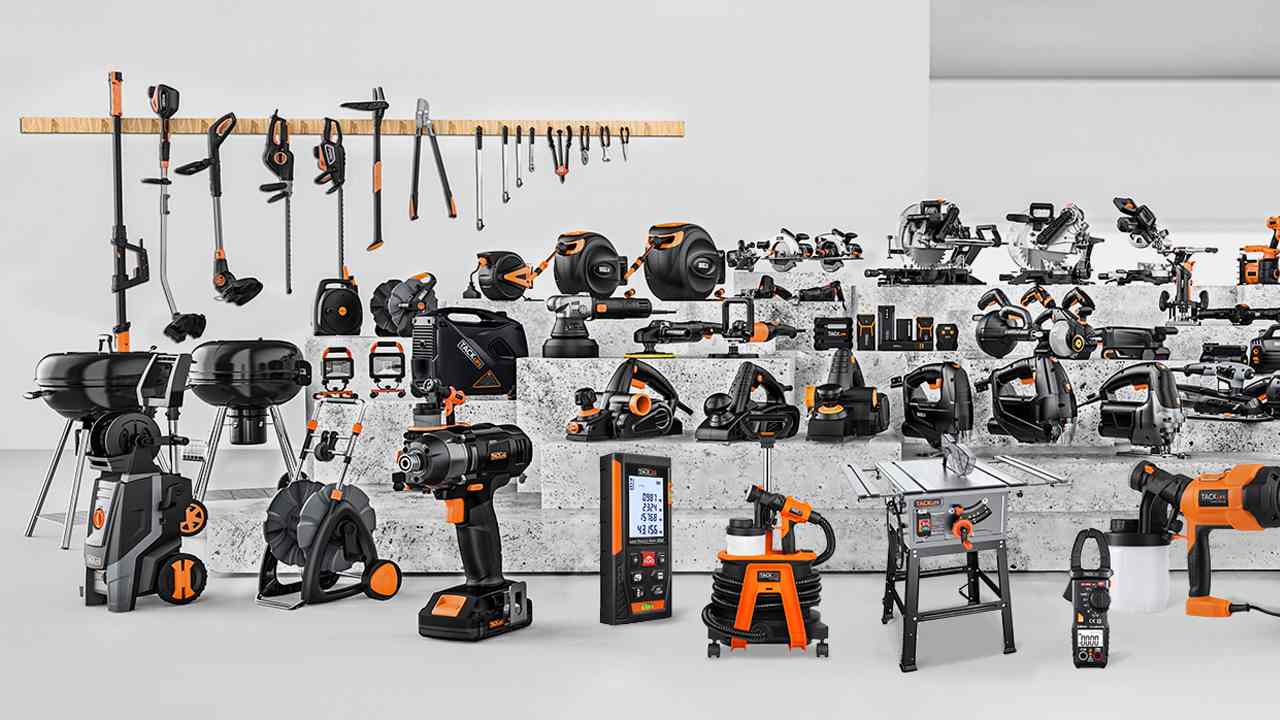
The industries that rely most heavily on overmolding include consumer electronics (phone cases, wearables, handheld devices), medical devices (surgical instruments, diagnostic equipment), automotive (control panels, steering components, interior trim), hand tools and power tools, and sporting goods. In each case, the value driver is the same: combining a rigid structural core with a functional soft layer — for grip, protection, sealing, or aesthetics — without secondary assembly.
Dans consumer electronics, overmolding has become essentially standard for any device meant to be held. The combination of PC or ABS substrate with TPU overmold gives you drop protection, a premium in-hand feel, and clean aesthetics — all in one production step.
Dans medical devices, the requirements are more demanding. Biocompatibility, sterilizability, and dimensional precision all constrain material choices. LSR overmolding is common in this space, as is TPE with FDA-compliant grades.
Dans automotive, NVH (noise, vibration, and harshness) is the primary driver. Overmolded components in the interior and under-hood absorb vibration, reduce noise transmission, and improve the tactile quality of touch points that users interact with every day.
In hand tools — one of the most mature application areas for overmolding — the grip performance is literally the product’s marketing promise. The ergonomics study comes before the design. The overmold material and geometry are engineered to reduce fatigue, improve control, and withstand years of daily use.
If you’re working on a product in any of these categories and wondering whether overmolding belongs in your manufacturing plan, we’d be glad to walk through it. Reach out to the Dimud team — we do this kind of early-stage engineering consultation regularly, and we’re excited to share what we’ve learned from the projects we’ve worked on.
Conclusion
Overmolding isn’t complicated once you understand the logic behind it: combine two materials strategically, and you get a product that’s stronger, more comfortable, better sealed, and more appealing than anything you could build from a single material. The engineering challenge lies in material compatibility, mold design, and process control — which is precisely where experience pays off.
Whether you’re designing your first overmolded product or trying to solve a bond-quality issue on a tooling revision, the fundamentals here give you a solid foundation. And when you’re ready to move from design to production, Dimud’s integrated manufacturing capabilities — spanning mold design, DFM analysis, and full-scale production — are built for exactly this kind of work.