
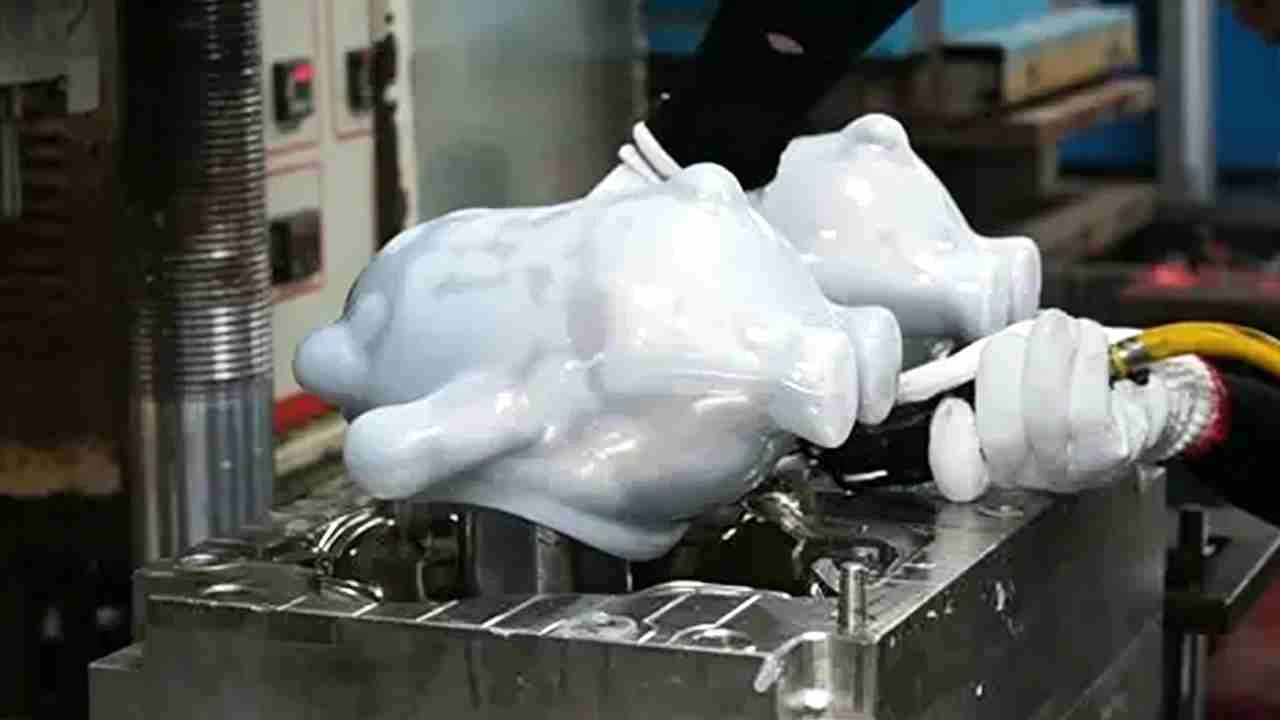
Когда я впервые увидел, как кто-то изготавливает силиконовую форму с нуля, мне показалось, что это выглядит почти слишком просто. Налейте немного резины на форму. Подождите. Готово. Потом я попробовал сам. Скажем так, результаты были… поучительными. Но как только вы поймете, как на самом деле происходит этот процесс, сделать все правильно оказывается действительно не так уж и сложно.
Лучший способ изготовить силиконовую форму — это выбрать подходящий тип силикона (с отверждением платиной или оловом), тщательно подготовить и герметизировать мастер-модель, смешать силикон по весу в правильном соотношении, медленно заливать тонкой струйкой, чтобы свести к минимуму попадание воздуха, и дождаться полного отверждения перед извлечением изделия из формы. Для трехмерных объектов требуется двухкомпонентная форма. Для производства силиконовых деталей в промышленных масштабах профессиональным стандартом является литье жидкого силиконового каучука (LSR) — оно обеспечивает точность, повторяемость и стабильность объема, с которыми ручные формы просто не могут сравниться.
Эти шаги кажутся простыми. И они действительно просты — если вы знаете, что именно идет не так, почему это происходит и чем отличается форма, способная выдержать 500 циклов, от той, которая разрывается уже при первом извлечении изделия. Именно об этом и пойдет речь в данном руководстве — мы будем рассматривать каждый вопрос по отдельности.
Какие материалы нужны для изготовления силиконовых форм?
Прежде чем налить хотя бы каплю силикона, необходимо составить список необходимых материалов. Если пропустить этот этап, вам придётся импровизировать в разгар процесса отверждения — а это никогда не заканчивается хорошо. Вот что вам действительно понадобится и для чего нужен каждый из этих предметов.
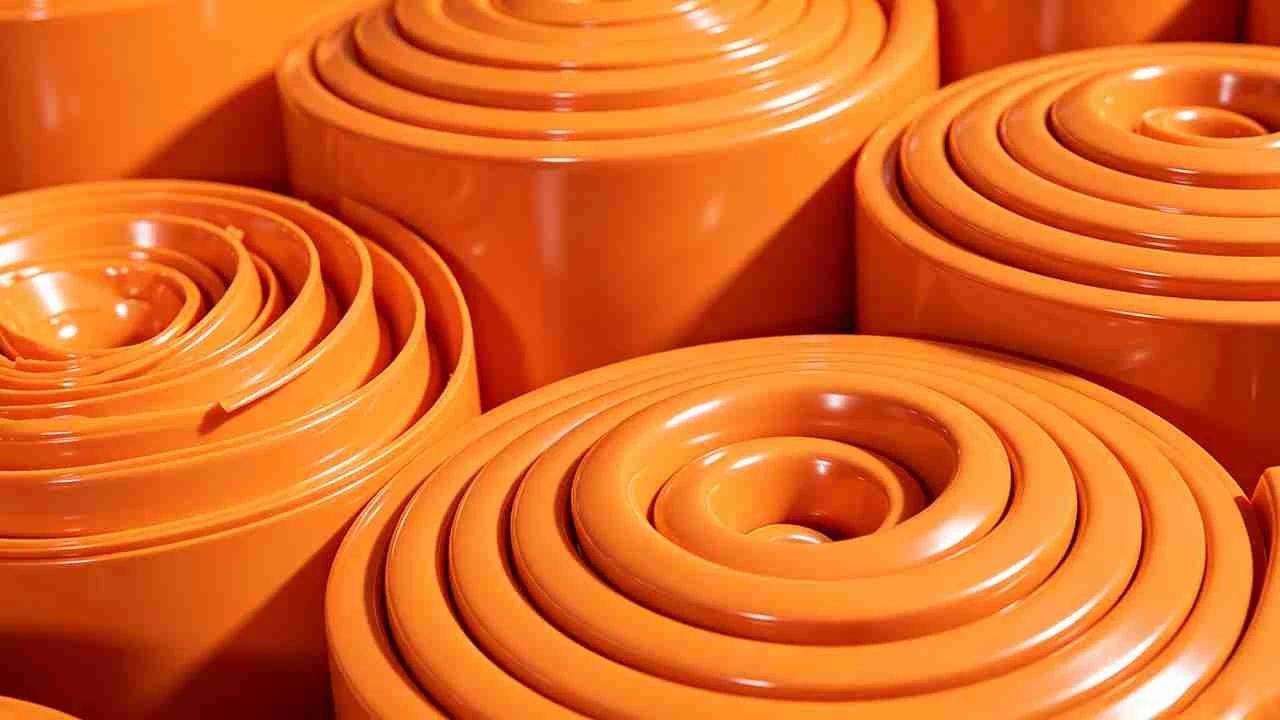
Для изготовления силиконовой формы вам понадобятся: жидкий силиконовый каучук (с отверждением платиной или оловом), мастер-модель, форма-коробка или рама-оправа, разделительный агент, цифровые весы, емкости для смешивания, палочки для перемешивания, а также, по желанию, вакуумная камера для дегазации. Для двухкомпонентных форм добавьте глину или пенопластовую доску для разделительной стенки. Каждый элемент играет прямую роль в качестве формы — экономия на любом из них скажется на конечном результате.
Силиконовый каучук
Не все силиконы одинаковы. Вы выбираете между двумя разными химическими системами:
- Силикон, отверждаемый платиной (отверждение при нанесении): более экологичный состав, более длительный срок хранения, более высокая точность размеров, отсутствие усадки побочных продуктов. Совместимость с большинством исходных материалов. Именно это используют профессионалы.
- Оловянный силикон (отверждение конденсацией): более низкая начальная стоимость, однако в процессе отверждения в качестве побочного продукта выделяется небольшое количество спирта, что приводит к незначительной усадке. Кроме того, этот метод чувствителен к некоторым материалам (подробнее об этом — в разделе «Ошибки»).
Если вы изготавливаете формы для литья из смолы, для использования в пищевой промышленности или для любых других задач, требующих высокой точности, вам следует выбирать формы с платиновым отверждением. Всегда.
Основная модель
Это исходный объект, который вы копируете — ваш прототип, напечатанный на 3D-принтере, скульптура, изготовленная вручную, деталь, обработанная на станке, или найденный предмет. Вот в чём многие не замечают: силикон улавливает всё. Каждый отпечаток пальца, каждый след от инструмента, каждая пористость незапечатанной поверхности.
Отнеситесь к мастер-модели со всей серьезностью. Отшлифуйте её, загерметизируйте и обработайте до того качества, которое вы хотите получить на конечных отливках.
Форма для литья
Вам понадобится емкость, которая удержит жидкий силикон на месте, пока он затвердевает вокруг формы. Это может быть картонная коробка, заклеенная горячим клеем, пенопластовая форма или фрезерованная рама. Тщательно подберите размер: если она будет слишком большой, вы потратите впустую дорогой силикон, а если слишком узкой — рискуете получить тонкие стенки, которые порвутся при извлечении изделия из формы.
Средство для облегчения извлечения изделий из формы
Силикон не прилипает к большинству материалов, но он делает не прилипает к другому силикону. При изготовлении двухкомпонентных форм необходимо нанести разделительный агент на первую половину перед заливкой второй. Для этого подойдут вазелин, пастообразный воск или готовый силиконовый спрей-разделитель. Без него ваша двухкомпонентная форма превратится в единый цельный блок, который будет невозможно разъединить.
Вакуумная камера (необязательная, но она того стоит)
Когда вы перемешиваете силикон, в него попадают пузырьки воздуха. Эти пузырьки попадают прямо на поверхность формы и проявляются в виде крошечных углублений на каждом изготовленном вами отливке. А вакуумная камера дегазирует смешанный силикон перед заливкой, удаляя пузырьки. Не является обязательным для любительских работ. Практически незаменимо для любых задач, требующих получения гладкой поверхности.
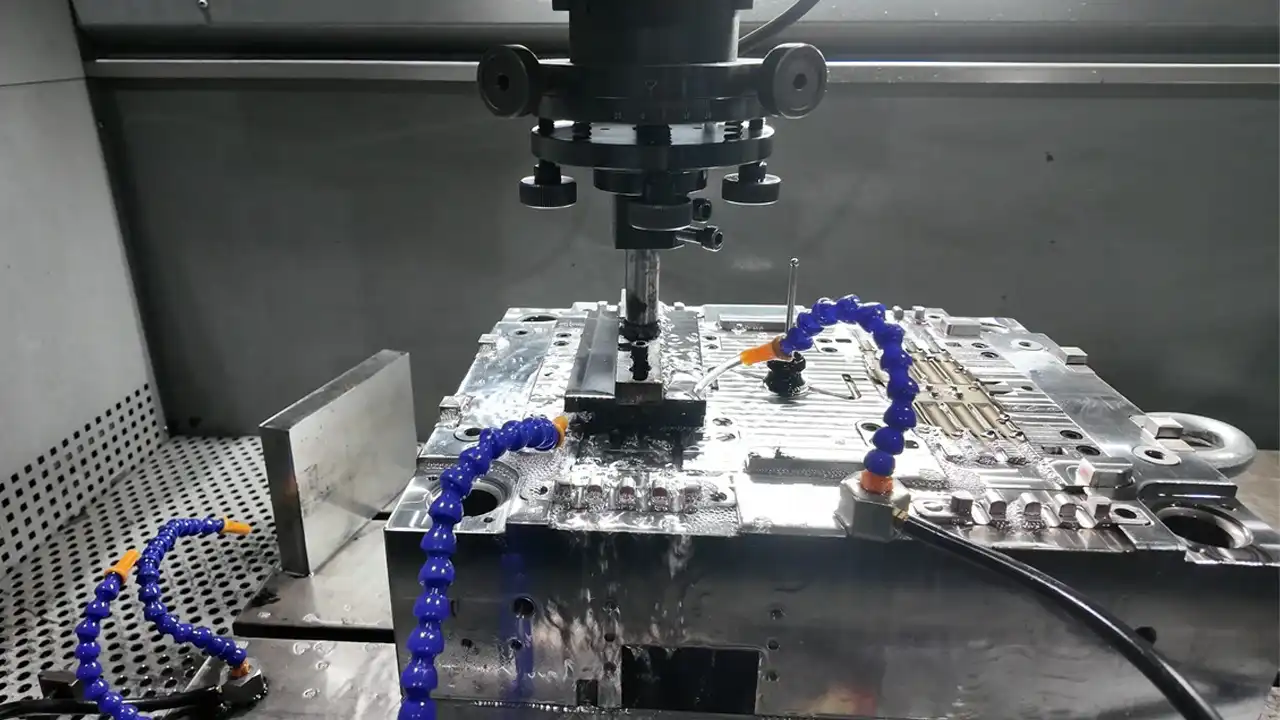
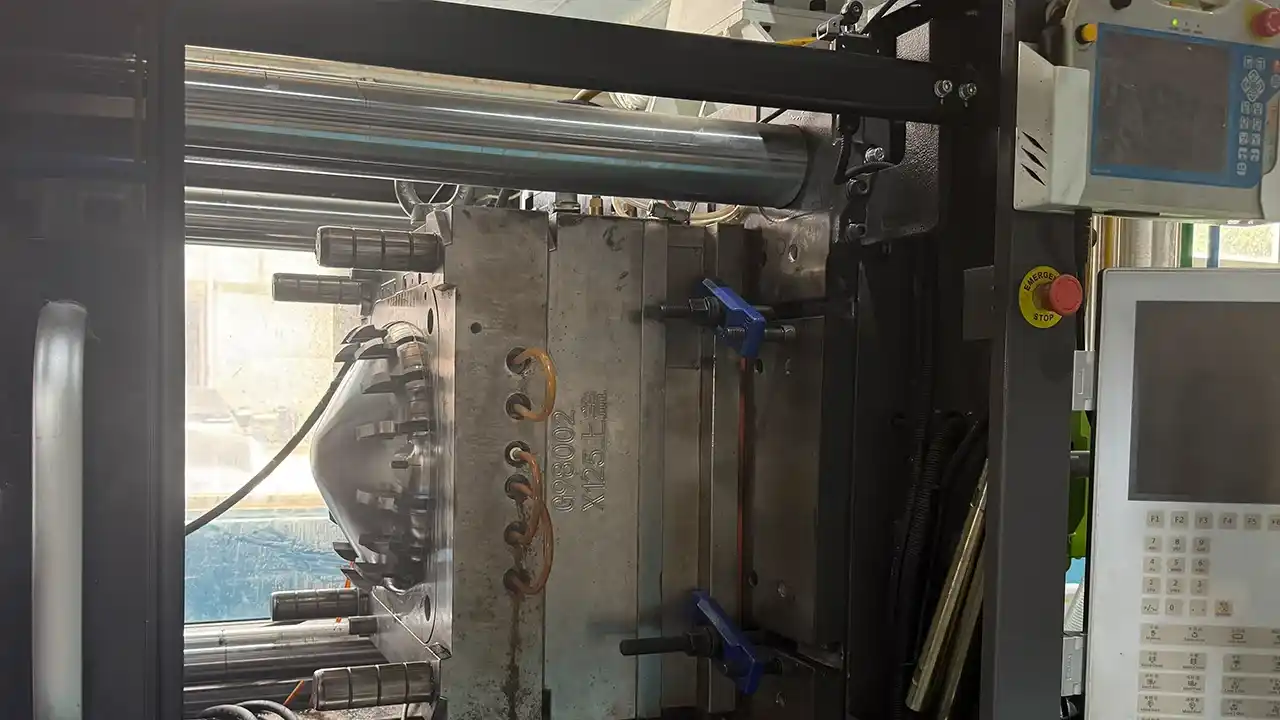
Для справки: на промышленном уровне, когда инженеры используют литье под давлением жидкой силиконовой резины В случае серийных деталей подготовка материала и контроль загрязнения рассматриваются как основные технологические параметры, а не как второстепенные моменты. Тот же подход, но в более широком масштабе.
Какой материал лучше всего подходит для изготовления силиконовых форм?
Этот вопрос задают постоянно, и честный ответ звучит так: это зависит от того, что вы делаете и сколько раз вам понадобится использовать форму. Но я дам вам конкретный ответ, а не буду просто водить вас за нос.
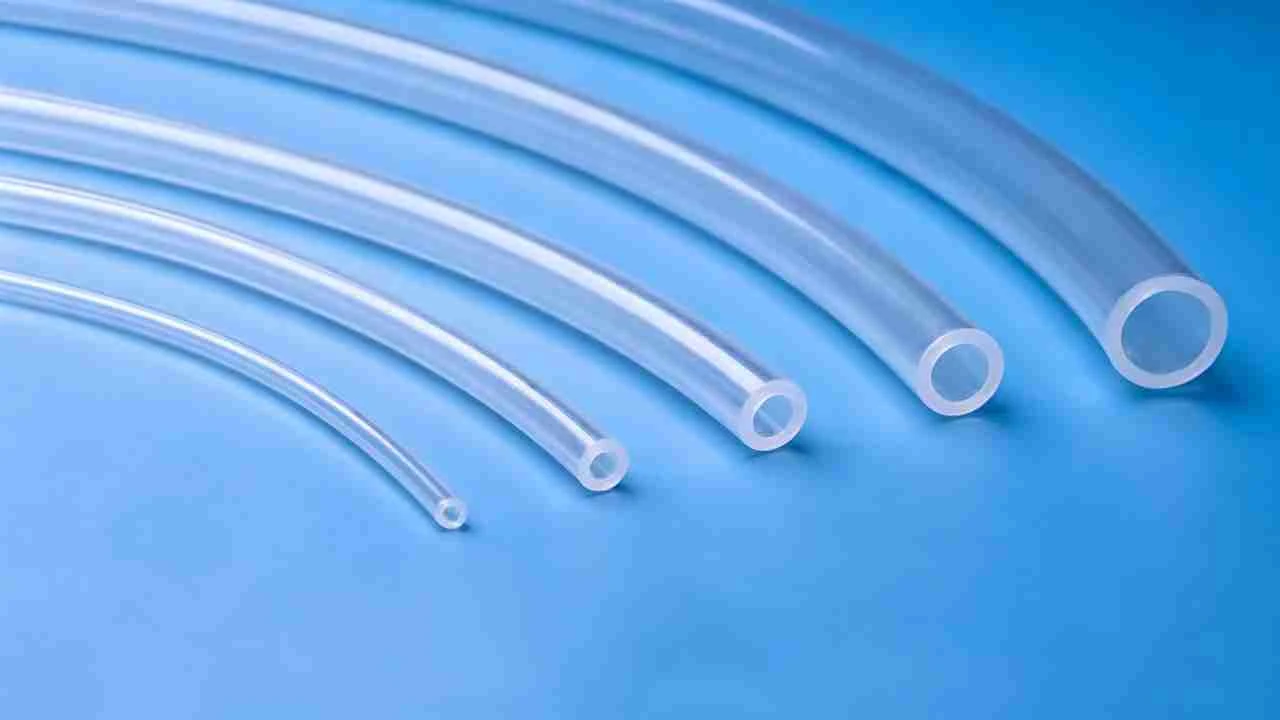
Лучшим материалом для изготовления силиконовых форм является силиконовый каучук платинового отверждения (аддиционного отверждения). Он отличается превосходной стабильностью размеров, минимальной усадкой, увеличенным сроком службы формы и широкой совместимостью с материалами-оригиналами. К популярным вариантам относятся серии Smooth-On Mold Star и Dragonskin. Для промышленного производства, требующего точности, термостойкости и соответствия нормативным требованиям, стандартом является жидкий силиконовый каучук (LSR), обрабатываемый методом литья под давлением. Оловянный силикон является экономичной альтернативой, но имеет больше ограничений в отношении совместимых мастер-моделей и областей применения.
Силикон с платиновым отвердителем: надежный выбор
В большинстве случаев изготовления форм — литье из смолы, тиражирование прототипов, производство силиконовых форм для пищевых продуктов и косметики — силикон с платиновым отвердителем неизменно занимает лидирующие позиции. Вот почему он доминирует:
- Отсутствие ингибирующего воздействия со стороны наиболее распространенных исходных материалов — надежно схватывается на металле, отвержденной смоле, большинстве пластиков и стекле
- Незначительная усадка — что вы лепите, то и получаете, в плане размеров
- Длительный срок службы формы — качественно изготовленная форма для литья с использованием платинового отвердителя может выдержать от 50 до 200 и более циклов литья в зависимости от материала
- Доступные варианты степени твердости — вы сами выбираете, насколько твёрдой или гибкой будет застывшая форма
Понимание твердости по Шору А
Берег А — это стандартная шкала для оценки мягкости или твердости отвержденного силикона. Это имеет большее значение, чем признают большинство руководств:
- Берег 10–20 А — очень мягкий и гибкий, отлично подходит для форм с глубокими подрезками, но легче рвется и деформируется при отливке тяжелых деталей
- Берег 25–35 А — оптимальный вариант для большинства типов изготовления форм, обеспечивающий баланс между гибкостью и прочностью конструкции
- Shore 40A+ — прочная и точная, лучше всего подходит для жестких литейных материалов, но при этом сложнее извлекать из формы детали сложной геометрии
Выбор степени твердости исходя из геометрии мастер-модели — а не только исходя из наличия или цены — является одной из тех мелочей, которые отличают хорошую форму от той, которая вызывает разочарование.
Силикон с оловянным отвердителем: в чём его недостатки
Силикон с оловянным отвердителем стоит дешевле и отлично подходит для простых задач. Однако у него есть реальные ограничения:
- При отверждении слегка усаживается (что создает проблемы при изготовлении деталей с узкими допусками)
- Сдерживается глинами на основе серы — чрезвычайно распространённым основным материалом для скульпторов и модельеров
- Содержит оловоорганические соединения, которые со временем могут вымываться, в связи с чем материал не подходит для применения в условиях контакта с пищевыми продуктами
- Более короткий срок хранения
Если речь идет о простой форме с небольшим объемом производства, где единственным ограничивающим фактором является стоимость? В этом случае подойдет оловянный каучук. А если речь идет о чем-то, к чему вы относитесь серьезно? Тогда выбирайте платиновый каучук.
Промышленного назначения: жидкий силиконовый каучук (LSR)
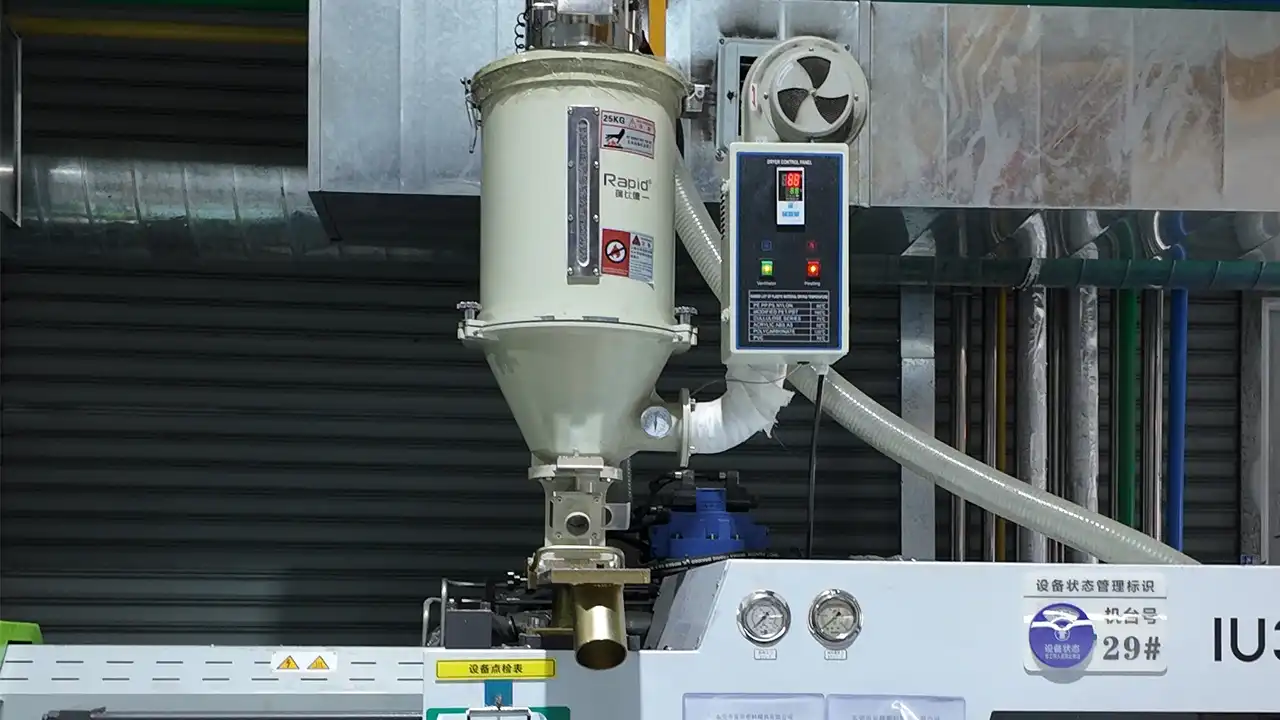
Это совсем другая категория. LSR — это двухкомпонентный термоотверждаемый материал, который обрабатывается посредством изготовление прецизионных форм для литья под давлением с использованием высокотехнологичного оборудования. Данная технология позволяет изготавливать детали с жесткими допусками на размеры, превосходной биосовместимостью и стабильными физическими свойствами даже при крупносерийном производстве.
Если вы — инженер-конструктор, рассматривающий возможность использования силиконовых компонентов в изделиях, которые будут выпускаться в больших объемах — например, в медицинском оборудовании, носимых устройствах, автомобильных уплотнителях или бытовой электронике, — вам обязательно стоит обратить внимание на литье под давлением LSR. Требования к пресс-формам довольно высоки, но по своим эксплуатационным характеристикам получаемые изделия находятся в совершенно ином классе, чем те, которые можно изготовить с помощью форм для ручного литья силикона.
Сколько времени требуется для отвердевания силиконовой формы?
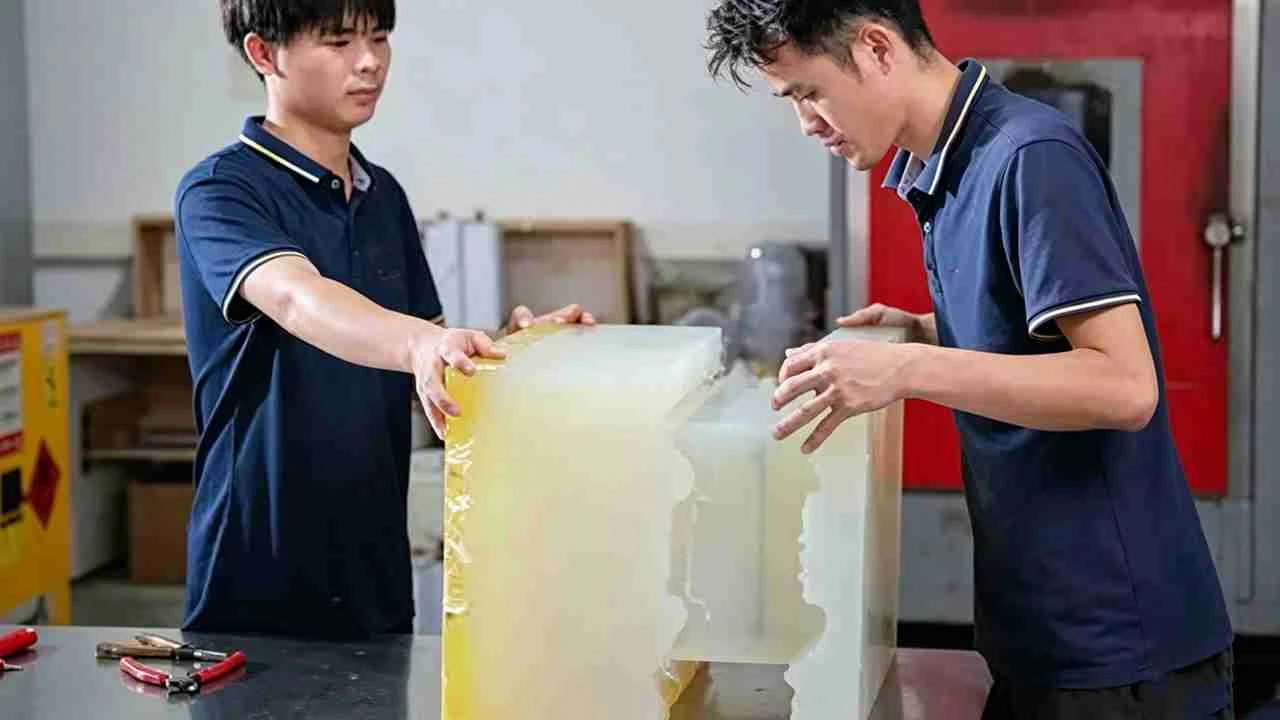
Терпение. Вот и весь ответ. Но позвольте мне пояснить подробнее, ведь в вопросе о времени высыхания есть множество переменных — и если ошибиться в ту или иную сторону, это обойдется вам дорого.
Время отверждения силиконовых форм обычно составляет от 4 до 24 часов при комнатной температуре (около 23 °C / 73 °F) в зависимости от состава силикона и условий окружающей среды. Силиконы с платиновым отвердителем обычно отвердевают за 4–16 часов; системы с оловянным отвердителем — за 16–24 часа или дольше. Тепло ускоряет этот процесс — многие составы достигают полного отверждения менее чем за час при температуре 65 °C (150 °F). Всегда соблюдайте указанное производителем время отверждения и избегайте преждевременного извлечения изделия из формы, так как неполное отверждение приводит к разрывам и повреждению поверхности.
Что на самом деле определяет время отверждения
Температура является определяющим фактором. Силикон отвердевает в результате химической реакции сшивания, и эта реакция ускоряется под воздействием тепла. В общих чертах зависимость выглядит следующим образом: при удвоении температуры по сравнению с температурой окружающей среды время отверждения сокращается примерно вдвое (в определенных пределах). Именно поэтому на производственных предприятиях детали часто отвердевают в печах с контролируемыми условиями.
Но есть один нюанс: ваша мастер-модель должна выдержать такую температуру. Детали из смолы, напечатанные на 3D-принтере, восковые мастера, пенопластовые формы — все они могут деформироваться или расплавиться при температуре 65 °C. Прежде чем ставить мастер-модель в печь, убедитесь, что она выдерживает такую температуру.
Соотношение смешивания является второй по важности переменной. При использовании силиконов, отверждаемых платиной, применяется точное соотношение — обычно 1:1 по весу, хотя в некоторых продуктах используется соотношение 10:1 или другие пропорции. Эти два компонента имеют разную плотность, поэтому измерение по объему вместо веса приведёт к неправильному соотношению. Неправильное соотношение означает неполное отверждение или, в некоторых случаях, полное отсутствие отверждения. В результате получается липкий, непригодный к использованию силикон.
Используйте цифровые весы. Каждый раз. Без исключений.
Влажность влияет на системы, отверждаемые оловом. Силикон, отверждаемый путем конденсации, фактически использует атмосферную влагу в качестве одного из компонентов реакции — в чрезвычайно сухих условиях реакция значительно замедляется.
Как определить, что ваша плесень действительно готова
Недостаточно того, что поверхность кажется твёрдой. Изделие может казаться затвердевшим снаружи, в то время как внутри оно всё ещё частично реактивно — и извлечение из формы на этом этапе сопряжено с риском разрыва более толстых участков.
Более качественные тесты:
- Проверьте, остался ли силикон в смесительной чашке. Когда он полностью отвердеет, скорее всего, ваша форма тоже будет готова
- Слегка надавите пальцем на толстую часть — если останется вмятина, подождите подольше
- Ознакомьтесь с техническим паспортом конкретного вида силикона — в нём указано время отверждения и время извлечения из формы (которое иногда может варьироваться)
Безопасное ускорение процесса заживления
Использование печи с низкой температурой (60–70 °C) является стандартным профессиональным методом сокращения времени отверждения. Некоторые производители также предлагают ускорители, которые ускоряют реакцию при комнатной температуре — хотя, как правило, в качестве компромисса они сокращают срок годности смеси, в результате чего после смешивания у вас остается меньше времени для работы.
В промышленности проектирование пресс-форм В технологических процессах тепло — это точная, контролируемая переменная, а не способ упростить задачу. Та же принцип действует в любом масштабе: контролируйте переменные, а не полагайтесь на догадки.
Каковы типичные ошибки при изготовлении форм?
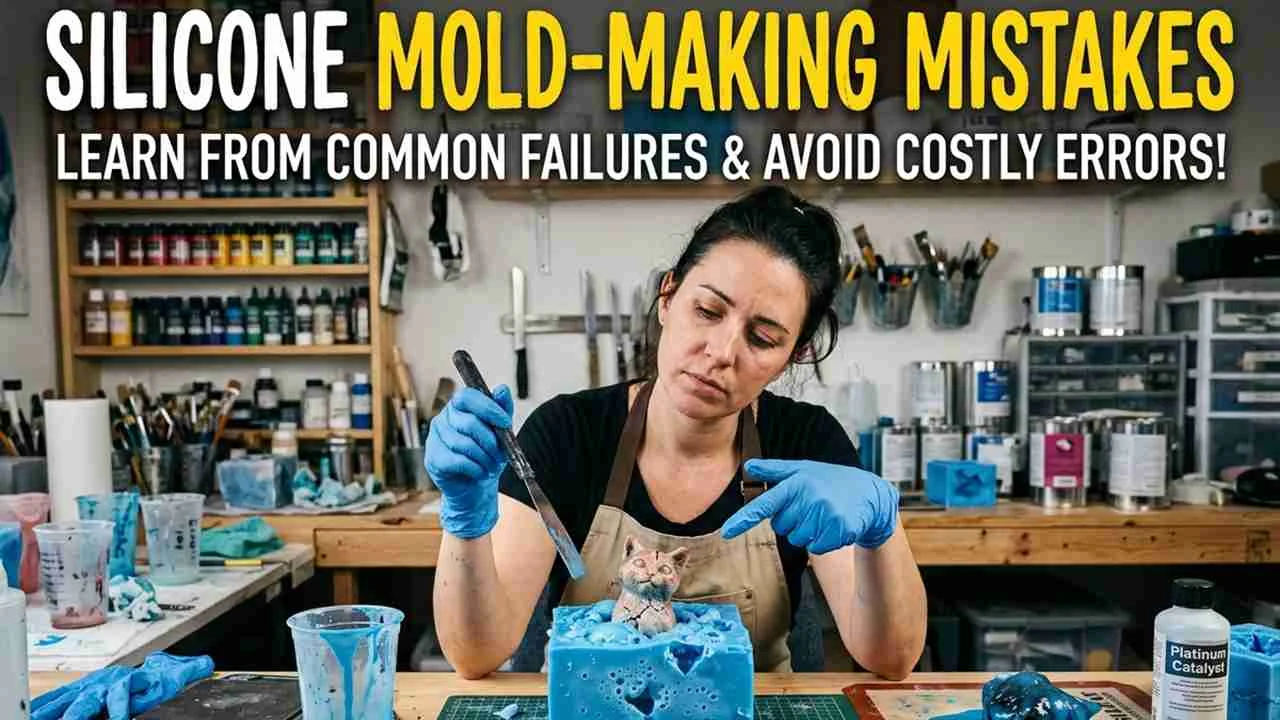
Большинство неисправностей силиконовых форм — это не случайности. Их можно предсказать. Они подчиняются определенным закономерностям. И как только вы поймете, в чем заключаются эти закономерности, вы сможете практически полностью их избежать. Вот те из них, которые я наблюдаю — и допускаю — чаще всего.
Наиболее распространённые ошибки при изготовлении силиконовых форм: отсутствие герметизации пористых эталонных моделей (силикон впитывается в поверхность), использование неправильных пропорций смешивания (приводящее к неполному или неудачному отверждению), ингибирование со стороны несовместимых материалов эталонных моделей (часто встречается при использовании серосодержащих глин и некоторых смол для 3D-печати), отсутствие смазки для извлечения изделия из двухкомпонентных форм (что приводит к образованию слипшегося блока), слишком быстрое заливание (приводящее к образованию пузырьков воздуха) и извлечение изделия из формы до полного отверждения (вызывающее разрывы и деформации). Каждую из этих ошибок можно предотвратить.
Ошибка № 1: Незапечатанная мастер-модель
Если ваш мастер-модель изготовлен из гипса, необработанной древесины, незагерметизированного пенопласта или даже некоторых 3D-печатных моделей, изготовленных по технологии FDM, он имеет микроскопические поры. Жидкий силикон проникает в эти поры, вступает в химическую реакцию с поверхностью и либо разрушает мастер-модель при извлечении из формы, либо оставляет фрагменты мастер-модели, застрявшие в вашей форме.
Решение: перед заливкой загерметизируйте матрицу лаком, шеллаком или специальным герметиком. Нанесите два тонких слоя и дождитесь полного высыхания. Обязательно.
Ошибка № 2: Отмерять на глаз, а не по весу
Это ошибка, которую допускают новички и в которую попадают даже опытные специалисты, когда спешат. Оба компонента силикона в ёмкости выглядят одинаково. Однако у них разная плотность, и смесь, приготовленная “примерно в равных объёмах”, будет химически неверной.
Используйте цифровые весы. Смешивайте ингредиенты по весу. Поставьте миску на весы, обнулите показания, добавьте компонент А, снова обнулите показания, добавьте компонент В в соответствии с инструкцией. Это займет всего тридцать дополнительных секунд и полностью исключит одну из наиболее распространённых причин неудачи.
Ошибка № 3: Сдерживание — то, что застает всех врасплох
Силикон, отверждаемый платиной, может быть подавленный — то есть не происходит отверждения — при контакте с некоторыми материалами. Пораженный участок остается липким или жидким даже после того, как остальная часть формы полностью затвердеет. Типичные источники ингибирования:
- Моделирующие глины на основе серы (как и у многих глин на масляной основе) — это чрезвычайно распространенное явление
- Натуральный латекс и некоторые резиновые смеси
- Отпечатки из смолы, не прошедшие отверждение или прошедшие ненадлежащее последующее отверждение
- Оловянный силикон (да, это происходит из-за переноса загрязнений между системами)
- Некоторые отвердители для эпоксидных смол и полиэфирные смолы
Прежде чем наносить всю партию силикона на новый мастер-материал, проведите небольшой тест на совместимость: смешайте столовую ложку силикона и прижмите его к поверхности мастера. Проверьте результат по истечении полного времени отверждения. Если в месте соприкосновения с мастером силикон остался липким, вам необходимо устранить проблему ингибирования, прежде чем продолжать работу.
Ошибка № 4: Забывание о нанесении разделительного состава на двухкомпонентные формы
Силикон сцепляется с силиконом. Если залить вторую половину двухкомпонентной формы, не нанеся разделительное средство на первую половину, в результате получится единый цельный блок. Исправить это будет невозможно.
Перед заливкой второй половины нанесите тонкий и ровный слой вазелина, пастообразного воска или готового силиконового спрея для разъединения форм на все силиконовые поверхности. Наносите равномерно и тщательно — если в одном месте останется крупная капля, на поверхности формы останется отпечаток.
Ошибка № 5: слишком быстрое наливание
При густой и быстрой заливке в смесь попадает воздух. Эти пузырьки ударяются о поверхность мастера и затвердевают на месте, оставляя в форме углубления, которые повторяются на каждом изготовленном вами отливке. Решением этой проблемы является заливка тонкой, ровной струей с высоты — дайте силикону стекать и самовыравниваться. Еще лучше — перед заливкой удалите газ из смешанного силикона в вакууме.
Ошибка № 6: Слишком раннее извлечение изделия из формы
Нетерпение обходится дорого. Изделие, извлечённое из формы при степени отверждения 80%, выглядит почти идеально — пока не заметятся едва уловимые деформации, слегка липкая поверхность и тонкий участок, который разорвался. Неполное отверждение приводит к снижению прочности на разрыв. Соблюдайте рекомендуемое время. Не минимальное, а именно рекомендуемое.
Именно этот принцип — “выявлять проблемы до того, как они возникнут” — и является тем, что Анализ технологичности (DFM) в сфере разработки промышленных пресс-форм — выявление эквивалента “несовместимого исходного материала” или “отсутствующего разделительного средства” ещё до начала изготовления пресс-форм.
Как извлечь изделие из силиконовой формы, не повредив её?
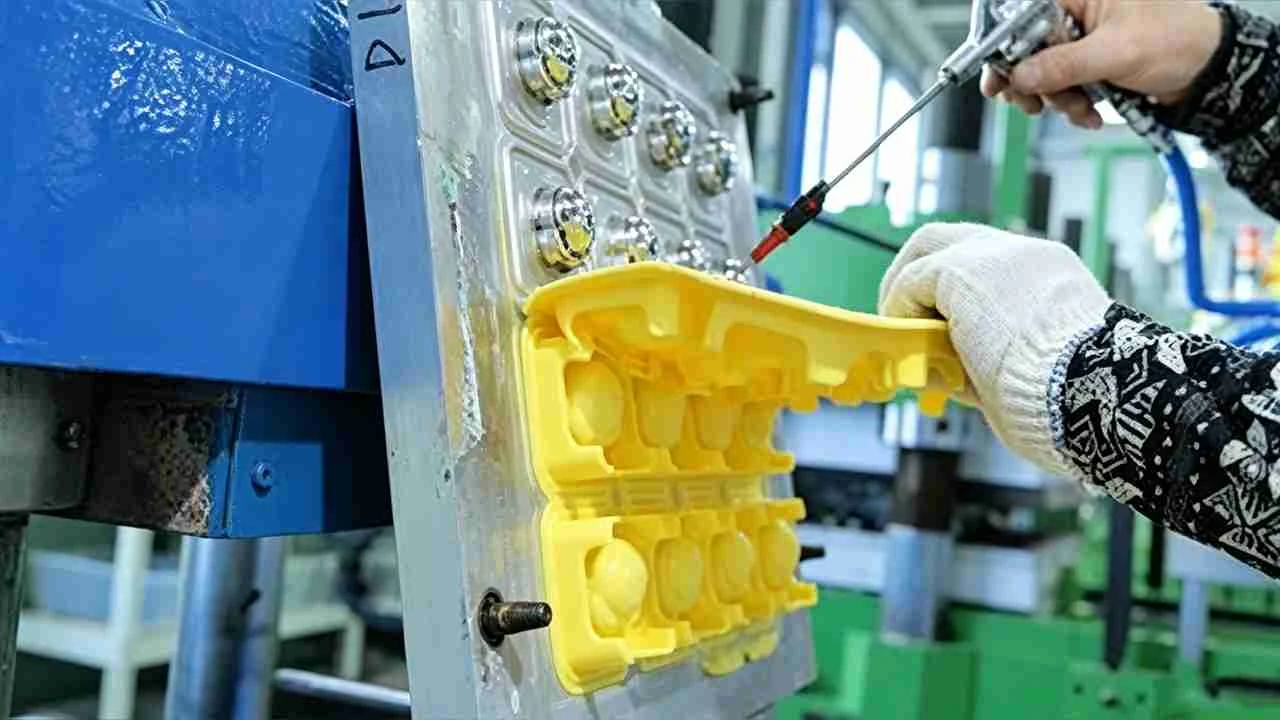
Извлечение изделия из формы — это тот момент, когда всё либо получается, либо рушится. При хорошей подготовке этот процесс проходит почти незаметно: вы аккуратно сгибаете форму, отливка выскальзывает — и всё готово. При плохой подготовке же это может привести к разрывам, деформации или повреждению деталей, на изготовление которых вы потратили часы.
Чтобы извлечь изделие из силиконовой формы без повреждений: перед заливкой нанесите подходящее разделительное средство (для несиликоновых поверхностей: пастообразный воск, вазелин или готовый спрей-разделитель). При извлечении изделия из формы начинайте с краев и двигайтесь к центру, сгибая форму под разными углами, а не тянуя в одном направлении. Для деталей с подрезами снимайте форму медленно и, при необходимости, используйте мыльную воду на границе соприкосновения в качестве смазки. Ни в коем случае не используйте острые инструменты для принудительного отделения.
Когда на самом деле требуется применение средства для отделения от формы?
Силикон по своей природе не прилипает к большинству материалов — стеклу, металлу, отвержденной смоле, большинству пластиков. В таких случаях для этапа литья зачастую не требуется никаких разделительных средств.
В каких случаях это необходимо:
- Силикон на силиконе — всегда. Между двумя половинами формы необходимо обеспечить зазор. Если вы отливаете силикон в в силиконовой форме каждый раз при извлечении изделия необходимо наносить новый слой.
- Пористые поверхности — штукатурка, необработанная древесина, пенопласт. Используйте разделительную смазку, чтобы предотвратить химическое сцепление с поверхностью.
- Очень гладкие, ровные поверхности — иногда даже непористые поверхности образуют вакуумное уплотнение, которое затрудняет извлечение изделия из формы.
Правильная техника извлечения изделия из формы
Существует неправильный способ извлечения изделия из формы, и обычно он заключается в том, что за изделие берут и тянут прямо вверх. Именно так разрываются тонкие участки и повреждаются мелкие детали.
Правильный подход:
- Начните с угла или с наиболее доступного края. Для начала определите небольшую точку разграничения.
- Согните корпус формы. Слегка согните его, разорвите вакуумную пленку и впустите воздух.
- Снимайте, не тяните. Прежде чем пытаться разделить цельное литье, обработайте его по всему периметру.
- Для подрезов: Мягкий силикон (с низким показателем твердости по Шору А) здесь очень помогает — его можно растянуть вокруг подреза, вместо того чтобы с усилием проталкивать деталь. Не торопитесь.
- Если он застрял: Нанесите мыльную воду на видимую границу раздела фаз. Дайте ей подействовать. Затем попробуйте ещё раз.
Техническое обслуживание пресс-форм для обеспечения их длительного срока службы
Хорошая силиконовая форма не вечна, но правильный уход значительно продлевает срок её службы:
- Если отливки начинают прилипать сильнее, чем обычно, нанесите антиадгезивный состав повторно
- Регулярно осматривайте форму на наличие мелких разрывов, особенно вблизи тонких стенок, острых углов и линий разъема
- Храните формы в горизонтальном положении или таким образом, чтобы не привести к необратимому деформированию силикона
- Небольшие трещины иногда можно устранить с помощью свежего силикона — важно обнаружить их на ранней стадии, пока они не расширились
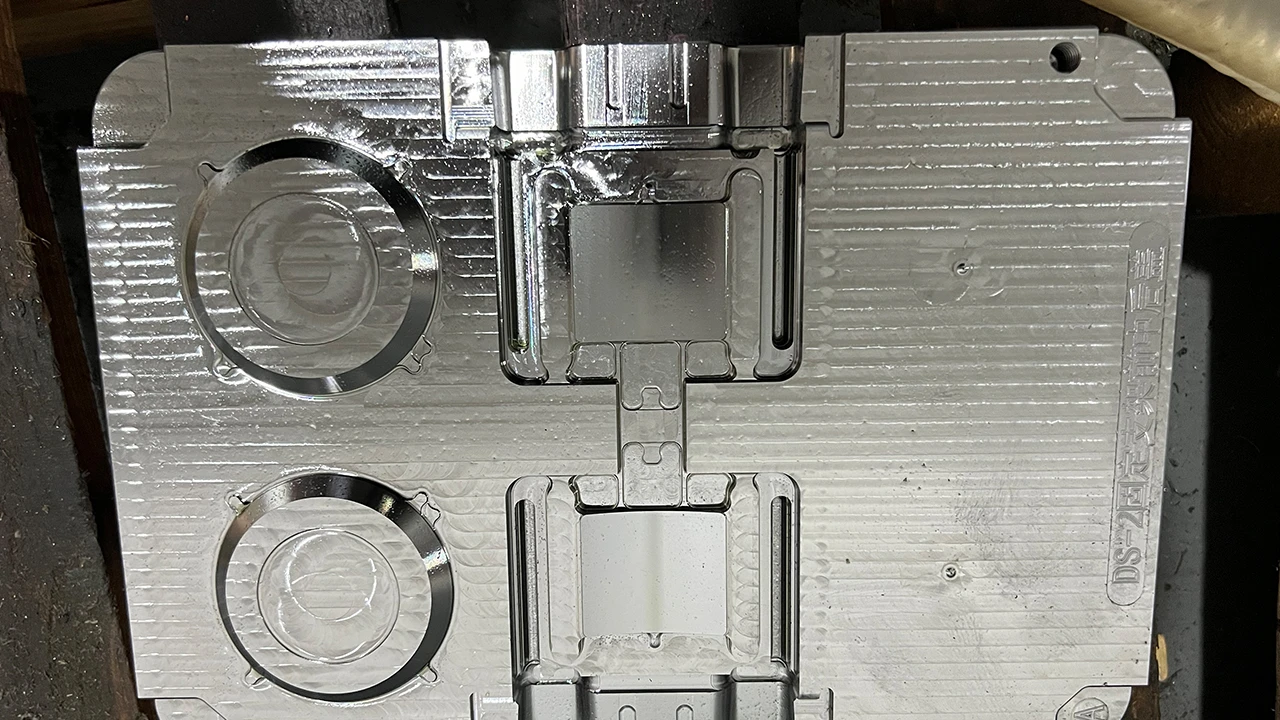
Для форм, предназначенных для производства в промышленных масштабах, где долговечность формы является одним из основных технических требований, наша производство пресс-форм для литья под давлением Команда с самого начала закладывает срок службы формы в технические требования, ориентируясь на показатель от 500 000 до 1 000 000+ циклов в зависимости от области применения. Этот подход отличается от подхода, используемого при изготовлении силиконовых форм ручным способом, но основная логика — проектирование с учетом облегчения извлечения изделия и обеспечения долговечности — остается той же.
В чём заключается разница между однокомпонентными и двухкомпонентными силиконовыми формами?
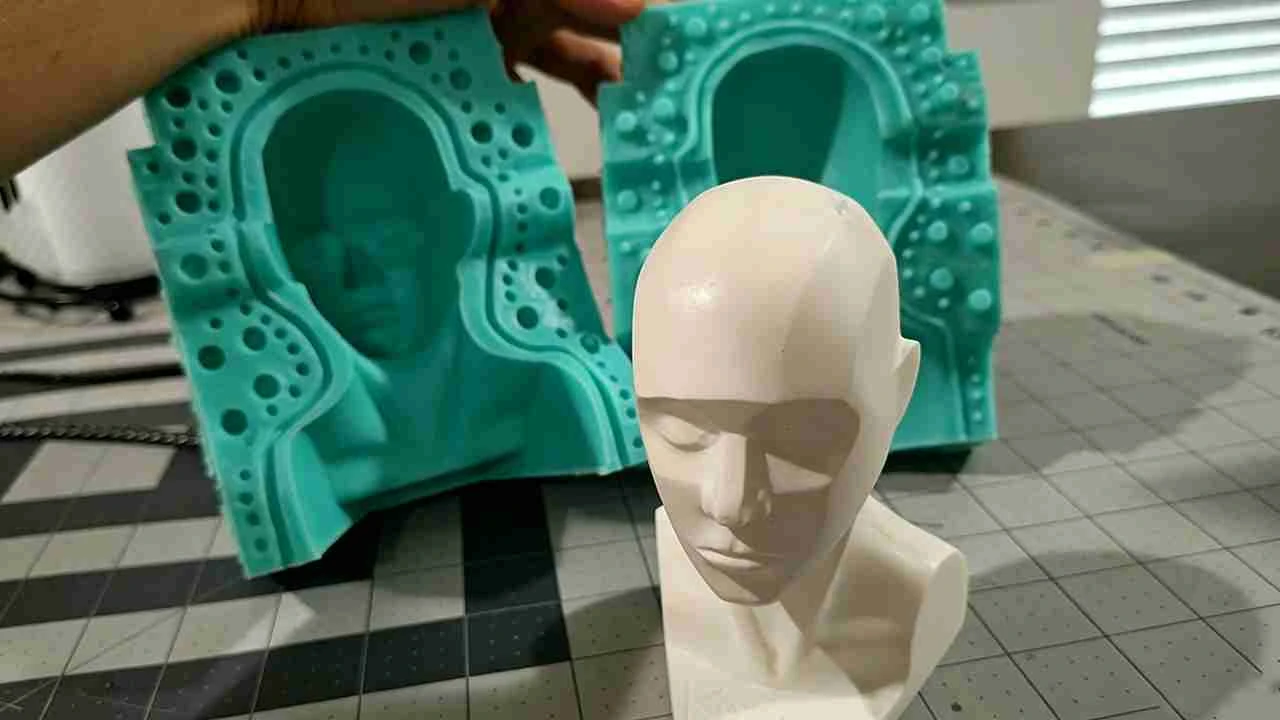
Задайте этот вопрос, и вы быстро поймёте, кто действительно разбирается в изготовлении силиконовых форм, а кто просто повторяет то, что прочитал в Интернете. От ответа на этот вопрос зависит весь ваш процесс и то, какие предметы вы сможете успешно воспроизвести.
Однокомпонентная силиконовая форма (также называемая блочной или перчаточной) охватывает или покрывает одну сторону объекта — она подходит для изделий с плоской задней поверхностью, таких как плитки, таблички или простые рельефные узоры. Двухкомпонентная (разъемная) форма охватывает объект с двух сторон, что позволяет отливать полностью трехмерные формы с подрезами. Двухкомпонентные формы сложнее в изготовлении, но они необходимы для любых объектов, которые невозможно аккуратно извлечь из односторонней полости.
Однокомпонентные формы: просто, быстро и действительно полезно
Однокомпонентную форму изготавливают следующим образом: мастер-модель помещают в коробку — плоской стороной вниз, если такая имеется — и заливают сверху силиконом. После отвердевания получается форма с одной открытой стороной, в которую заливают литьевой материал.
Это отлично подходит для:
- Предметы с плоской задней поверхностью — декоративная плитка, монеты, рельефные пластины, силиконовые формы для выпечки
- Неглубокие формы без подрезов
- Быстрое выполнение заказа — меньше подготовки, меньше силикона, проще извлечение из формы
Ограничение заключается в следующем: если ваш объект является полностью трёхмерным — то есть имеет геометрию со всех сторон или если он шире в середине, чем в верхней части, — то при использовании однокомпонентной формы получается неполное изделие с плоской задней поверхностью. Такое изделие непригодно для использования.
Двухкомпонентные формы: больше времени на настройку, гораздо больше возможностей
Двухсекционная форма разделяет изделие по линии линия разъединения — воображаемый шов, разделяющий изделие на две половины, каждая из которых соответствует отдельной половине формы.
Пошаговая инструкция:
- Залейте мастер-модель в глину до линии разъема — глина обозначает “место, где заканчивается первая половина”
- Соберите форму вокруг сборки
- Залейте первую половину формы, дайте ей полностью затвердеть
- Удалите глину (мастер-модель остается на месте, зафиксированная первой половиной формы)
- Нанесите разделительное средство на все силиконовые поверхности
- Залейте вторую половину формы
- После затвердевания разъедините две половинки и извлеките мастер-модель
- Соедините обе половинки, и у вас получится полная форма для литья
«Линия раздела»: самое важное решение
От того, где вы разместите линию разъема, зависит всё:
- Линия разъема находится не на той плоскости? Отливка застревает внутри формы
- Линия разъема проходит по видимой поверхности? На каждом отливке будет виден шов
- Линия разъема нечетко прослеживается? Несовпадение положения двух половин приводит к образованию облоя и отклонениям в размерах
Чтобы принять это решение, необходимо изучить геометрию изделия и продумать, как половинки формы будут разъединяться без фиксации. Это один из тех моментов, которые можно понять за пять минут, но чтобы полностью усвоить, потребуется несколько неудачных попыток изготовления форм.
Подрезы: почему именно они являются настоящей причиной, по которой вам нужны двухкомпонентные формы
Один подрезка — это любой элемент, ширина которого превышает ширину прохода, через который он должен пройти при извлечении из формы. Представьте себе Т-образный профиль: верхняя часть буквы «Т» шире, чем ножка, поэтому его невозможно вытащить напрямую из любой из половин односторонней формы.
Гибкий силикон хорошо справляется с небольшими подрезами — форму просто растягивают вокруг детали и снимают. Однако для значительных подрезов или полностью замкнутых объектов (таких как сфера) требуется либо:
- Двухкомпонентная форма с тщательно подобранной линией разъема
- Многосекционная форма (из трёх и более секций)
- Техника изготовления форм по типу «перчатки», при которой силикон наносится слоями и снимается, как перчатка
Как это соотносится с промышленным проектированием пресс-форм
Каждая форма для литья под давлением по сути представляет собой систему из двух частей — половину полости и половину сердечника — с линией разъема, определяемой инженером-конструктором пресс-форм. Расположение линии разъема влияет на качество поверхности, требования к углу наклона, расположение выталкивающих штифтов и размещение литника.
В промышленном инструментальном проектировании неправильный выбор линии разъема обходится дорого. Это означает необходимость повторной обработки стали, корректировки основания пресс-формы или, в худшем случае, полного списания инструмента. Именно поэтому проектирование пресс-форм и анализ технологичности (DFM) проводятся до начала любой механической обработки — решения по линии разъема проверяются и утверждаются на этапе проектирования, а не выявляются уже после изготовления пресс-формы
Вредны ли силиконовые формы для здоровья?
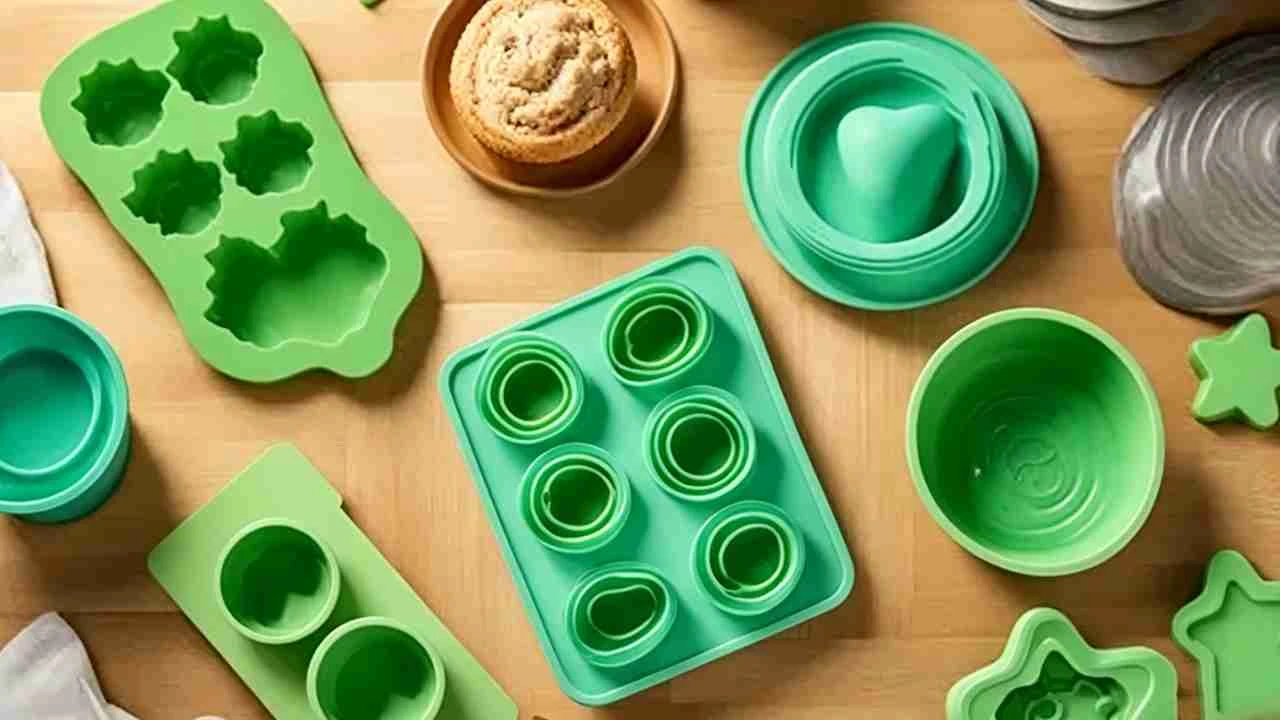
Этот вопрос заслуживает прямого и честного ответа. Тем более что силиконовые формы используются для производства продуктов питания, средств по уходу за телом, товаров для детей и медицинских изделий. Краткий ответ: Это полностью зависит от типа силикона и от того, прошел ли он полную полимеризацию.
Полностью отвержденный силикон с платиновым отвердителем считается химически инертным, нетоксичным и биосовместимым — его используют в производстве пищевой посуды для выпечки, медицинских имплантатов и товаров для детей. С неотвержденным силиконом и составами на основе олова следует проявлять большую осторожность: в составах на основе олова используются органооловянные соединения, которые со временем могут вымываться, особенно под воздействием тепла или кислот, что делает их непригодными для использования с пищевыми продуктами. Для любого применения, предполагающего контакт с пищевыми продуктами или телом, используйте только сертифицированный пищевой силикон, отвержденный платиной, и убедитесь в полном отверждении перед использованием.
Полностью отвержденный платиновый силикон: безопасный вариант
После отверждения силикон, отверждаемый платиной, обладает хорошо изученными характеристиками безопасности:
- Химически инертный — не вступает в реакцию с большинством веществ, с которыми вступает в контакт
- Нетоксичный — при нормальных условиях не происходит выделения вредных соединений
- Биосовместимый — используется в имплантатах медицинского назначения, хирургических инструментах, оборудовании для новорождённых
- Термостойкий — выдерживает температуры в диапазоне от примерно -60 °C до +230 °C без ухудшения свойств или выделения соединений
Именно поэтому силикон, отверждаемый платиной, используется для изготовления пищевых форм для выпечки, сосок для детских бутылочек, уплотнителей для медицинского оборудования, а также широкого спектра потребительских товаров, к которым предъявляются высокие требования безопасности.
Силикон с оловянным отвердителем: когда следует проявлять осторожность
В силиконе, отверждаемом оловом, в качестве катализатора отверждения используются органооловянные соединения. При определенных условиях — в частности, при контакте с кислыми продуктами, маслами или под воздействием высоких температур — эти соединения могут вымываться из отвержденного материала. По этой причине:
- Силикон, отверждаемый оловом, должен не могут использоваться в качестве форм, контактирующих с пищевыми продуктами
- Не подходит для длительного контакта с кожей
- В ЕС нормы LFGB (Закона о продуктах питания и кормах) в отношении материалов, контактирующих с пищевыми продуктами, фактически исключают большинство составов, отверждаемых оловом
Для любых предметов, соприкасающихся с пищевыми продуктами или кожей: допускается использование только платинового отвердителя, а также необходимо убедиться, что изделие явно обозначено как безопасное для использования с пищевыми продуктами.
Неотвердевший силикон: обращайтесь с ним осторожно
До полного отверждения силикона непрореагировавшие компоненты обладают химической активностью. Длительный контакт кожи с неотвердевшим силиконом может вызвать раздражение или сенсибилизацию. Стандартные меры предосторожности:
- Во время смешивания и разлива надевайте нитриловые перчатки
- Работайте в хорошо проветриваемом помещении
- Избегайте любого контакта с пищевыми продуктами или поверхностями, на которых хранятся продукты, до тех пор, пока силикон не отвердеет полностью и его отвердевание не будет подтверждено
Формы пищевого назначения и формы промышленного назначения: это не одно и то же
Форма, изготовленная из платинового силикона, разрешенного для использования с пищевыми продуктами, может стать небезопасной, если её использовали для непищевых целей. Остатки литейных материалов — эпоксидной смолы, полиуретановой смолы, упрочняющего добавки для бетона — могут загрязнить поверхность формы. Используйте отдельные формы исключительно для пищевых целей и никогда не применяйте их для других целей.
LSR в медицине и производстве товаров широкого потребления
Для изделий, требующих подтвержденной биосовместимости — медицинских изделий, товаров для младенцев, носимых устройств — литье жидкого силиконового каучука (LSR) медицинского или пищевого назначения является профессиональным стандартом. Эти материалы прошли испытания и сертификацию на соответствие таким стандартам, как требования FDA, ISO 10993 (биосовместимость медицинских изделий) и LFGB в Европе.
Речь идет не только о выборе материалов — здесь требуются контролируемые производственные условия, документированная прослеживаемость материалов и системы качества, гарантирующие, что каждая партия соответствует сертифицированным техническим требованиям. Это принципиально иной уровень строгости по сравнению с выбором силиконового набора для домашнего использования с маркировкой “безопасен для пищевых продуктов”.
Если вы разрабатываете продукт в сфере медицины, товаров для здоровья потребителей или изделий, контактирующих с пищевыми продуктами, который содержит силиконовые компоненты, сертификация материалов не является факультативной. Это основа, на которой строится вся остальная аргументация безопасности продукта. Обратиться к экспертам за консультацией по выбору материалов и оптимизации конструкции с точки зрения технологичности (DFM) на этапе проектирования позволит впоследствии значительно сэкономить время и средства.
Заключение
Изготовление качественной силиконовой формы — это, прежде всего, подготовка, точность и терпение — три составляющие, с которыми легко поспешить, а пренебрежение которыми обходится дорого. Выберите подходящий тип силикона для вашей задачи, надлежащим образом загерметизируйте и подготовьте мастер-форму, смешайте компоненты по весу, медленно заливайте смесь и дождитесь полного отверждения. Вот и всё, что нужно знать.
Если ваш проект переходит от стадии разработки к реальному производству — речь идет о масштабируемых силиконовых компонентах с жесткими допусками и нормативными требованиями — то это уже совсем другой разговор. Не стесняйтесь свяжитесь с командой Dimud. Мы с удовольствием поможем вам определить, какой подход будет наиболее целесообразным с учетом перспектив развития вашего продукта.