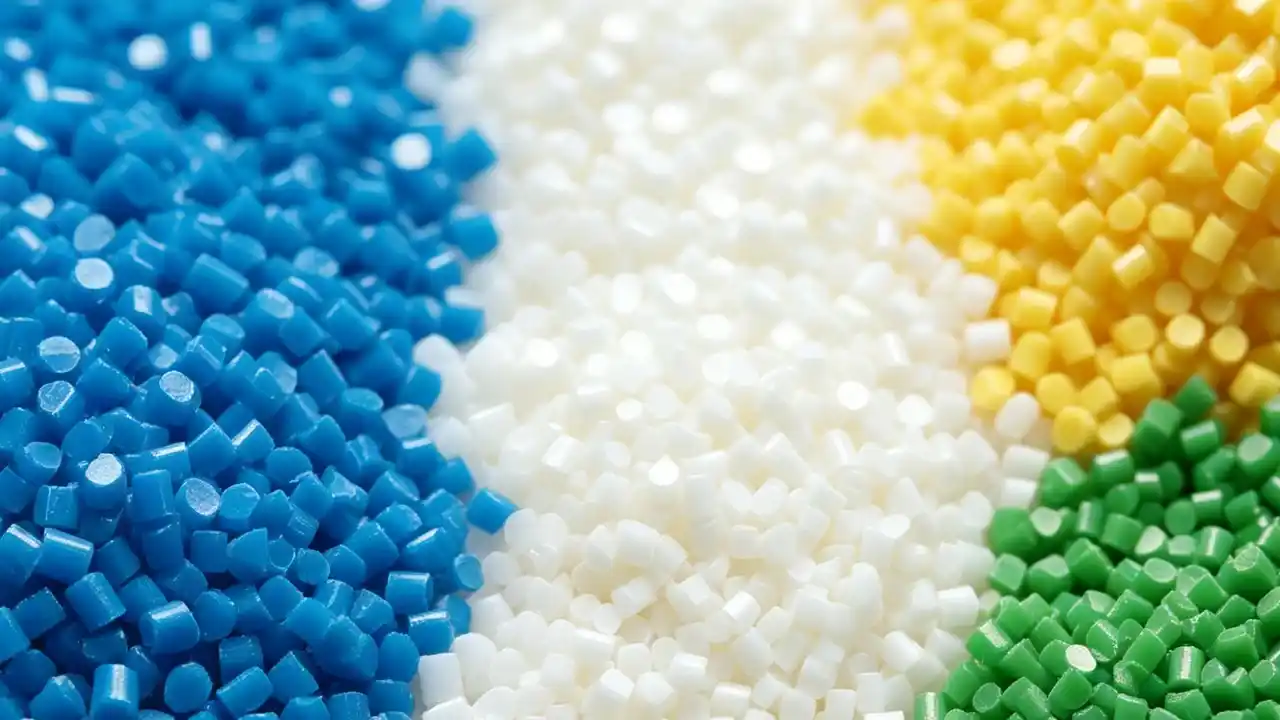

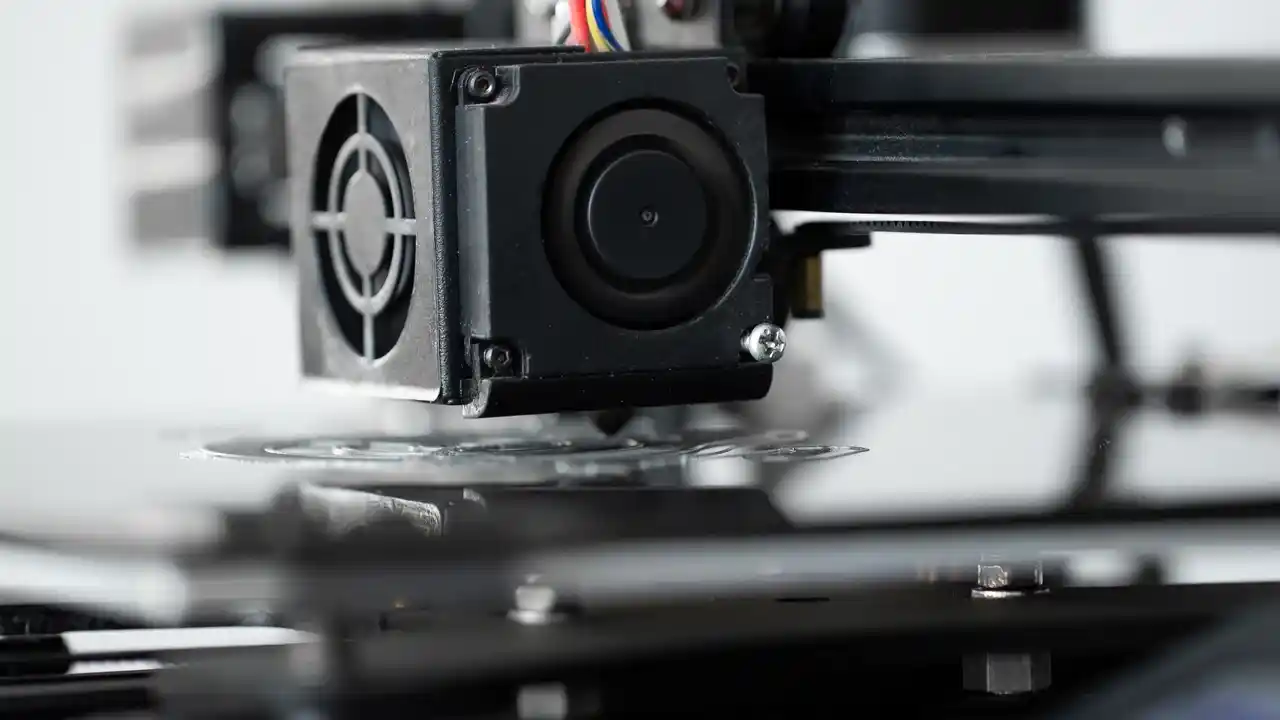
Кто-то из нашей команды однажды пошутил, что спрашивать “сколько стоит 3D-печать?” - все равно что спрашивать “сколько стоит автомобиль?”. - ответ всегда зависит от. И честно? В этом нет ничего плохого. Но позвольте мне на самом деле объяснить вам это.
Короткий ответ: 3D-печать может стоить от $5 за простую настольную FDM-печать до $500+ за профессиональный SLA-прототип из смолы и более $1,000 за детали промышленного уровня. Окончательная цена зависит от технологии печати, материала, размера детали, времени печати, разрешения слоев, а также от того, используете ли вы сервисное бюро или собственную машину. Для большинства прототипов продукции в диапазоне 10-20 см ожидайте, что стоимость одной детали в профессиональном бюро составит $50-$300.
Это и есть обзорный снимок. Но если вы принимаете реальное решение - печатать ли 3D-прототип, как составить бюджет запуска продукта или имеет ли вообще смысл печатать в вашей ситуации, - вы захотите понять, что на самом деле лежит в основе этих цифр. Давайте разберемся в этом.
Сколько на самом деле стоит 3D-печать?
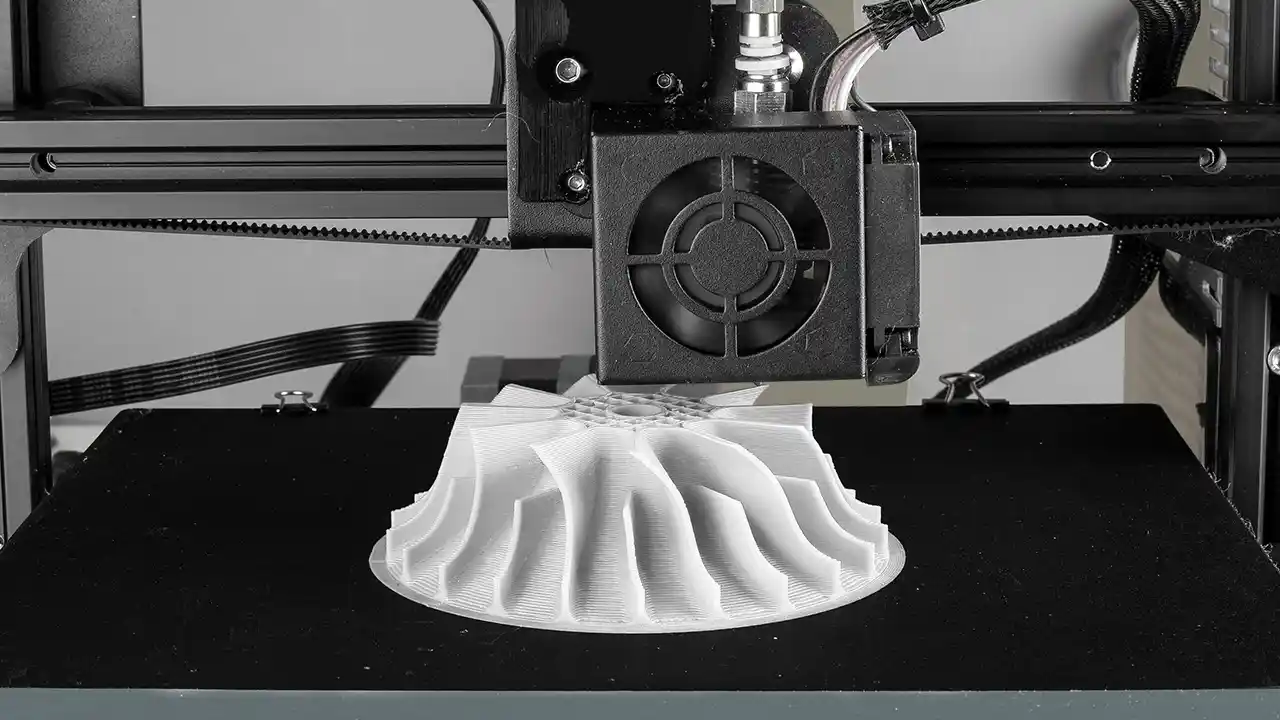
Прежде чем перейти к вопросу “почему”, приведем реальные диапазоны цен, с которыми сталкиваются люди, в зависимости от метода и сложности.
Стоимость 3D-печати детали очень сильно зависит от технологии. FDM-печать (на основе нитей) является самой дешевой - пластиковая деталь размером с ладонь может стоить $10-$50 через онлайн-сервис. SLA (печать смолой) стоит $30-$200 за сопоставимые детали, с лучшим качеством поверхности. SLS (порошковый нейлон) и промышленные процессы, такие как DMLS (металл), могут достигать $100-$3,000+ за деталь, в зависимости от геометрии и материала. Для большинства работ по разработке изделий бюджет составляет $50-$400 за прототип детали.
FDM: повседневная рабочая лошадка
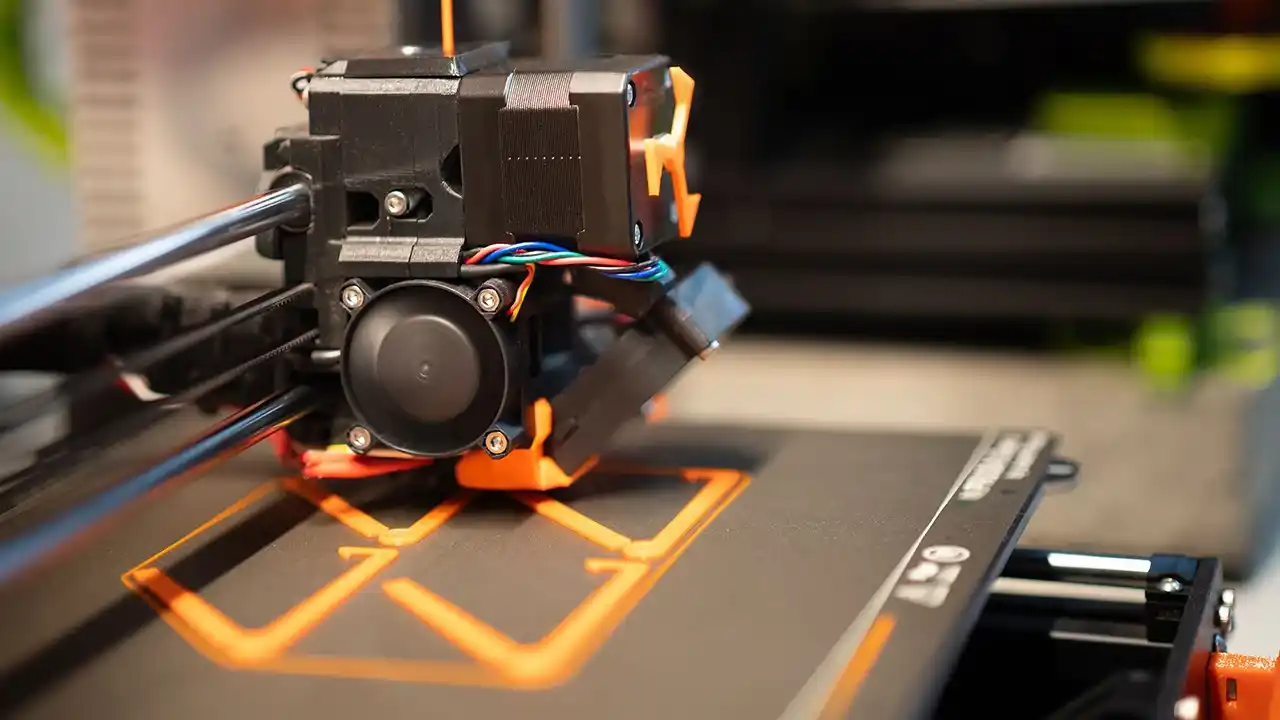
Большинство людей представляют себе FDM-печать - вид печати, при котором машина плавит пластиковую нить слой за слоем. Она широко доступна, недорога и честна в своих характеристиках: отлично подходит для концептуальных моделей и базовых функциональных испытаний, но не идеальна для мелкой детализации поверхности или тонкостенных прецизионных деталей.
Онлайн-сервисы FDM обычно взимают плату за объем материала (в см³) плюс базовую плату за установку. Деталь объемом 50 см³ из PLA или ABS обычно стоит $15-$40. Добавьте плотность наполнителя, опорные конструкции и отделку, и вы получите $30-$80 за деталь размером с ладонь.
SLA и печать на смоле: Когда детали имеют значение
В SLA используется ультрафиолетовое излучение для послойного отверждения жидкой смолы. Результаты визуально более четкие - лучшая обработка поверхности, более тонкие детали - но стоимость материала выше, а детали могут быть хрупкими.
Сопоставимая деталь в SLA стоит в 2-3 раза дороже, чем в FDM. Для разработчиков изделий, создающих визуальные или проверочные прототипы, это часто стоит того, чтобы заплатить больше. Для структурных испытаний? Возможно, нет.
SLS и промышленные процессы
SLS (Selective Laser Sintering) использует нейлоновый порошок и производит детали без опорных конструкций, что делает сложную геометрию дешевле, чем в FDM. Это популярный выбор для создания функциональных инженерных прототипов.
Печать по металлу (DMLS/SLM) - это совершенно другой зверь, используемый в аэрокосмической промышленности, медицине и высокопроизводительных приложениях. Стоимость печати начинается от $300 за деталь и легко переваливает за $2 000 для сложных геометрических форм.
Скрытые расходы, о которых никто не упоминает
Постобработка. Почти каждый профессиональный прототип нуждается в шлифовке, грунтовке, покраске или сборке. Сервисные бюро могут взять $30-$100+ дополнительно за отделку, а печать своими силами все равно стоит вашего времени. Всегда учитывайте это.
Какие факторы влияют на стоимость 3D-печати?
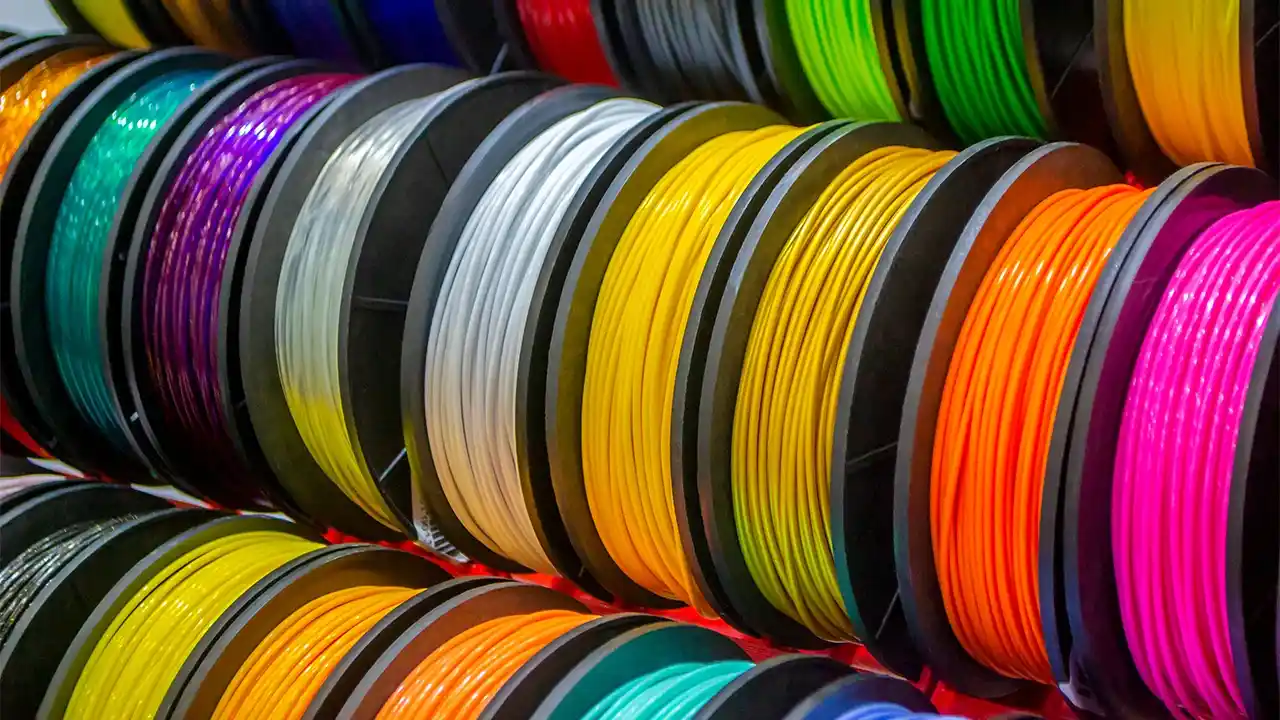
Большинство людей полагают, что все дело в размере детали. Но все не так просто.
Шесть основных факторов определяют стоимость 3D-печати: (1) технология печати (FDM против SLA против SLS против металла), (2) тип и марка материала, (3) объем и сложность геометрии детали, (4) высота слоя и параметры разрешения, (5) время печати, включая поддержку и заполнение, и (6) требования к постобработке. Понимание каждого из них позволит вам принимать более разумные решения по дизайну и бюджету еще до отправки файла.
Выбор технологии - самый большой рычаг
Переход от FDM к SLA для одной и той же детали может удвоить цену. Переход от SLA к SLS для сложной геометрии может фактически сэкономить деньги (потому что SLS не требует удаления опор). А переход на печать по металлу? Бюджет увеличится в 10-50 раз.
Выбор технологии должен соответствовать вашей реальной цели. Концепт-модель для питч-дека? FDM подойдет. Функциональная сборка на защелках? SLA или SLS. Несущий кронштейн? Рассмотрим металл или - что более вероятно - механическую обработку с ЧПУ, которая обеспечивает лучшие механические свойства для структурных деталей.
Стоимость материалов: Больше, чем вы думаете
Филамент PLA для настольного FDM-принтера стоит $20-$30/кг. Нейлон инженерного класса для SLS? $80-$150/кг. Фотополимерная смола? $50–$200/liter. И металлический порошок для DMLS? $200–$600/kg.
Стоимость материала в процентах от общей стоимости детали выше для мелких деталей (где машинное время ограничено) и ниже для крупных. При изготовлении прототипов материал редко является основным фактором затрат - обычно это машинное время и накладные расходы.
Сложность геометрии и поддержка
Простая геометрия = быстрая печать, низкая стоимость. Сложные выступы требуют опорных конструкций, на которые тратится материал, увеличивается время печати и которые приходится удалять вручную. Некоторые конструкторские решения - например, добавление черновых углов, отказ от свесов или разделение сложной детали на узлы - могут снизить стоимость печати на 30-50%.
Вот почему DFM (Design for Manufacturability) Анализ имеет значение даже на стадии прототипа. Небольшая корректировка конструкции на ранней стадии может сэкономить реальные деньги.
Разрешение и высота слоя
Меньшая высота слоя = лучшее качество поверхности = большее время печати = более высокая стоимость. Деталь, напечатанная при высоте слоя 0,1 мм, занимает примерно в два раза больше времени, чем та же деталь при высоте слоя 0,2 мм. Для визуальных моделей, для которых важен внешний вид, эта плата оправдывает себя. Для внутренних структурных компонентов, которые никто не видит? Скорее всего, нет.
Сколько стоит час 3D-печати?
Этот вопрос возникает часто, особенно у тех, кто задумывается о покупке собственного принтера. Давайте посмотрим на него честно.
Стоимость часа 3D-печати зависит от типа машины. Настольные FDM-принтеры (Bambu, Prusa и т. д.) потребляют примерно $1-$3/час электроэнергии и расходных материалов. Профессиональные сервисные бюро FDM берут эквивалент $5-$20/час. Промышленные SLA/SLS-машины стоят $20-$60/час на амортизацию оборудования и материалы. Металлические 3D-принтеры стоят $50-$150+/час. Это только стоимость оборудования - рабочая сила, постобработка и накладные расходы оплачиваются отдельно.
Почему “почасовая оплата” может ввести вас в заблуждение
Скорость печати машины не говорит о стоимости детали. Быстрый принтер печатает плотную, большую деталь, но на это уходят часы. Медленный принтер, печатающий тонкую оболочку, может закончить работу за 30 минут. Стоимость часа полезна для сравнения машин, но стоимость детали - это то, что важно для составления бюджета проекта.
Владение и пользование услугой
Настольный FDM-принтер (скажем, Bambu Lab X1C по цене ~$1 200) звучит дешево по сравнению с сервисным бюро. И для любителей, печатающих сотни деталей в год, он может быть таким. Но для разработчиков продуктов, печатающих 5-20 прототипов в процессе разработки, экономика часто складывается в пользу услуг:
- Отсутствие технического обслуживания машины
- Доступ к нескольким технологиям (SLA, SLS и т. д.) без владения каждой из них
- Профессиональная постобработка
- Ускоренная доставка срочных итераций
На нашем предприятии в Димуде мы видим, как клиенты пытаются управлять прототипами своими силами, а затем возвращаются к аутсорсингу, когда понимают, как много времени у инженеров уходит на управление принтером вместо реальной работы над продуктом.
Реальная стоимость печати внутри компании
Помимо стоимости самого принтера и нити, следует учитывать неудачные печати (показатель отказов 5–15% считается нормальным), время на калибровку, техническое обслуживание, а также альтернативные издержки, связанные с тем, что квалифицированные инженеры вынуждены постоянно следить за работой принтера. Настольный принтер стоимостью $1 500, на обслуживание которого инженер тратит 10 часов в месяц, обходится гораздо дороже, чем кажется на первый взгляд.
Как рассчитать стоимость 3D-печати?
Если вы хотите оценить стоимость детали перед заказом, вот практическая схема.
Чтобы рассчитать стоимость 3D-печати: оцените объем детали в см³ (с помощью вашего программного обеспечения CAD), умножьте его на стоимость материала за см³ для выбранного вами процесса, добавьте стоимость времени работы оборудования (время печати × почасовая ставка за использование оборудования), а затем добавьте коэффициент постобработки (обычно 20–50% от базовой стоимости за отделку). Для сервисных бюро большинство онлайн-платформ предоставляют мгновенные расценки на основе загруженного вами файла STL или STEP — используйте их в качестве ориентира.
Пошаговая смета
Вот реальный пример. Допустим, у вас есть деталь корпуса: объём 120 см³, которую нужно напечатать методом SLA для проверки функциональной посадки.
- Материал: 120 см³ × $0,15/см³ (типичная плотность смолы) = $18
- Время работы станка: 4 часа × $15/час = $60
- Дополнительная обработка (шлифование, очистка): ~$30
- Сервисные наценки и комиссии: ~$25
Итого: примерно $133. Реальная стоимость этой детали, указанная в предложении от поставщика, составила бы примерно $120–$160. Не так уж и далеко от этого.
Используйте несколько сервисов для сравнительного анализа
Когда вы загружаете деталь на Craftcloud, Xometry или аналогичные платформы, вы сразу же получаете предложения от десятков производителей. Это действительно помогает сориентироваться в рыночных ценах. Не выбирайте сразу самое дешевое предложение — прочтите отзывы, проверьте допуски и уточните, какие виды последующей обработки включены в стоимость.
В каких случаях калькуляторы затрат дают сбой
Автоматические калькуляторы затрат хорошо справляются с геометрией, но испытывают трудности со следующим:
- Детали, для обработки которых требуются специальные приспособления или инструменты
- Срочные заказы (добавьте 25–100% в зависимости от сроков выполнения)
- Очень крупные или очень мелкие детали, при производстве которых основную долю затрат составляют расходы на наладку
- Нестандартные виды отделки поверхности, выходящие за рамки стандартной шлифовки
В случае сложных деталей всегда проконсультируйтесь с специалистом, прежде чем принимать окончательное решение.
Становится ли 3D-печать более доступной?
Цены на настольные принтеры резко снизились. А что касается профессиональных услуг? Здесь ситуация более сложная.
3D-печать на потребительском уровне стала значительно дешевле — настольные принтеры FDM теперь стоят от $200 до $1,500 по сравнению с $3,000+ десять лет назад, а цены на филамент остаются стабильными. Однако затраты на профессиональную печать по технологиям SLA, SLS и печать на металле снижаются более медленно из-за сложности оборудования и стоимости материалов. Наибольшее снижение затрат произошло за счёт усовершенствованного программного обеспечения, позволяющего сократить количество неудачных печатных заданий, а не за счёт самих принтеров.
Революция в мире настольных компьютеров — это реальность
Компания Bambu Lab вышла на рынок в 2022 году и фактически сократила затраты на настольные FDM-принтеры на 50–60%, при этом значительно повысив скорость и надежность. Сегодня принтер стоимостью $1 000 превосходит по производительности принтер стоимостью $5 000, выпускавшийся пять лет назад. В сфере моделирования концепций и базовой итерации это изменило возможности небольших команд и стартапов.
Профессиональные услуги более конкурентоспособны
Конкуренция между сервисными агентствами привела к некоторому снижению цен, однако стоимость промышленных SLS-принтеров и металлопечатных машин не упала так резко, как у потребительских FDM-принтеров. Изменились сроки выполнения заказов: если раньше стандартным сроком выполнения был 2-недельный цикл, то сейчас многие сервисы предлагают доставку за 3–5 дней. Такое сокращение сроков имеет огромное значение при быстрой итерации на этапе разработки продукта.
Что не станет дешевле
Развитие материаловедения происходит медленно. Минимальная цена на высокоэффективные смолы и инженерные нейлоны определяется химическим составом. Цена на металлический порошок не станет значительно ниже. Сокращение затрат, наблюдаемое в настоящее время, касается в первую очередь потребительских FDM-технологий, а не промышленных процессов, используемых для разработки серьезных продуктов.
Как можно наиболее экономично изготовить прототип с помощью 3D-печати?
Однозначного ответа нет, но есть разумные варианты.
Самым экономичным способом получения профессионального прототипа обычно является печать по технологии FDM через местную или онлайн-службу для простых деталей, либо использование настольного FDM-принтера на собственном предприятии для команд, которые печатают регулярно. В случае сложных геометрических форм или необходимости обеспечить лучшие свойства материала технология SLS зачастую является наиболее экономически выгодным вариантом с точки зрения соотношения цены и качества. Минимизация опорных структур за счет грамотной ориентации модели — это самый простой способ сократить затраты при использовании любых технологий.
Перед печатью продумайте, как снизить затраты
Главный рычаг сокращения затрат — это ваш CAD-файл, а не принтер. Уменьшайте толщину стенок там, где это не влияет на функциональность. Исключайте глубокие внутренние каналы, требующие опорных элементов. Разбивайте сложные детали на более простые узлы, которые соединяются друг с другом. Инженер-конструктор с опытом производства часто может сократить затраты на 3D-печать на 20–40% без ущерба для назначения прототипа.
Это то, чем мы занимаемся в рамках услуги по созданию прототипов В компании Dimud мы сначала анализируем геометрию изделия, прежде чем рекомендовать метод печати, и часто предлагаем небольшие доработки, которые существенно влияют на стоимость, не затрагивая при этом функциональности изделия.
Умное объединение технологий
Не для каждой детали прототипа требуется одинаковый процесс изготовления. Например, видимая внешняя поверхность корпуса может быть напечатана по технологии SLA, а внутренние несущие элементы — по технологии FDM. Кронштейн может быть изготовлен на станке с ЧПУ, если от него требуются определённые механические свойства. Рассматривая прототип как систему, а не как отдельное задание на печать, часто удаётся сэкономить 30–50% на общих затратах на прототипирование.
Не попадайтесь в ловушку “еще одна правка”
Самая дорогостоящая программа прототипирования, с которой я сталкивался, была дорогой не из-за стоимости отдельной печати — она была дорогой потому, что команда продолжала проводить итерации без четкой цели проверки. При первой печати была обнаружена проблема с посадкой. Вторая печать устранила эту проблему, но выявила проблему с толщиной стенок. Третья печать решила эту проблему, но привела к появлению проблемы с линией разъема, которая, в любом случае, имела бы значение только при литье под давлением.
Перед печатью определите четкие критерии проверки. Понимайте, что именно вы тестируете. Это звучит очевидно, но при этом является наиболее распространенной причиной завышенных затрат на создание прототипов.
Когда следует отказаться от 3D-печати и перейти на литье под давлением?

Вот вопрос, который в большинстве статей о стоимости 3D-печати никогда не задают — но, вероятно, следовало бы.
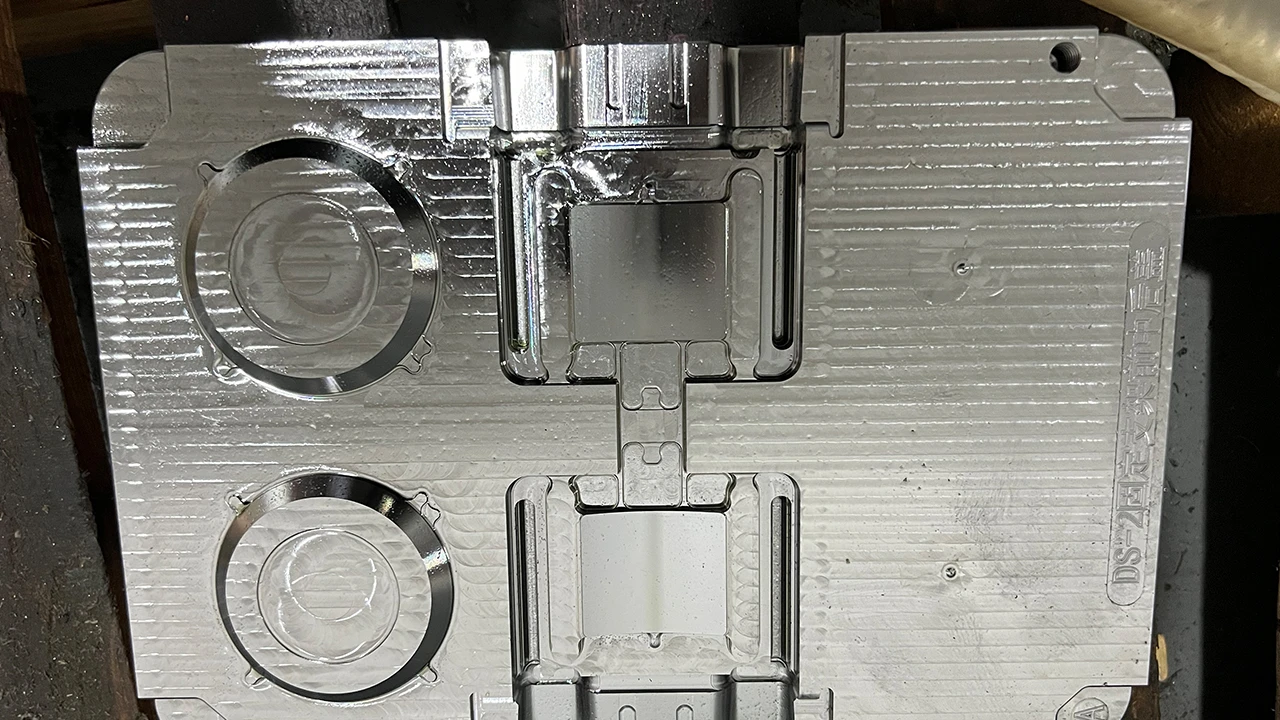
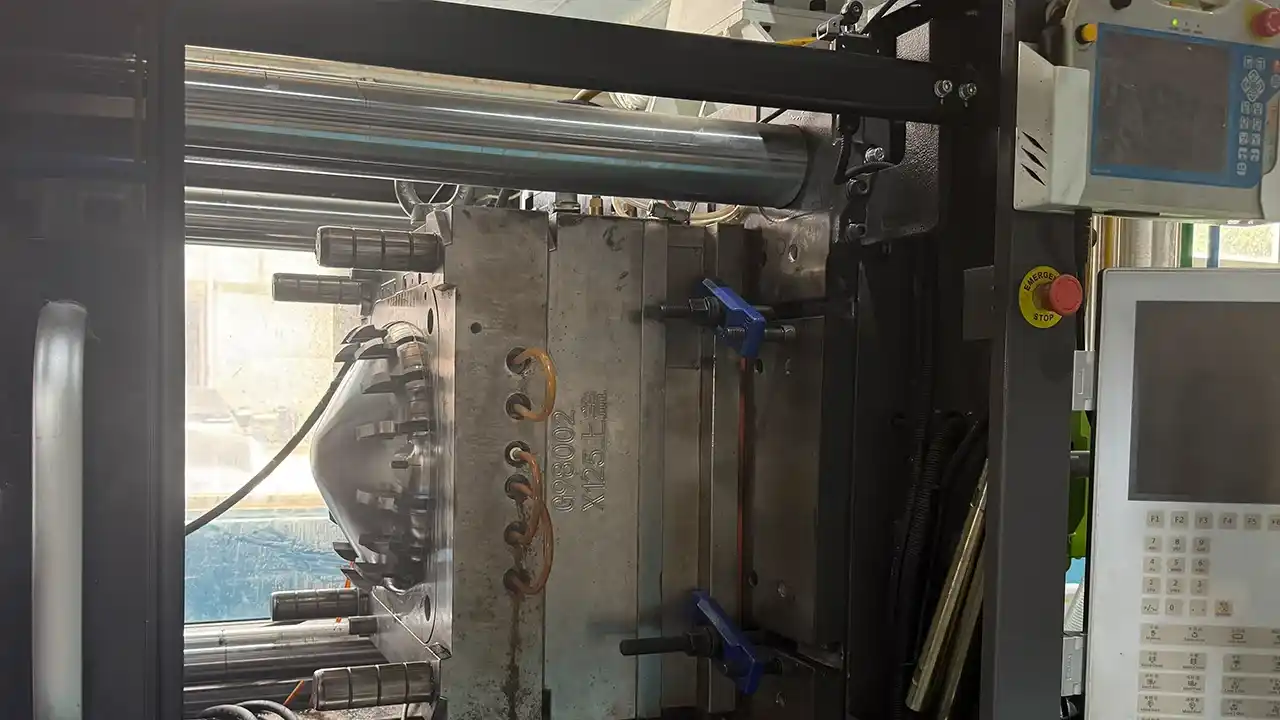
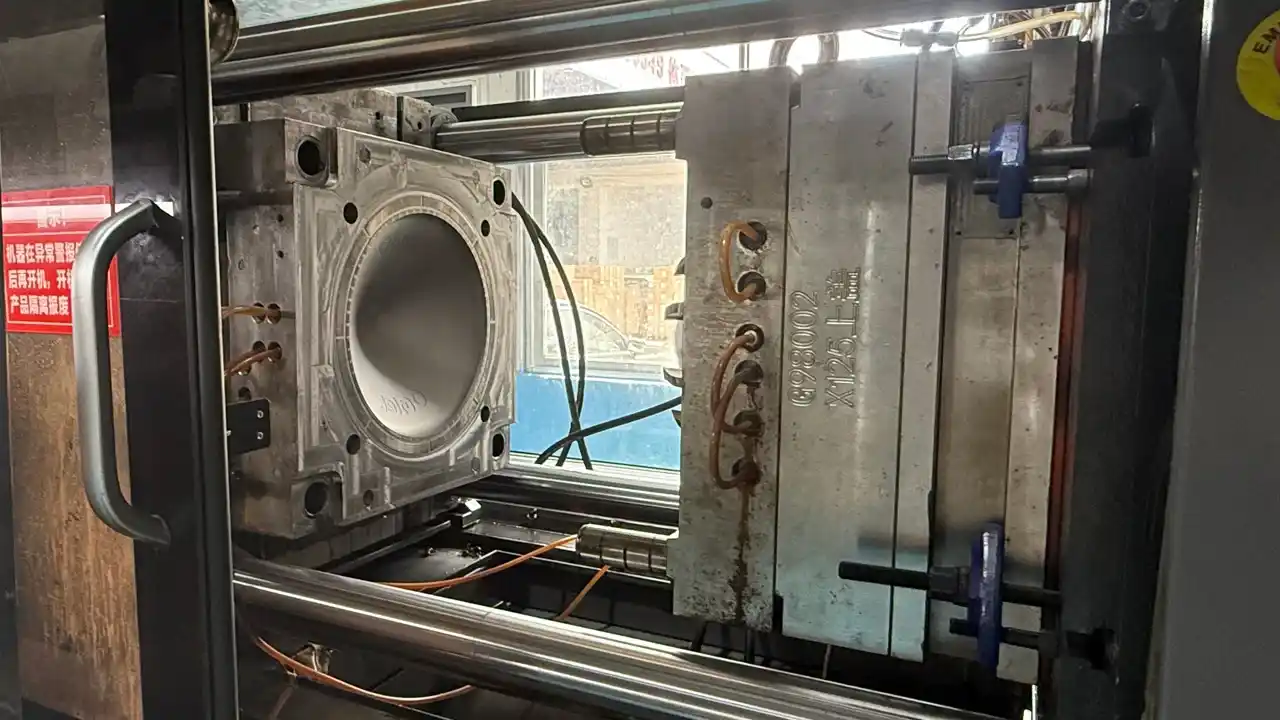
Переход от 3D-печати к литью под давлением, как правило, экономически целесообразен при объёме производства от 50 до 500 единиц, в зависимости от сложности и размера детали. 3D-печать не требует затрат на изготовление пресс-форм, но имеет высокую себестоимость одной детали ($10–$300+). Литье под давлением требует инвестиций в пресс-форму в размере $3 000–$50 000+, но при серийном производстве снижает стоимость одной детали до $0,50–$10. Точка пересечения — это тот момент, когда совокупная стоимость литья под давлением (форма + детали) становится ниже стоимости одной детали, полученной при 3D-печати, умноженной на количество.
Математика, которой никто не занимается, пока не станет слишком поздно
Возьмем, к примеру, пластиковый корпус, 3D-печать одного экземпляра которого обходится в $80. При тираже в 200 экземпляров затраты на печать составят $16 000.
Производственная литьевая форма для той же детали может стоить $8 000–$12 000. Стоимость одной детали при серийном производстве может составлять $3–$5 за штуку. При заказе 200 единиц общая сумма составит $10 600–$13 000 — это дешевле, чем 3D-печать, и у вас останется форма, с помощью которой можно изготовить ещё более 10 000 единиц по той же цене за деталь.
Цифры свидетельствуют о том, что внедрение технологий начнется раньше, чем ожидают многие.
Быстрое изготовление пресс-форм устраняет пробел
Вариант, который упускают из виду большинство команд, — это быстрое изготовление пресс-форм: недорогие алюминиевые пресс-формы, позволяющие изготовить 500–5 000 деталей производственного качества без затрат, характерных для полноценной стальной производственной пресс-формы. Для стартапов, переходящих от этапа прототипирования к начальному этапу производства, быстрое изготовление пресс-форм часто становится идеальным компромиссом между гибкостью 3D-печати и экономичностью литья под давлением.
Когда 3D-печать по-прежнему выигрывает при массовом производстве
3D-печать по-прежнему остается оптимальным решением для изготовления деталей с высокой степенью индивидуализации (когда каждая единица отличается от других), запасных частей по запросу, сложных внутренних геометрических форм, которые невозможно изготовить литьем, а также для этапов разработки, когда конструкция продукта еще находится в стадии доработки. Речь не идет о выборе между тем или другим — лучшие продуктовые команды используют и то, и другое.
Заключение
Стоимость 3D-печати варьируется от нескольких долларов до нескольких тысяч, и “правильный” ответ зависит от выбранной технологии, материалов, сложности детали и объема заказа. Для большинства команд по разработке продукции технология FDM подходит для ранних этапов концептуальной проработки ($10–$80 на деталь), SLA — для изготовления визуальных прототипов и прототипов для проверки посадки ($50–$300 на деталь), а SLS — для функционального предсерийного тестирования ($100–$500 на деталь). Когда объём производства превышает 100–500 единиц, экономическая целесообразность, как правило, смещается в сторону литье под давлением. Если вы не уверены, на каком этапе этой кривой находится ваш проект, обратитесь к партнеру по производству — а не просто к типографии. В компании Dimud мы с удовольствием поможем вам в этом разобраться.